YouTube Converter 1080: Top Tools for HD Downloads
Find the best youtube converter 1080 for high-quality video downloads. Our 2026 guide covers top tools, settings, and workflows to get your HD MP4 files fast.
You've got a clip on YouTube that would fit perfectly in your next piece of content. Maybe it's a reaction moment you want to analyze, a product demo you need for commentary, or B-roll that would strengthen an edit. Then the usual problem shows up. The version you can get quickly looks soft, the audio is flaky, or the converter promises “1080p” but gives you something that clearly isn't.
That's why a good YouTube converter 1080 workflow matters. Not because downloading is the end goal, but because source quality determines how far you can push the footage afterward. If the plan is to cut highlights, add captions, resize for Shorts, or build a fresh original video around clips you have rights to use, getting the cleanest possible file at the start saves time later.
Most guides stop at “paste URL and download.” That advice is incomplete. Tool choice matters, source quality matters more, and the legal and security side matters more than is generally admitted. A practical workflow starts with quality control, not convenience.
Why 1080p Is the Creator's Gold Standard
A lot of creators land on the same decision for the same reason. 720p can work, but once you crop, zoom, subtitle, or repurpose it across multiple platforms, the image starts falling apart. 4K is great when you have it, but for everyday editing, delivery, storage, and reposting workflows, 1080p stays in the sweet spot.
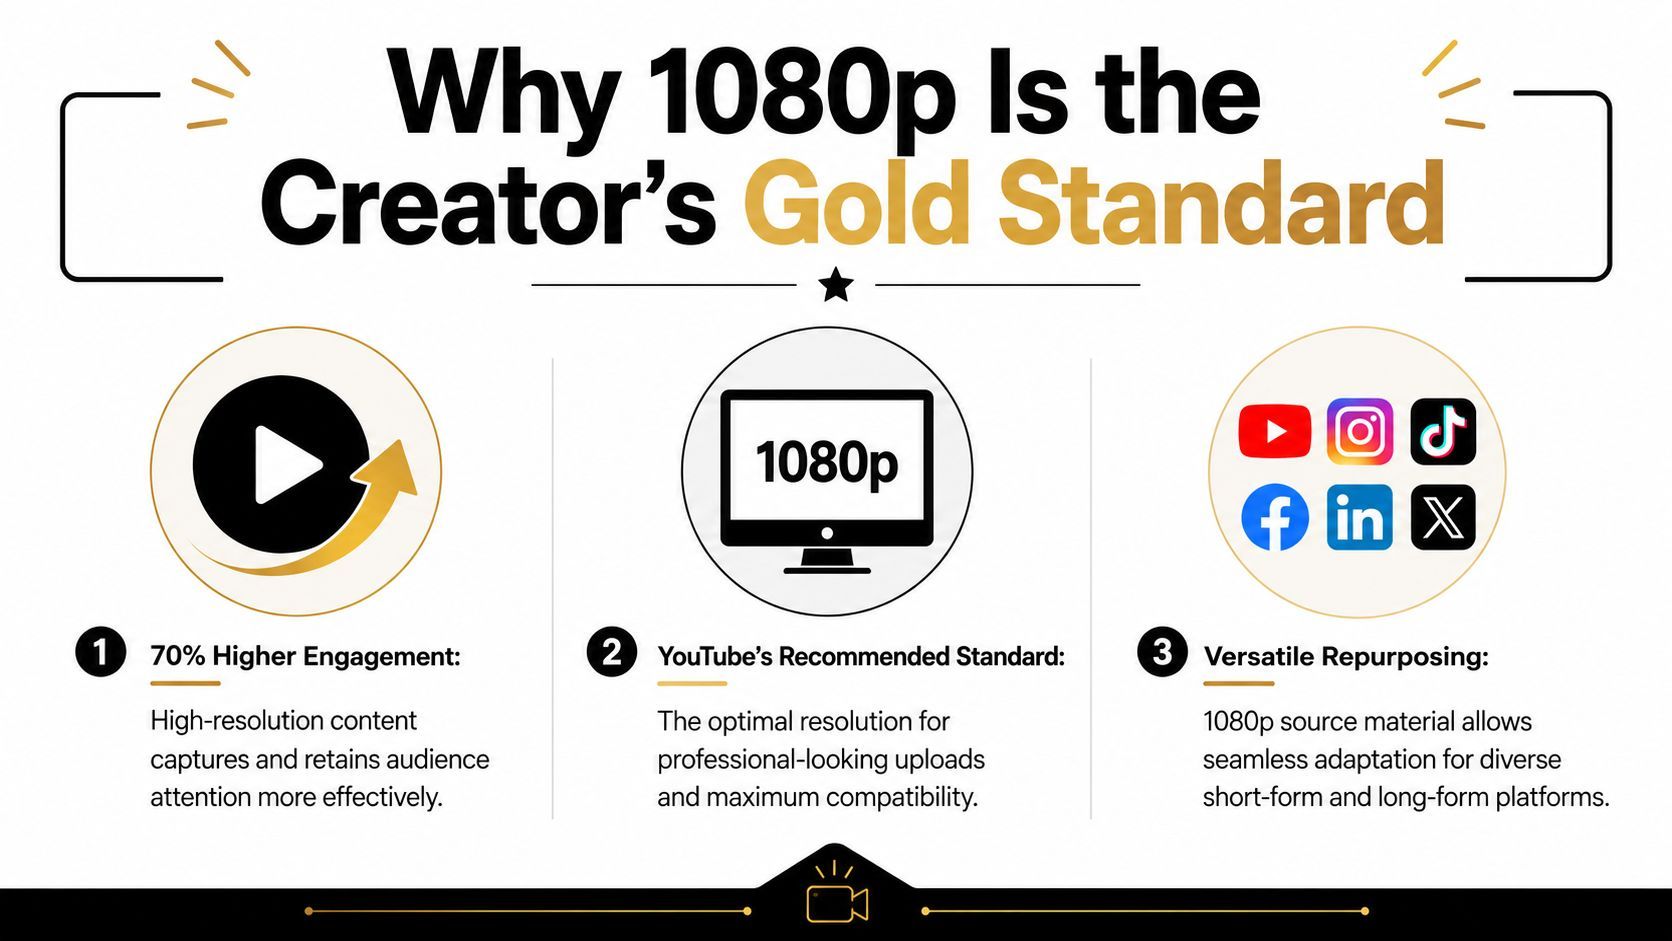
The reason is practical. You need a file that still looks clean after trimming, reframing, and exporting again. You also need something your editor can handle without dragging down every session. YouTube itself treats 1080p as a standard Full HD target in its upload guidance, which is why so many creators still use it as the baseline for professional-looking delivery across devices and markets, as outlined in YouTube upload recommendations from Google.
There's a cost to that quality. Independent estimates suggest watching YouTube at 1080p typically uses about 1.5 GB to 4.1 GB per hour, with some guides placing it around 3 GB to 3.3 GB per hour. The same estimates note that dropping to 480p can save roughly 2 GB per hour, according to this data-usage breakdown for YouTube streaming. That's one reason 1080p remains the target creators want while viewers on mobile data may not always watch at that setting.
Where 1080p helps most
- Editing headroom: A 1080p source gives you more room for crops, punch-ins, and reframing than lower-resolution footage.
- Cross-platform reuse: One clean Full HD file can feed long-form uploads, highlight edits, and vertical cutdowns.
- Viewer expectations: Audiences may forgive rough lighting or handheld movement before they forgive mushy video.
Practical rule: If you plan to repurpose the footage even once, start with the best legitimate 1080p source available.
That also affects the business side of a channel. If your content strategy depends on better-looking uploads, stronger retention, and cleaner repurposing, it helps to understand the economics too. A useful companion read is discover YouTube earnings with Scheduler.social, especially if you're weighing production effort against channel revenue.
Understanding 1080p Conversion Quality
You paste a YouTube link into a converter, pick 1080p, and expect an edit-ready file. Sometimes that works. Sometimes you get a larger file that still looks soft, noisy, or full of compression artifacts. The resolution label was right. The usable quality was not.
A converter preserves, repackages, or degrades what is already there. It does not restore detail that the original upload never had.
Start with the source file reality
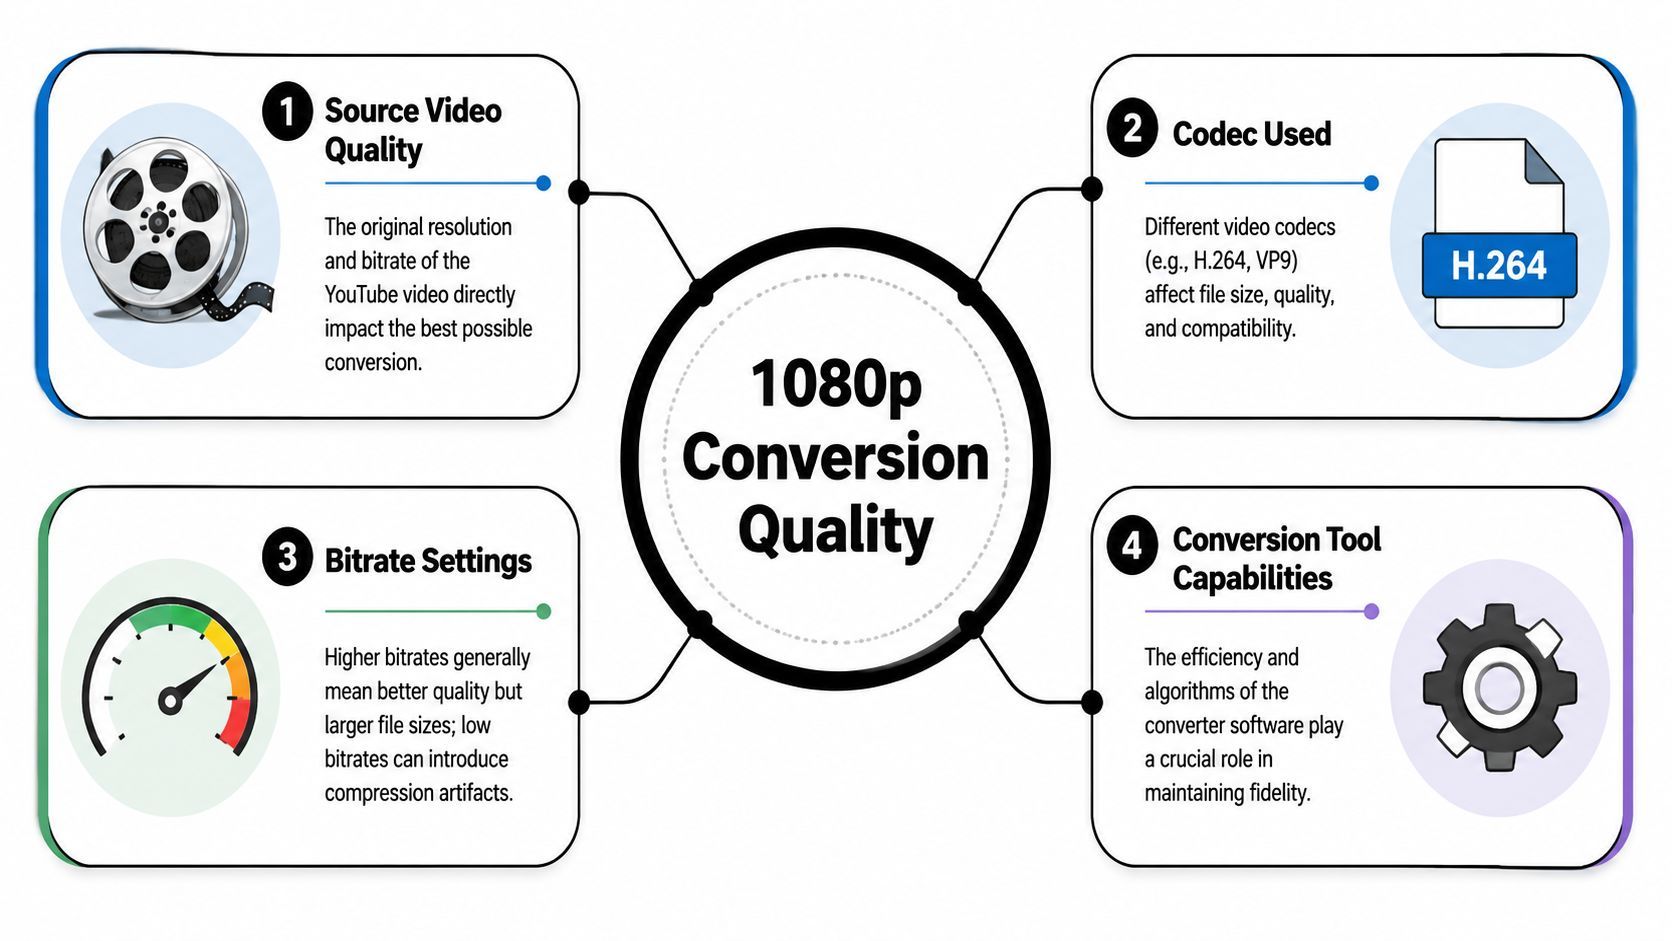
Creators often treat 1080p as a guarantee. In practice, it is only one part of the picture. Sharpness also depends on the source upload, the bitrate YouTube served, the codec used, and whether the converter re-encodes the file aggressively on export.
That distinction matters if the footage is headed into a larger workflow. A weak conversion does not just look worse on playback. It gives you less room for cropping, subtitle placement, speed ramps, and vertical reframing for shorts. If the goal is original content built from reference clips, commentary, reactions, or licensed material, quality decisions at this stage affect every edit that comes after.
Resolution sets frame size. Bitrate controls how much image information survives inside that frame. Codec determines how that information is compressed and played back. A good converter respects those limits and gets the file out with as little extra damage as possible.
What actually reduces 1080p quality
The most common failure is fake 1080p. A tool takes a lower-quality source, scales it up, and labels the result as Full HD. The file dimensions increase. Detail does not.
The second problem is unnecessary recompression. This is common with web tools that prioritize small exports and fast processing over fidelity. Fine textures smear first. Then gradients start banding. Motion gets messy around cuts, pans, sports footage, gameplay, and handheld shots.
Frame rate changes can also cause avoidable problems. If the source plays cleanly at one frame rate and the converter forces another, motion can look uneven and captions can drift out of sync in some editors.
Audio gets overlooked too. I see this a lot in quick-turn social workflows. The image survives, but the converter crushes stereo width, adds warble, or exports audio that lands a fraction off sync. That is enough to slow down the edit, especially if you plan to cut the file into short-form clips.
The safest converter is usually the one that changes the file the least.
A practical quality check before you convert
Before downloading anything, inspect the video like an editor, not just a viewer.
- Check the highest playback quality available on YouTube. If the platform does not offer 1080p on the source, a converter will not create true 1080p detail.
- Scrub through high-motion sections. Fast camera moves, crowds, water, foliage, and gameplay expose compression problems quickly.
- Pause on text and faces. Soft edges around captions, thumbnails, or facial features usually signal a weak source or heavy compression.
- Monitor audio on headphones. Listen for pumping, distortion, or sync issues before you commit the file to an edit.
- Be suspicious of enhancement claims. Terms like boost, optimize, remaster, and upscale often mean extra processing you did not ask for.
If you want a broader view of the tool market before testing specific options, HypeScribe on YouTube converters gives a useful comparison point.
The bigger workflow lesson is simple. Get the cleanest legitimate source you can, verify it before importing it into your editor, and avoid any converter that promises more detail than the original upload can support. That saves time later, especially when the next step is turning one long clip into several polished short-form assets.
Choosing Your YouTube Converter Tool
The market is crowded, but most options fall into three buckets: web-based converters, desktop software, and mobile apps. Each solves a different problem. None solves every problem well.
Speed is often the main priority when looking for a YouTube converter 1080 tool. That makes sense. But speed is only one factor. The better question is: what kind of control do you need, and what risk are you willing to accept?
The real trade-off between convenience and control
Web tools are the fastest to try. You paste a URL, choose a format, and hope for the best. They're handy when you're on a borrowed machine or need a quick capture. The downside is obvious to anyone who has used a few of them. Interfaces are cluttered, quality options are vague, and you often don't know what processing is happening in the background.
Desktop software is the opposite. It asks for installation and sometimes a learning curve, but it usually gives you better format control, clearer output settings, and more predictable results. If you convert often, this category tends to be less frustrating.
Mobile apps sit in the middle. They're useful when your whole workflow lives on your phone, but the experience is often cramped. File management, naming, export verification, and handoff to editing apps can become awkward fast.
If you want a broader market view before choosing, HypeScribe on YouTube converters is a useful read because it helps frame the common options and trade-offs without pretending every tool fits every workflow.
YouTube Converter Tool Comparison
| Tool Type | Pros | Cons | Best For |
|---|---|---|---|
| Web-based tools | Fast access, no installation, easy on shared devices | Higher security concerns, unclear quality handling, more ads and redirects, limited settings | One-off tasks and quick testing |
| Desktop software | Better control, more stable output options, easier file management, stronger repeat workflow | Requires installation, may take longer to learn, some tools feel heavy for simple jobs | Frequent creators, editors, archive workflows |
| Mobile apps | Portable, useful for phone-first editing, quick handoff to social apps | Clunky controls, limited visibility into settings, storage friction on phones | On-the-go creators making simple cuts |
How I'd choose based on the job
- For repeat professional use: Desktop usually wins. You need reliability more than novelty.
- For occasional access on a tight deadline: A web tool may be enough, but only if you're careful about safety and expectations.
- For social-first editing from a phone: Mobile can work, especially if you're clipping short segments rather than managing a large asset library.
Don't choose by homepage design. Choose by whether the tool lets you verify output quality before it wastes your time.
Features that matter more than branding
When comparing tools, pay attention to a few practical signs:
- Clear format labeling: If the tool can't explain whether you're getting MP4, separate audio, or merged streams, skip it.
- Resolution honesty: Some tools advertise 1080p even when the source or output doesn't support it properly.
- File inspection after export: The best workflow includes opening the file immediately, not trusting the download label.
- Clean handoff to editing: If the result is difficult to import into Premiere Pro, Final Cut Pro, DaVinci Resolve, CapCut, or your mobile editor, the tool didn't save you time.
A creator cutting commentary clips has different needs than a marketer building an ad variation library. That's why “best converter” lists usually disappoint. The right tool depends on how much control you need after the download.
A Practical 1080p Conversion Workflow
A solid workflow starts before you ever paste a URL. Open the YouTube video and confirm the highest quality that's available in playback settings. If the video only offers lower resolutions, that's the ceiling. Don't let a converter's interface talk you into believing otherwise.
Decide what the file is for
If you're collecting footage for a later edit, prioritize compatibility. That usually means MP4 as the container because most editors, cloud drives, review tools, and phones handle it cleanly. If the destination is a rough internal review, you may tolerate more compression. If the file is going into a polished edit, be less forgiving.
Then check whether you need the whole video or only a segment. Pulling a full long-form file just to use a few seconds adds friction. It slows import, clutters storage, and makes it easier to lose the clip you needed.
Set the output with restraint
A good YouTube converter 1080 setup is boring in the best way. Choose the highest legitimate available resolution. Keep the frame rate aligned with the source if the tool allows it. Make sure audio is included. Avoid “smart enhancement,” “AI improve,” or any vague checkbox that sounds magical.
Here's the decision logic I use:
- Pick MP4 first: It's the safest default for editing and reposting.
- Match source quality: If 1080p is available, select it. If not, don't upscale.
- Keep audio attached: Some tools separate streams or miss audio by default.
- Name the file clearly: Use source name plus date or project tag so it doesn't vanish into Downloads.
A clean download is easier to edit than a “fixed” one.
Verify before you move on
Once the file lands, don't drag it into your project immediately. Open it in a media player first. Scrub motion, check lip sync, listen for missing or muffled audio, and inspect any on-screen text. It's faster to catch a broken export in thirty seconds than to discover it after captions, cuts, and graphics are already in place.
A universal workflow also includes one last judgment call. If the file looks merely acceptable, ask whether it's worth using at all. Sometimes the best move is to replace the shot, use a shorter excerpt, or build your segment around stills, narration, or licensed assets instead of forcing weak footage into a stronger edit.
Troubleshooting Common Conversion Problems
The most annoying YouTube conversion issues are usually predictable. The good news is that they often point to one of a handful of causes. If you know what to check first, you can stop guessing.
Why your 1080p download only shows 720p
This is common with newly uploaded videos. YouTube's processing pipeline often creates SD versions in about 5 to 10 minutes, HD 720p and 1080p in about 30 minutes to 2 hours, and VP9 versions in 24 to 48 hours, according to EncodeX's guide to YouTube optimization. If you try to download too soon, the HD file may not be ready yet.
That same guide also warns against VFR and unnecessary frame-rate changes. In practice, that means if a tool is forcing strange frame-rate behavior, it can add confusion rather than quality.
The fixes I'd try first
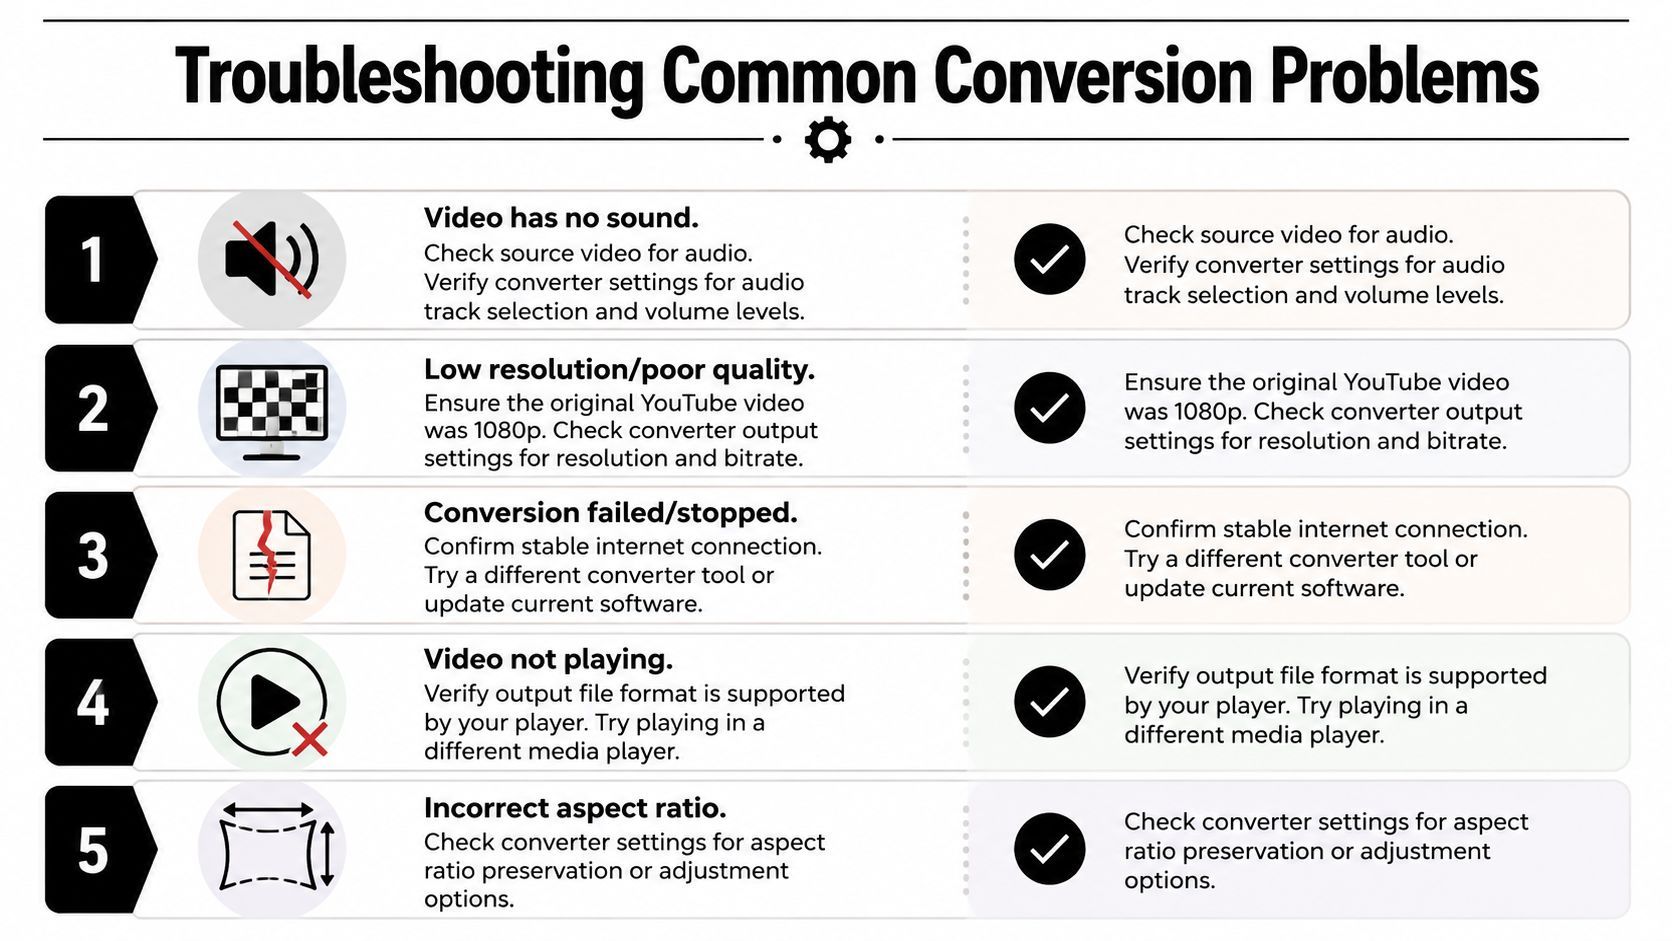
- No sound in the download: Check whether the converter merged video and audio correctly. If the source has sound on YouTube but your file doesn't, try a different tool or export path.
- Video looks softer than expected: Confirm the original video had 1080p available in YouTube playback, then inspect whether the converter used the highest available stream.
- File won't open: Re-download in MP4 instead of a less common format, or test the file in another media player before assuming it's corrupt.
- Aspect ratio looks wrong: Look for crop, stretch, or resize options inside the converter. Some tools apply them automatically.
- Conversion stalls or fails: Refresh the process, check your connection, and avoid overloaded browser-based tools if they keep hanging.
When waiting is the best fix
A lot of people assume the converter is broken when the timing is the actual problem. Fresh uploads often need more time before the highest-quality versions settle in. If the clip matters, wait and pull it later rather than settling for a lower-quality copy you'll regret in the edit.
If a new upload doesn't give you 1080p yet, patience often beats troubleshooting.
A small habit that prevents bigger headaches
Before you start cutting, duplicate the downloaded file into a project folder with a clean name. Keep the untouched original. If you later discover sync issues, bad metadata, or a failed transcode inside your editor, you'll have a known-good starting point instead of a chain of renamed versions you can't untangle.
From Conversion to Short-Form Content
You pull a clean 1080p file, drop it into your editor, crop it for vertical, add captions, and the result still feels flat. That usually means the problem is no longer the download. It is the edit decision.
A converted file only earns its keep once it becomes a new piece of content with its own purpose. For Shorts, Reels, and TikTok, that means selecting a moment that survives a tighter frame, faster pacing, and muted autoplay. Long-form context rarely survives intact. Strong clips do.
The first cut is usually a selection problem, not a software problem. Pull the beat that carries by itself. That might be a reaction shot, a concise tutorial step, a product reveal, a line with tension, or a visual payoff that still reads after you crop to 9:16. If the moment needs thirty seconds of setup, it probably is not your short-form anchor.
Adaptation matters more than extraction. Downloading gets you source material. Editing determines whether the clip feels native on a short-form platform or like a leftover from a longer video. Narrareach's guide to YouTube clips does a good job of explaining that clipping is an editorial task, not just a technical one.
A practical workflow looks like this:
- Open with the payoff: Start where attention spikes, then add just enough context to make the moment intelligible.
- Reframe with intent: Vertical crops work best when the subject stays readable throughout the shot, not just in the opening second.
- Caption for scanning: Good captions support the hook, clarify names or terms, and keep the clip usable with sound off.
- Add context where needed: A short intro card, voiceover, or on-screen label can turn a borrowed moment into commentary, education, or analysis.
- Export for the destination: A clip that looked sharp in 16:9 can feel cramped after reframing, subtitles, and another render pass. Check the final vertical export, not just the source file.
Creators who do this often usually outgrow one-off converter sites. A basic tool can fetch the file, but significant work starts after that. If your process includes clipping, captioning, resizing, and turning legal source material into original short-form assets, a short-form video workflow platform saves time and cuts down on handoffs between apps.
The ethical line matters here. Repurposing should add something. Commentary, education, transformation, brand framing, sequencing, and creative context all change how a clip functions. A straight repost is weak creatively, and in many cases it creates rights issues you do not want attached to your channel.
Here's a useful example of what modern video-led workflow looks like when the output matters as much as the source:
The benchmark is simple. After cropping, subtitles, motion graphics, and export, the clip still needs to look intentional. 1080p conversion gets you a workable source. Editorial judgment turns it into something worth publishing.
FAQ Safety Legality and Quality Questions
You download a clip for an edit, drop it into the timeline, and realize the actual risk was never the file format. It was the rights, the source quality, and the converter you trusted to get it.
A lot of "youtube converter 1080" advice skips that part. The technical step is easy. The judgment call is harder. As noted in Wondershare's discussion of YouTube to 1080p conversion, converting your own uploads or properly licensed material is far clearer than downloading someone else's video, and free converter sites can expose users to malware and phishing. That matches what creators run into in practice. A tool can save time or create a mess.
Is it legal to use a YouTube converter?
Legality depends on two separate questions, and creators should answer both before they download anything.
- Do you have the rights to use the footage?
- Does the download method violate the platform's terms?
If the clip is your own upload, client-owned media, stock you licensed, or footage you have written permission to repurpose, the path is more straightforward. If it is someone else's upload, the risk goes up fast. Copyright law, fair use limits, licensing terms, and platform rules do not all say the same thing.
My rule is simple. If rights are unclear, do not build a workflow around that source file.
Can you turn 720p into real 1080p?
No.
You can upscale a 720p file so it exports at 1920 by 1080, but you are not getting back detail that was never captured. The image may look acceptable in a small player. Once you crop, caption, zoom, or reframe it for short-form, the softness shows up quickly.
If a converter claims it can turn weak source footage into true Full HD, treat that as advertising.
Why does audio quality sometimes get worse?
Many converters chase speed, not clean output. Some grab a lower-bitrate audio stream. Others compress the soundtrack again during download or merge audio and video poorly. The result is thin voice, swishy music, sync drift, or all three.
Check audio before you start editing. Ten seconds of listening can save half an hour of fixing a file that was bad from the start.
How do you reduce safety risk with free tools?
Free tools are not automatically unsafe, but anonymous ones often are. A few habits cut the risk:
- Leave sites that trigger pop-ups and fake download buttons: Redirect chains and misleading UI usually signal a low-trust tool.
- Prefer software or services with a visible company behind them: A known publisher is easier to vet than a converter with no contact details or reputation.
- Refuse extra permissions you do not need: Browser notifications, extensions, and system access requests are common red flags.
- Keep business accounts separate: Do not log in with your channel, Google account, or client credentials unless you trust the provider and understand why the login is required.
- Scan the downloaded file if anything feels off: That extra check is worth it, especially on a production machine.
What is the responsible use case?
Use conversion to support a legitimate production workflow. That usually means downloading your own uploads, approved source files, or licensed footage so you can edit, annotate, resize, archive, or republish it in a new format.
The standard is not "Can I get the file?" The better question is "Can I turn this into something original and defensible?" Commentary, analysis, education, internal review, client revisions, and repackaging your own long-form videos into shorts all have a clearer purpose than reposting a clip with no added value.
That line matters creatively too. Source footage is only the starting point. The finished piece should reflect your edit, your framing, and your reason for publishing it.