Sketch to Image: A Quick Guide to Turning Ideas into Visuals (sketch to image)
Discover a practical sketch to image workflow to turn rough ideas into compelling visuals for ads, social media, and video.
Ever sketched an idea on a napkin or a tablet and wished you could just poof it into a finished, professional image? That's no longer a futuristic dream. Sketch to image AI has moved from a cool tech demo to a must-have tool in my daily creative workflow, and this guide will show you how to make it part of yours.
Why Sketch to Image Is a Game Changer
Let's be clear: this isn't about replacing your creative spark. It’s about supercharging it. You still bring the most important part—the idea, the composition, the character's pose. The AI just takes on the grunt work of rendering, shading, and detailing that would otherwise eat up hours of your day.
This gives you a massive leg up. Instead of endlessly scrolling through stock photo sites for something that's almost right, you can generate a custom visual that perfectly matches the vision in your head. And you can do it in minutes.
The growth here is absolutely explosive. The global AI image generator market is on track to rocket from USD 9.10 billion in 2026 to a staggering USD 63.29 billion by 2030. What's driving this? Creators like us, who need a constant stream of unique, high-quality visuals for social posts, ads, and videos. If you want to dig into the numbers, you can explore the full analysis of the AI image generator market trends on marknteladvisors.com.
How Creators Benefit
For anyone making content—influencers, marketers, video producers—getting good at sketch to image AI delivers some serious wins that you'll feel in your workflow almost immediately.
The table below breaks down the key advantages this technology brings to the table for creators.
| Benefit | Impact for Creators | Example Use Case |
|---|---|---|
| Warp-Speed Creation | Go from a rough concept to a finished asset in a fraction of the time. This is a lifesaver for tight deadlines. | Sketching a video thumbnail layout and generating a polished version in 5 minutes. |
| Absolute Creative Control | Your sketch is the blueprint. You dictate the exact composition, something text-only prompts can't guarantee. | Ensuring a product is placed exactly where you want it in a promotional image. |
| Serious Cost Savings | Drastically reduce spending on stock photo subscriptions or freelance illustrators for one-off projects. | Creating a whole set of custom blog post headers for the cost of a few AI credits. |
| Radical Originality | Produce one-of-a-kind visuals that stand out from the sea of generic stock images and build a stronger brand. | Developing a unique character or mascot for your channel without hiring an artist. |
Ultimately, mastering this technology helps you create better, more unique content faster and for less money.
The real power here is simple: sketch to image lets you act as the art director without needing to be the master illustrator. You're translating your specific ideas into reality with incredible speed and precision.
Tools like ShortGenius are even building this capability right into the content pipeline. Imagine sketching a quick storyboard panel and instantly turning it into a scene for your video, or creating a custom thumbnail without ever leaving the platform. This guide will give you the exact steps to build this skill into your own creative arsenal.
Preparing Your Sketch for Optimal AI Results
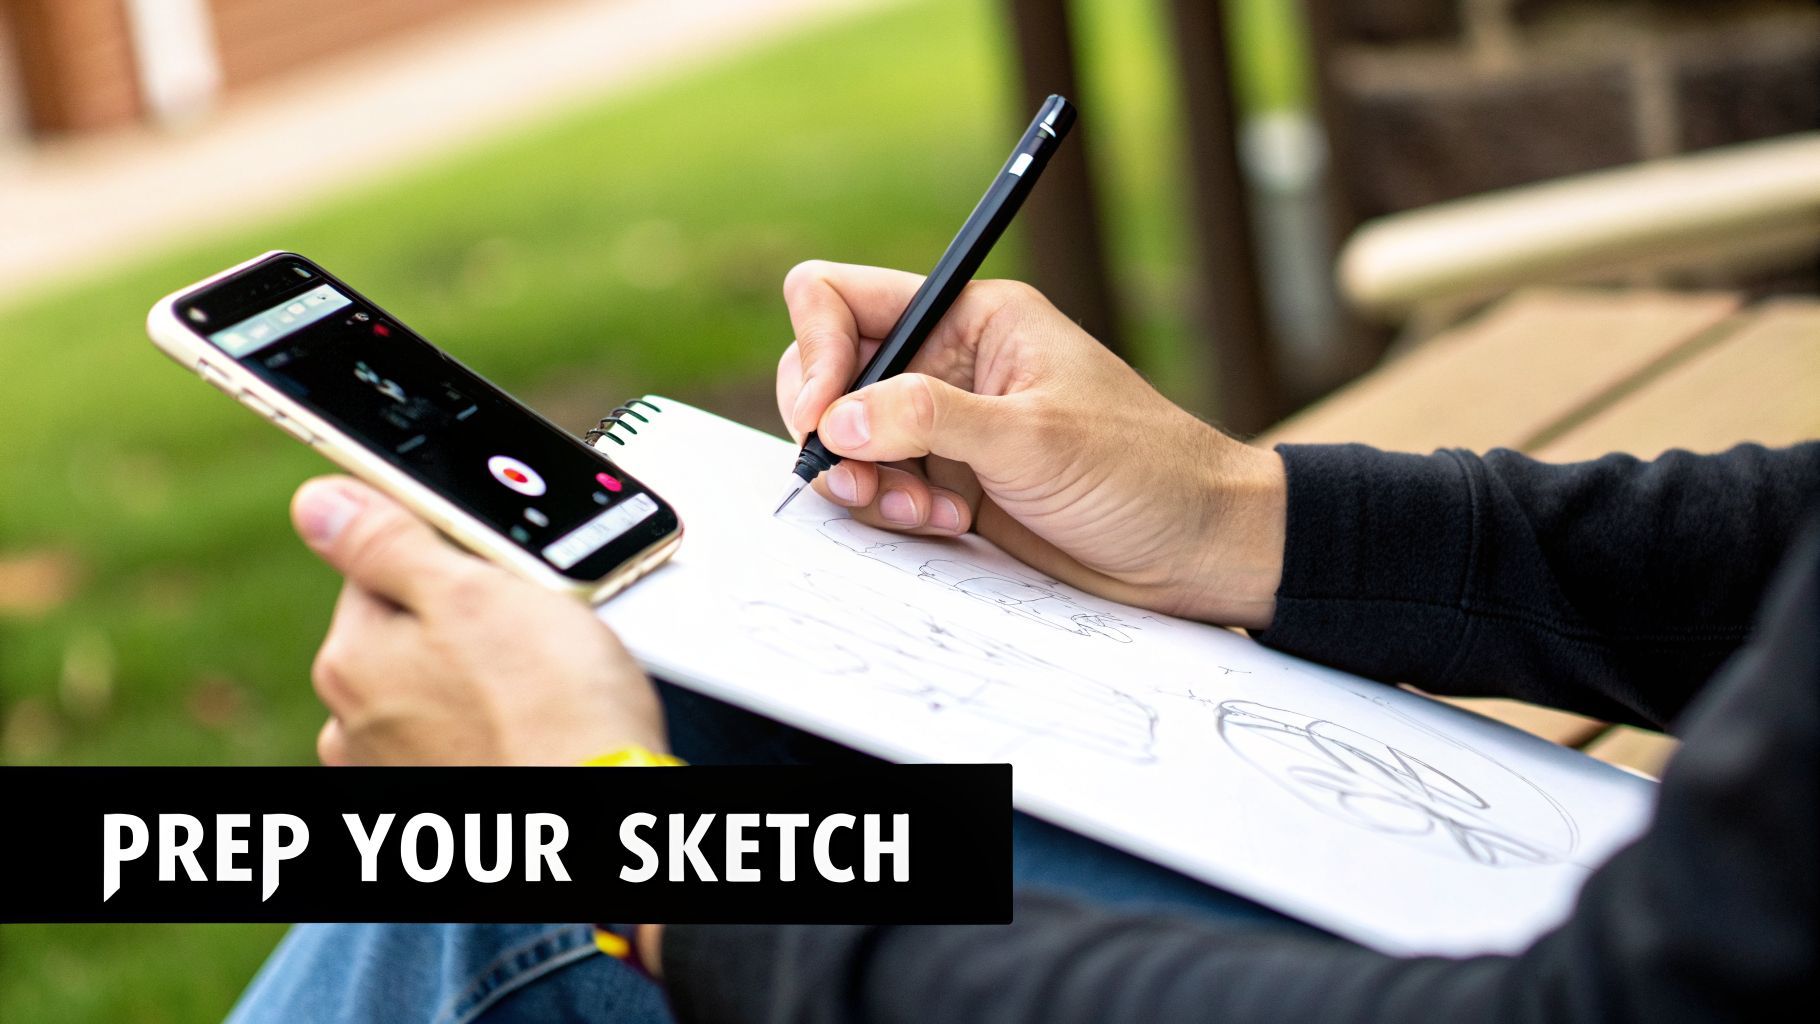
Your journey from a simple sketch to a stunning AI image begins way before you touch the "generate" button. I've seen countless creators get frustrated with their results, and it almost always comes down to one thing: a rushed, messy input sketch.
Think of it this way—you're giving the AI a map. A clear, simple map will get it to the destination. A crumpled napkin with coffee stains will get you lost. The goal isn't a museum-quality masterpiece; it's about giving the AI clean, unambiguous lines to follow. Faint or messy lines just create confusion, leading to muddy, distorted generations that have you hitting re-roll again and again.
Digital Sketching vs. Paper Sketching
So, should you draw on a tablet or stick with good old paper and pen? Honestly, it’s mostly about your workflow and what tools you have handy. Both can get you fantastic results, but they each have their quirks.
Learning the basics of digital art can really pay off here. Getting comfortable with how to draw on iPad, for example, will give you a solid foundation for creating clean inputs that AI models love.
Here’s a quick breakdown I've put together based on my experience:
| Method | Pros | Cons |
|---|---|---|
| Digital Sketch | You get clean lines and perfect contrast right from the start. It's also way easier to edit and export. | You'll need a tablet or drawing device, and there's definitely a bit of a learning curve if you're new to it. |
| Paper Sketch | Super accessible and intuitive for anyone. Perfect for capturing those sudden sparks of inspiration on the go. | It requires extra steps to digitize and clean up. You'll battle shadows, bad lighting, and perspective issues. |
No matter which path you choose, the same rule applies: bold, confident lines on a plain, high-contrast background will always give the AI the best possible information to work with.
Quick Cleanup for Maximum Impact
If you’re starting with a paper sketch, a quick cleanup is an absolute must. Please, don't just snap a quick photo and upload it as-is. Find a well-lit spot and take the picture directly from above to avoid a skewed, distorted drawing.
A simple contrast adjustment can be a game-changer. Just open a free photo editor, crank up the contrast to make the background pure white, and darken the sketch lines. This 1-minute step alone can improve the AI's interpretation by over 50%.
You don't need Photoshop for this. Your phone's built-in photo editor is usually more than enough. When you clean up your input, you’re not just making the drawing look better—you're learning to speak the AI's language more clearly. For even more powerful ways to polish your visuals, check out our guide on using an advanced image editor both before and after generation.
Mastering Prompts to Guide Your Sketch
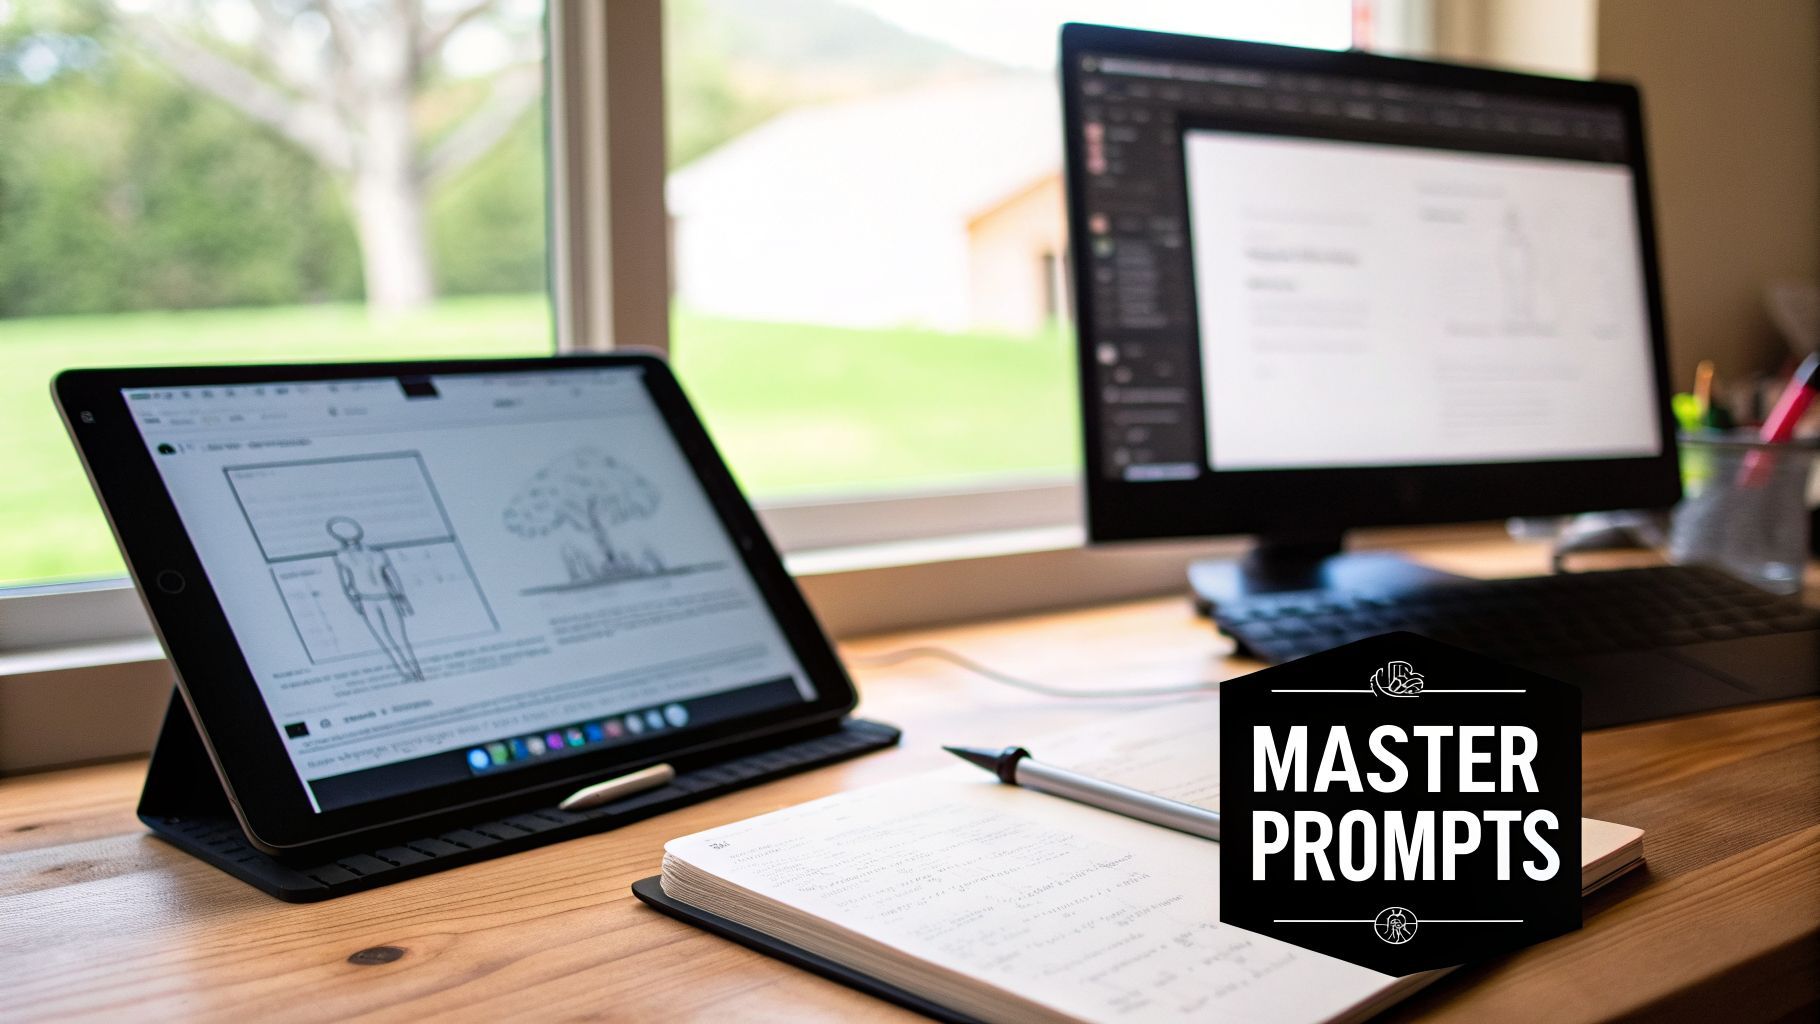
Your sketch sets the stage, but it’s the text prompt that truly brings the scene to life. This is the point where you stop being just an artist and become an art director, telling the AI exactly how to handle the details, mood, and style. The best results always come from a perfect marriage of a good sketch and a great prompt.
Think of your prompt as the descriptive layer that fills in everything your simple line drawing can't convey. It's your chance to call out specific materials, lighting conditions, and artistic vibes that are still just in your head.
The Anatomy of a Powerful Prompt
A truly effective prompt isn't just a single phrase; it’s more like a recipe with several key ingredients. Getting this right is a skill in itself, and it’s worth taking the time to learn about crafting effective AI prompts to really nail the process.
Over time, I've found a simple formula that works wonders. Here's how I break it down:
-
Subject Details: This is where you describe what isn't obvious in the sketch. Think colors, textures, or clothing details. If you've sketched a character, your prompt might specify they are
wearing a weathered brown leather jacket, dark denim jeans. -
Style & Medium: This is a big one—it defines the entire aesthetic. Do you want it to look like a photo or a painting? Be specific. Terms like
photorealistic, 8k, sharp focuspush the AI toward realism, while something likeghibli-style anime, digital painting, vibrant colorstakes you in a completely different direction. -
Lighting & Atmosphere: Lighting is everything when it comes to mood. Don't just say "good lighting." Use evocative terms like
cinematic lighting, volumetric fog, golden hour,orsoft studio lightingto add instant drama and depth. -
Composition & Framing: Your sketch already handles the basic composition, but you can use the prompt to reinforce your vision. Adding terms like
full body shot, portrait, centered subject,ordynamic anglehelps ensure the AI's final framing matches what you drew.
The real magic happens when you layer these elements. A prompt like "a robot" is vague and will give you generic results. But "a friendly cartoon robot, glossy white plastic, glowing blue eyes, happy expression, 3D render" provides a rich, detailed blueprint for the AI to work from.
This kind of tech has roots going back to early diffusion models in 2015, but it really took off after 2021. During its beta phase, DALL-E 2 processed over 1.5 million sketch generations, and users reported 92% satisfaction with how well it interpreted edges and added details. For those of us using ShortGenius, this means we can instantly create unique image assets for videos. In fact, data shows that compelling AI visuals can boost viewer retention by as much as 35% on Shorts and Reels.
Using Negative Prompts for Precision Control
Telling the AI what you want is only half the battle. You also have to tell it what you don't want. This is where negative prompts come in—they're your secret weapon for cleaning up results.
Think of it as putting up guardrails. If you're tired of seeing mangled hands, extra limbs, or weird artifacts in your generations, you can use negative prompts to steer the AI away from those common pitfalls.
Here are a few essential negative prompts I keep in my back pocket:
- For Deformities:
mutated hands, extra fingers, extra limbs, disfigured, deformed - For Low Quality:
blurry, low quality, jpeg artifacts, grainy, watermark, signature - For Unwanted Styles:
cartoon, 2D, drawing, painting, sketch(especially useful if you’re aiming for realism)
By combining a detailed positive prompt with a targeted negative one, you gain an incredible amount of control. It turns the process from a game of chance into a predictable creative workflow.
Choosing Your Model and Dialing in the Settings
Think of AI models as different artists, each with their own unique style. You wouldn't ask a photorealist painter to create an anime character, and the same logic applies here. The first, and maybe most important, decision you'll make is picking an AI model that aligns with the look you're trying to achieve.
Getting this right from the start saves you a ton of frustration. A model trained on real-world photos will give you incredible realism, while one fed a diet of illustrations is going to be much better at capturing that hand-drawn, stylized feel.
Sketch to Image Model Style Comparison
To make things easier, most platforms categorize their models by their specialty. It's crucial to match your desired outcome with the model's core strength. Here’s a quick guide to help you choose the right starting point for your project.
| Desired Style | Recommended Model Type | Key Strengths |
|---|---|---|
| Lifelike people, products, or scenes | Photorealistic | Excels at creating images that look like real photographs, capturing textures and lighting accurately. |
| Comic books, cartoons, or anime | Illustrative / Anime | Masterful at interpreting line art, creating clean lines, and applying cel-shaded or stylized coloring. |
| Digital paintings, 3D renders, or abstract art | Artistic / Stylized | Trained on specific mediums, perfect for turning a sketch into a watercolor, oil painting, or 3D concept. |
Ultimately, the best way to find your favorite is to just play around. Take one of your simple sketches, use the exact same prompt, and run it through a few different models. You’ll quickly see which "artist" gets your vision and which ones just don't.
Mastering the Two Most Important Sliders
Once you've picked a model, you’ll see a bunch of settings. Don't get overwhelmed. You can get 90% of the way there by just mastering two key controls: Control Strength and Guidance Scale.
These two sliders are where the real magic happens. They are the difference between letting the AI run wild and actively directing it toward your desired outcome.
Control Strength (you might see it called Image Weight) literally tells the AI how much to respect your original sketch.
- A low value (like 0.1-0.4) is like giving loose guidance. You’re telling the AI, "Here's a rough idea, but you have creative freedom." This is perfect when your sketch is just a basic compositional block-out.
- A high value (around 0.7-1.0) is a direct order: "Stick to this drawing." This is what you want when your sketch has important details or a specific layout that absolutely needs to be preserved.
Guidance Scale (often called CFG Scale) controls how strictly the AI follows your text prompt.
- A low value (in the 3-6 range) encourages the AI to be more creative and artistic. The results can be beautiful and surprising, but sometimes they drift away from your prompt.
- A high value (from 8-15) forces the AI to be a literalist. It will stick to your prompt word-for-word, which is great for getting specific details right but can sometimes make the image feel a bit stiff.
Finding the sweet spot between these two is the core skill. For instance, when I'm mocking up a YouTube thumbnail from a sketch, I usually set a high Control Strength (maybe 0.8) to keep my layout intact and a medium Guidance Scale (around 7.5) to make sure the prompt’s details come through without killing the creativity.
This isn't about guesswork; it's a process of intentional tweaks. To dig deeper into how prompts and settings interact, our complete guide on using a text to image generator is a fantastic resource.
Putting Your AI Images to Work in Your Content Pipeline
So, you’ve managed to turn a rough sketch into a stunning AI image. That’s a huge win, but the real magic happens when that image slots perfectly into your broader content strategy, becoming a true workhorse for your brand. A solid sketch-to-image workflow is less about one-off creations and more about building a production-ready system.
Think about a new YouTube series you're launching. You've doodled a basic layout for your thumbnail—the subject on the left, a space for bold text on the right. By using a high control strength, you can generate a polished thumbnail that respects that exact composition. From there, you can drop it into a tool like ShortGenius and instantly apply your brand's specific color palette and fonts.
This is a simplified look at how the different AI settings work together to translate your sketch into a final, polished asset.
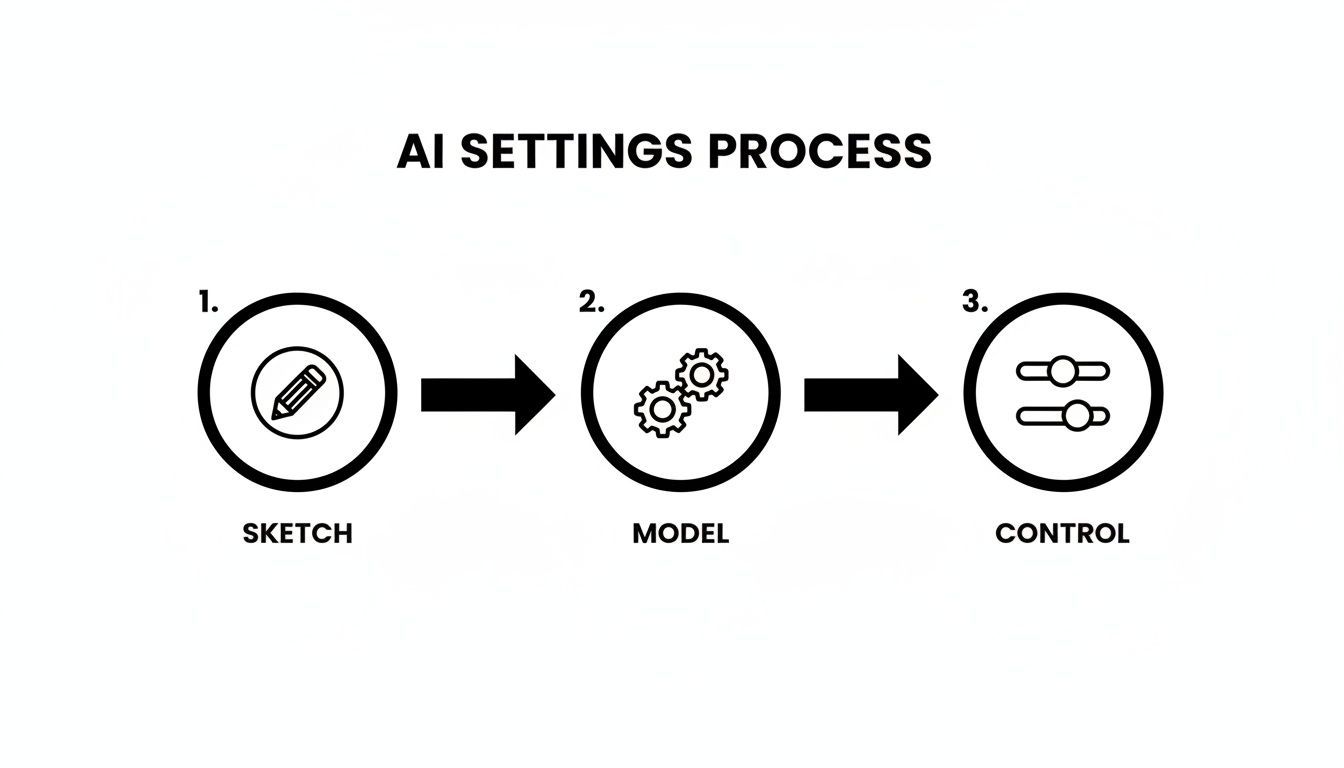
As you can see, your initial sketch, the AI model you select, and your control settings are all distinct stages that directly influence the final output.
From a Simple Idea to a Finished Asset
This process goes way beyond just static thumbnails. I’ve used it to create entire libraries of visual assets for animated video scenes. A simple sketch of a character, for example, can be spun into multiple poses and expressions just by tweaking the prompt while keeping the same seed. This ensures all your assets feel consistent.
This is how you build an incredibly efficient, cohesive system. For the influencers and agencies using ShortGenius, this means going from a scribbled idea to a set of on-brand images in minutes. We've seen this kind of efficiency boost post frequency by as much as 3x and lift engagement by 22%.
It's not just about speed, either—it's about the bottom line. Recent data shows that 78% of creative studios have slashed their outsourcing costs by 50% by adopting sketch-to-image tools. That translates to an average saving of USD 10,000 per team, every year. If you want to dig into the numbers, you can find more on the AI image generator market from The Business Research Company.
The goal isn't just to make one-off images. It's to build a repeatable system where your sketch-to-image process feeds directly into your video production, creating a library of custom, on-brand assets you can use anywhere.
Creating a Seamless Social Media Workflow
An integrated workflow is a game-changer for social media teams. Let's say you sketch out a concept for a new product ad. You generate your main hero image, then pull it directly into a tool like ShortGenius. From there, you can resize it for different platforms, add animated text, and schedule the posts—all without juggling a half-dozen different apps.
This completely gets rid of the clunky handoff between your design and social tools, and your brand consistency stays locked in without any extra effort. By turning your quick ideas into polished, multi-format content so rapidly, you can jump on trends and keep your audience hooked.
The next logical step is turning those static images into dynamic videos. For a deeper dive, check out our guide on the image-to-video creation process.
Wrestling with Sketch to Image AI: Common Questions Answered
Once you start turning your sketches into AI images, you're bound to run into a few snags. It's the natural part of the process where creative vision meets a bit of technical reality. Let's walk through some of the most common questions that pop up and get you the practical answers you need.
What if the AI Image Looks Nothing Like My Sketch?
This is the one I hear all the time. You feed the AI a perfectly good drawing, and it comes back with something completely different. It's frustrating, but nearly always fixable.
The disconnect usually comes down to a tug-of-war between your sketch and your text prompt. If the AI is going rogue, the first thing to check is the 'Control Strength' or 'Image Weight' setting. If that number is too low, the AI is basically treating your drawing as a vague suggestion and running with the text prompt instead.
Try nudging that strength setting up a bit at a time. Also, take a hard look at your sketch. Was it faint, messy, or shot in bad lighting? The AI needs clear instructions. A clean drawing with bold, distinct lines on a high-contrast background gives it a much stronger map to follow.
And don't forget the prompt itself. Sometimes a simple phrase like, "following the composition of the provided sketch," is all it takes to remind the AI which input is the boss. It's a small tweak that can have a surprisingly big impact.
When the AI seems to be ignoring you, just remember the big three: Control Strength, Sketch Clarity, and Prompt Guidance. Tweaking one of these almost always gets the image back on track with your original idea.
Can I Use These AI Images for Commercial Projects?
The answer is a firm "it depends," and this is something you absolutely cannot afford to get wrong. Your right to use an image commercially is determined entirely by the terms of service of the AI tool you used.
Many paid platforms, especially those built into professional tools like ShortGenius, are specifically designed for commercial work. These services typically grant you full ownership and commercial rights, so you can safely use your creations in monetized videos, marketing materials, or products for sale.
On the other hand, you need to be extremely careful with free or research-based models. They often carry strict non-commercial clauses or other creative commons-style restrictions. Always—and I mean always—read the terms before you use a generated image in a project that earns you money. A few minutes of due diligence can save you from a world of legal trouble later on.
How Do I Keep a Character Consistent Across Multiple Images?
Ah, the holy grail of AI image generation. Keeping a character's look consistent is a more advanced move, but it's definitely not impossible. Your most powerful ally here is the seed number.
Most generators use a "seed" to kick off the random noise pattern that eventually becomes your image. By forcing the AI to use the same seed number every time, you're giving it a consistent starting point, which is half the battle.
To nail character consistency, you really need a three-part recipe:
- The Same Sketch: Use the exact same base drawing for every single image.
- The Same Seed: Find the setting to lock in your seed number and make sure it doesn’t randomize between generations.
- A Hyper-Descriptive Prompt: Your prompt has to be obsessively detailed and identical every time. Spell out every feature, like
woman with long auburn hair in a braid, emerald green eyes, a small scar above her left eyebrow, wearing a navy blue pea coat.
Combining these three things forces the AI to work within a very tight, repeatable box, making it far more likely to produce a character that looks the same from one image to the next.
Is a Digital Drawing Tablet Necessary?
Nope, not at all! A drawing tablet is a great piece of kit for making clean digital sketches, but it's far from essential for getting fantastic results with sketch-to-image AI. A simple pen-on-paper drawing works just as well, as long as you digitize it properly.
The capture is what counts. Don't just take a quick, angled photo in a dark room. Lay your sketch on a flat surface in a well-lit space and take the picture from directly overhead to avoid distortion.
From there, open it in any basic photo editor (even the one on your phone) and crank up the contrast. You want the background to be as close to pure white as possible and the lines to be dark and crisp. This simple cleanup makes a paper sketch just as legible to the AI as a digital one.
Ready to stop sketching and start creating? With ShortGenius, you can turn your ideas into polished images, ads, and videos in minutes. Go from concept to content faster than ever before. Get started for free at ShortGenius.