How to Replace Video Audio for Pro-Level Content in 2026
Learn how to replace video audio with new music, voiceovers, or effects. Our guide covers AI tools and advanced techniques for a polished, professional sound.
Knowing how to replace video audio is one of those skills that seems purely technical at first, but it's actually a massive creative advantage. It's how you fix bad audio, sure, but it's also how you can breathe new life into old content, localize ads for different countries, or add a fresh soundtrack—all without ever needing to reshoot.
Why Replacing Video Audio Is a Creative Superpower
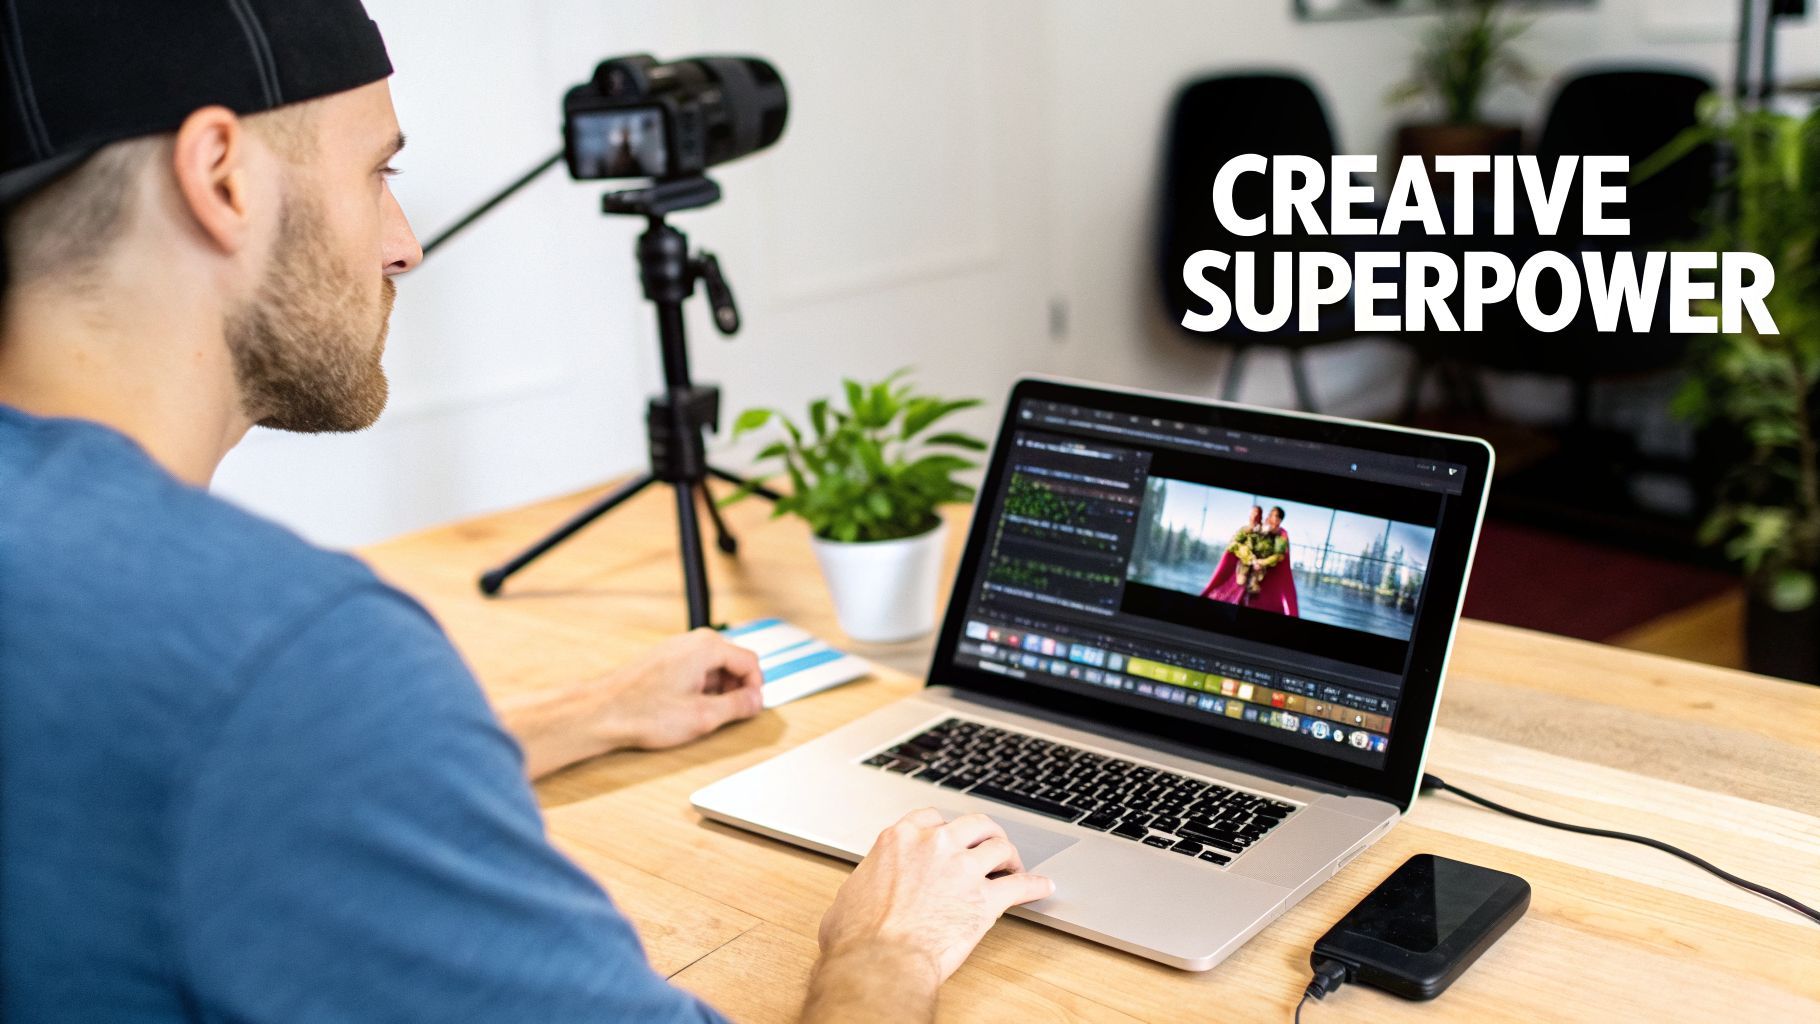
Think of your footage as a flexible visual canvas. The audio is what gives it context, emotion, and a clear purpose. Once you get the hang of swapping out that audio, you can completely repaint that canvas over and over again. This goes way beyond just fixing a clip where the wind noise was too loud. It's about unlocking a ton of creative options.
This skill is a game-changer for keeping content relevant. Let's say you have a great tutorial from a year ago that’s starting to feel a bit stale. Just by switching out the old background music for a track that's trending on TikTok or Instagram Reels, you can give it an instant refresh and a second shot at going viral.
Unlocking New Markets and Audiences
Here's where it gets really powerful: content localization. Imagine you've created a slick, high-performing video ad. Instead of re-filming it for ten different countries, you can just replace the English voiceover with narrations in Spanish, German, or Japanese. This is a huge time and money saver, letting one video asset connect with audiences all over the world.
Another big win is the ability to A/B test your audio. An e-commerce brand could run two versions of the same product ad. One might have a high-energy, upbeat voiceover, while the other uses a calmer, more reassuring tone.
By tracking which version gets more clicks or sales, the brand can make decisions based on real data, not just guesswork. That’s a powerful strategy that’s only possible when you can easily swap the audio.
Maximizing Your Content Library
This skill also helps you get more mileage out of the footage you already have. A travel vlogger can take a folder of beautiful B-roll from an old trip and spin up a completely new video just by adding a new voiceover and a different music track. Suddenly, those old visuals have a fresh story to tell.
What was once a single piece of content becomes a reusable asset. Whether you're looking to create better ads with an AI ad generator or just update your evergreen content, replacing audio is a fundamental skill. It instantly bumps up your production value, extends the life of your content, and keeps your audience engaged.
Your Go-To Toolkit For A Perfect Audio Swap
Before you even touch your timeline, the most crucial part of replacing a video's audio is getting your assets in order. Trust me, a little prep work upfront saves a mountain of headaches later. It’s the difference between a frustrating, messy edit and a smooth, professional workflow.
Think of it like this: you need three core ingredients. Your original video file, the new audio you plan to use, and the right software to marry them together. Let's break down how to get these organized like a pro.
Gathering Your Audio Sources
The new audio is what will give your video its soul, so don't skimp on quality. Whether it's a voiceover, a music track, or sound effects, your choice here defines the entire mood of the final piece.
- Royalty-Free Music: For most creators, services like Epidemic Sound or Artlist are a lifesaver. They have massive libraries of incredible music without the legal tangles of licensing. You can find pretty much any vibe you're looking for.
- Custom Music: If you need something totally unique to your brand, hiring a composer is a powerful move. It's a bigger investment in time and money, but the result is a sonic identity that's all yours.
- AI Voiceovers: When you need clean, clear narration fast, AI voice generators are shockingly good. Platforms like ShortGenius can create natural-sounding voiceovers in just a few minutes, making them perfect for tutorials, ads, and social clips where clarity is everything.
And if you're going the DIY route and recording your own voiceover, the microphone you choose makes all the difference. Spending some time learning about the best vocal microphone for your needs can elevate your audio quality from amateur to professional.
Choosing Your Editing Platform
Your editing software is the digital workbench where the magic happens. The right choice really boils down to what you value more: total control or sheer speed.
A fascinating study revealed that viewers are more bothered by poor audio quality than they are by low video quality. This really hammers home why sourcing good audio and using the right tools is non-negotiable for keeping your audience hooked.
Traditional video editors like DaVinci Resolve or Adobe Premiere Pro give you microscopic control. You can manually tweak every single detail, which is great for complex projects. On the other hand, AI-powered platforms are built for speed and simplicity.
To help you decide, here's a quick look at how they stack up.
Audio Replacement Tool Comparison
| Feature | Traditional Editors (e.g., Premiere Pro) | AI Platforms (e.g., ShortGenius) |
|---|---|---|
| Control | Granular, manual control over every track, keyframe, and effect. | Automated syncing and simplified controls for quick results. |
| Speed | Slower, more methodical workflow requiring technical skill. | Extremely fast, designed for rapid content creation. |
| Learning Curve | Steep learning curve with a complex interface. | Intuitive and beginner-friendly, often with guided steps. |
| Best For | High-end productions, detailed sound design, experienced editors. | Social media content, marketing videos, quick turnarounds. |
Ultimately, the best tool is the one that fits your project. If you're a seasoned editor working on a feature, Premiere Pro is your sandbox. If you're a marketer needing to pump out 10 social videos by Friday, an AI platform is your best friend.
And speaking of a platform's capabilities, if you’re looking to do more than just swap audio, you might find our image to video generator guide useful for creating dynamic videos from static images. Getting this foundation right is the first and most important step to a successful audio replacement every single time.
Alright, you’ve got all your files ready to go. Now for the fun part: the actual audio swap. This is where the magic happens, and it’s less about having some kind of technical wizardry and more about being clean and methodical in your editing.
The core idea is simple, whether you're in a classic video editor or using a slick AI tool. First, we need to create a silent canvas by getting rid of the original audio. Then, we'll paint that canvas with our new sound.
Getting a Clean Slate: Removing the Original Audio
Once your video clip is sitting on the timeline, you’ll notice the video and audio tracks are usually "linked." They move together as a single unit. Our first real move is to break that bond.
To do this, you’ll want to either mute or completely detach the original audio. Most editors make this pretty straightforward. Just right-click the clip on your timeline and look for an option like "Unlink" or "Detach Audio."
This pops the audio out onto its own separate track, completely independent of the video. From there, you can just select it and hit the delete key. Poof. It’s gone.
Alternatively, if you're in a hurry or think you might want to reference the original sound later, just find the "mute" button for that track. This is a great non-destructive way to work, as it just silences the audio without deleting it.
A Quick Tip from the Trenches: Before you delete that detached audio track, do one last listen-through. As you listen, drop markers on your timeline at key moments—like right when someone starts talking or when a specific action happens on screen. These markers will be invaluable visual guides for syncing your new audio later.
This workflow is the heart of any audio replacement project. You take your raw inputs, use the editor as your central toolkit, and combine them into a finished product.
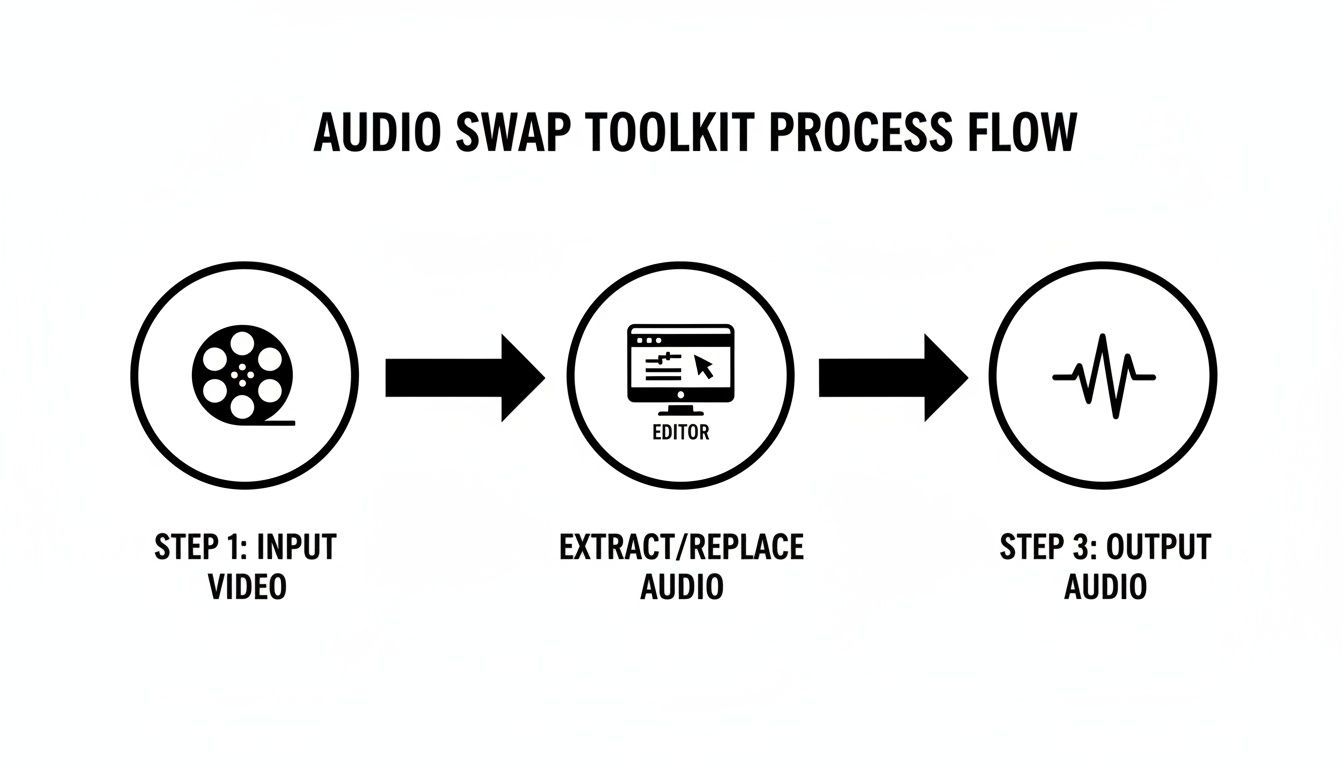
As you can see, the editor is where all the individual components come together to create a single, unified experience.
Laying Down and Syncing Your New Audio
With the old sound gone, you’re left with a silent movie. Let's bring in the new sound. Import your new audio file—be it a voiceover, music, or sound effects—into your project. Then, just drag it onto the timeline, typically onto a fresh audio track right below your video.
Now for the part that requires a bit of finesse: syncing. The goal is to make sure your new audio perfectly aligns with the visuals. Your best friend for this task is the audio waveform. This visual map shows you the loudness of your audio over time; the peaks are loud sounds, and the valleys are quiet moments.
If you’re adding narration, for example, you can visually match the start of the waveform to the exact moment the speaker appears on screen or when a title card pops up. When it comes to narration, knowing how to add voice over to your video is a foundational skill, and a huge part of that is mastering the art of synchronization.
Trimming and Fading for That Polished Finish
I can count on one hand the number of times an audio track has been the perfect length right out of the box. You'll almost always need to do some trimming and polishing to make it fit seamlessly.
- Trimming: If your new audio track runs long, simply grab the end of the clip and drag it inward until it lines up with the end of your video.
- Looping: If the audio is too short (a common issue with music beds), you can often just copy and paste the clip back-to-back. The trick is to find a natural looping point, like the end of a musical phrase, to make the transition unnoticeable.
- Fading: Nothing screams "amateur" like an abrupt audio cut. Always add a short "fade in" at the beginning and a "fade out" at the end. Most editors let you do this by dragging a small handle on the clip itself or by using keyframes for more precise volume control.
For instance, if you're building suspense for a product reveal, you could have your music track start silently and then swell in volume right as the product comes into view. It’s these small touches that separate good content from great content.
By focusing on these three phases—detaching the old, aligning the new, and polishing the finish—you’ll be able to replace video audio with confidence every single time.
The AI Workflow for Effortless Audio Replacement
While manually editing your video's audio gives you absolute control, let's be honest—it isn't always practical. Speed and scale are often the name of the game, especially for marketers and creators who are under constant pressure to get more content out the door, faster. This is exactly where an AI-powered workflow can completely change how you approach audio replacement.
Think about a common scenario: you're a social media manager who needs to spin up five different versions of a new video ad, and your deadline is today. With a traditional editor, you'd be looking at a mountain of work—recording, syncing, and exporting each variation one by one. It’s a huge time sink.
A Smarter Way to Work
An AI tool like ShortGenius turns that multi-step headache into a streamlined process. Instead of juggling different software for audio and video, you get a single, cohesive production line that lets you focus more on creative ideas and less on tedious technical tasks.
It all starts by uploading your finished video. From there, a ‘Voice Swap’ feature becomes your creative command center. This isn't just about dropping in a new audio file; it’s about generating entirely new voiceovers right inside the platform.
This approach can shrink your production time from hours down to a few minutes. If you're A/B testing ad creative or localizing a video for different countries, the efficiency boost is massive. You can test a calm voice versus an energetic one, or a male voice against a female one, without ever leaving the tool.
For instance, you could generate a confident American accent for one version, a warm British voice for another, and a friendly Australian one for a third—all in just a few clicks. The AI handles the syncing automatically, so the new voiceover lines up perfectly with the action on screen.
Here’s a glimpse of how you can manage the whole creative cycle in one place.
This kind of interface shows that modern tools have evolved past simple editing. They’re becoming complete content production hubs where you can manage scripts, voices, and visuals all in one workspace.
Beyond Audio: The Full Social-Ready Post
This integrated workflow doesn't just stop at swapping the audio. For social media, the next step is just as critical: adding captions. A good AI platform will automatically generate and sync captions from your new voiceover, which is essential for grabbing the attention of the 85% of viewers who watch videos with the sound off.
Within this same environment, you can knock out other crucial post-production tasks:
- Auto-Resizing: Instantly crop a 16:9 YouTube video into a 9:16 vertical format perfect for TikTok or Instagram Reels.
- Brand Kit Application: Quickly apply your company's logos, fonts, and brand colors to all your video variations for a consistent look.
- Scene Swapping: If a certain voiceover works better with different B-roll, you can exchange visual elements on the fly.
What used to be a daunting project—creating five unique, polished video ads—can now be done in less than an hour. This workflow connects the how of audio replacement with the strategic why of creating content at scale.
And if you want to take it a step further by building videos from the ground up, you might want to see how a text to video model can accelerate your entire content pipeline.
Advanced Techniques for Professional Sound Design
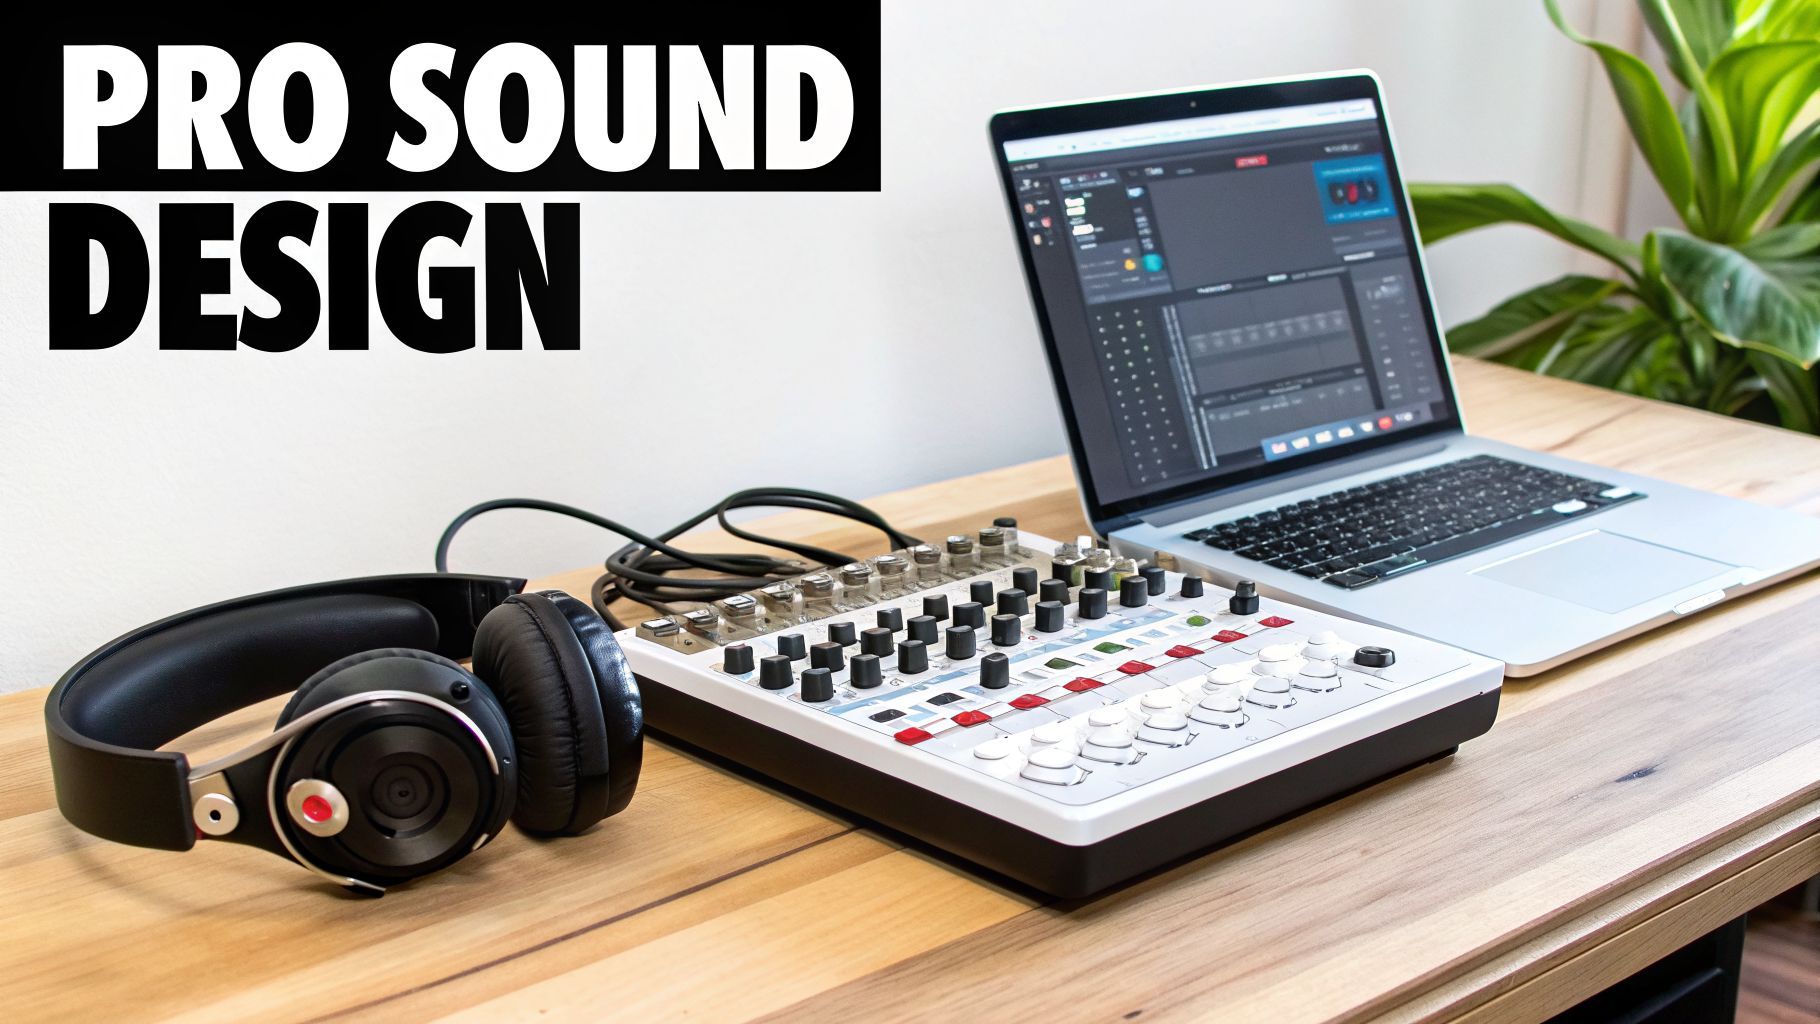 Once you've nailed the basics of swapping out a video's audio, you can start playing with the techniques that truly separate amateur edits from professional sound design. This is where you elevate the entire viewing experience, making your videos more immersive and emotionally impactful.
One of the most powerful tools in any editor's kit is audio ducking. It’s a simple concept: you automatically lower the volume of your background music or ambient sound whenever dialogue or a voiceover kicks in. This creates a polished, broadcast-quality feel, ensuring your spoken words are always crystal clear without you having to painstakingly adjust volume levels by hand.
For instance, think about a product demo video. With audio ducking properly set up, your upbeat music track is front and center during the slick visual shots, but it instantly and smoothly fades into the background the second the narrator begins to explain a feature. It's a small touch that makes a world of difference.
Cleaning Up and Enhancing Your Voiceover
Beyond just mixing tracks, you need to work on the voiceover itself. This is where an equalizer (EQ) becomes your best friend. An EQ gives you surgical control over specific audio frequencies, letting you shape the sound with precision.
Think of it as a highly advanced set of tone controls. You can use it to perform audio magic like:
- Remove Unwanted Noise: That low-frequency hum from a computer fan or air conditioner can be targeted and cut with an EQ, instantly cleaning up your recording.
- Add Vocal Clarity: A slight boost in the mid-to-high frequencies can add a professional crispness to a voice, making it pop.
- Fix "Muddy" Audio: If a recording sounds muffled or "boxy," an EQ can help you identify and reduce the problematic frequencies, brightening the entire track.
This level of control is how you can make a voiceover recorded in a home office sound like it was done in a professional studio.
Here's a pro tip I wish I'd learned sooner: great sound isn't just about what you add, but what you take away. Using an EQ to surgically remove distracting background noise is often more impactful than any fancy effect you can layer on top.
Achieving Consistent Volume and Impact
Another technique you'll find in every professional's workflow is compression. Ever watched a video where you have to keep reaching for the volume knob? One part is a whisper, and the next is a shout. Compression solves that problem.
A compressor works by automatically turning down the loudest parts of your audio and boosting the quietest ones. The result is a much more consistent and pleasant listening experience. Your audience won't miss a single word, and they won't have their eardrums blasted by a sudden spike in volume. For content destined for social media, where people watch on phones in all sorts of environments, compression is absolutely essential.
Finally, don't forget to build a richer world with sound effects (SFX). A subtle "whoosh" as text appears on screen, or a satisfying "click" when a button is pressed, makes your video far more engaging. These little sonic cues add personality and polish, making your content feel premium and thoughtfully produced.
Common Questions About Swapping Video Audio
Even the most straightforward workflow can throw you a curveball. When you're in the middle of a project, hitting a technical snag with your audio is the last thing you want. Let's walk through some of the questions I hear all the time so you can sidestep these common issues and keep your project moving.
Will I Lose Video Quality if I Replace the Audio?
This is a big one, but you can relax. Swapping out your audio track has zero impact on your video's visual quality. Think of the video and audio as two separate layers; changing one doesn't mess with the other.
Your video's sharpness and clarity are all determined during the final export. As long as you export your project with the same resolution (1080p, 4K), frame rate, and bitrate as your original footage, the video will look exactly as it did before you touched the audio.
What’s the Best Format for My New Audio?
For pure, unadulterated quality, you can't beat uncompressed formats like WAV or AIFF. They're the gold standard for professional sound work because they contain all the original audio data. The trade-off? The file sizes are huge and can sometimes bog down your editing software.
My go-to for most online video projects is a high-quality MP3 (at 320 kbps) or an AAC file. They strike the perfect balance between great sound and a manageable file size, and they work on pretty much any platform you can think of.
How Can I Get the New Audio Perfectly in Sync?
Getting that perfect sync is all about lining up audio and visual cues on your timeline. Your best friend here is the audio waveform.
Pull up the waveform in your editor and look for the obvious peaks—those are your loudest sounds. Now, match those peaks to the corresponding action on screen. For example, if you're adding a voiceover, you can line up the very beginning of the spoken waveform with the exact frame the person on screen starts to move their lips. Pro tip: Use your editor's "marker" tool to tag these key spots on both tracks. It makes snapping everything into place a breeze.
What if My New Audio Is Longer or Shorter Than My Video?
This happens all the time, and the fix is usually pretty simple.
- If your audio is too long: Just grab the trim tool in your editor and snip the end of the audio clip so it matches the video's length. I always recommend adding a quick fade-out to avoid an abrupt cutoff.
- If your audio is too short: With a music track, you can often just loop it. Find a natural break in the music, duplicate the clip, and line it up. If it's a voiceover that's too short, you may need to get a little more creative by adjusting the video's pacing—trimming a few seconds from one shot or slightly slowing down another can help everything align perfectly.
Ready to stop wrestling with complicated timelines and start creating more content, faster? ShortGenius combines AI voiceovers, auto-captioning, and powerful editing tools into one seamless platform. Sign up for free and experience the future of video creation today at https://shortgenius.com.