How to Zoom on Video a Guide to Perfecting Your Edits
Learn how to zoom on video with pro techniques. This guide covers editing software, AI tools, and playback tricks for creating flawless video zooms.
Ever noticed how some videos just feel more dynamic and professional? A lot of the time, the secret sauce is something surprisingly simple: a well-executed zoom. This isn't just a technical trick—it's a powerful storytelling tool. When used correctly, a zoom can guide your audience's focus, build suspense, and add a layer of polish that makes your content stand out.
Why Mastering the Video Zoom Drives Engagement
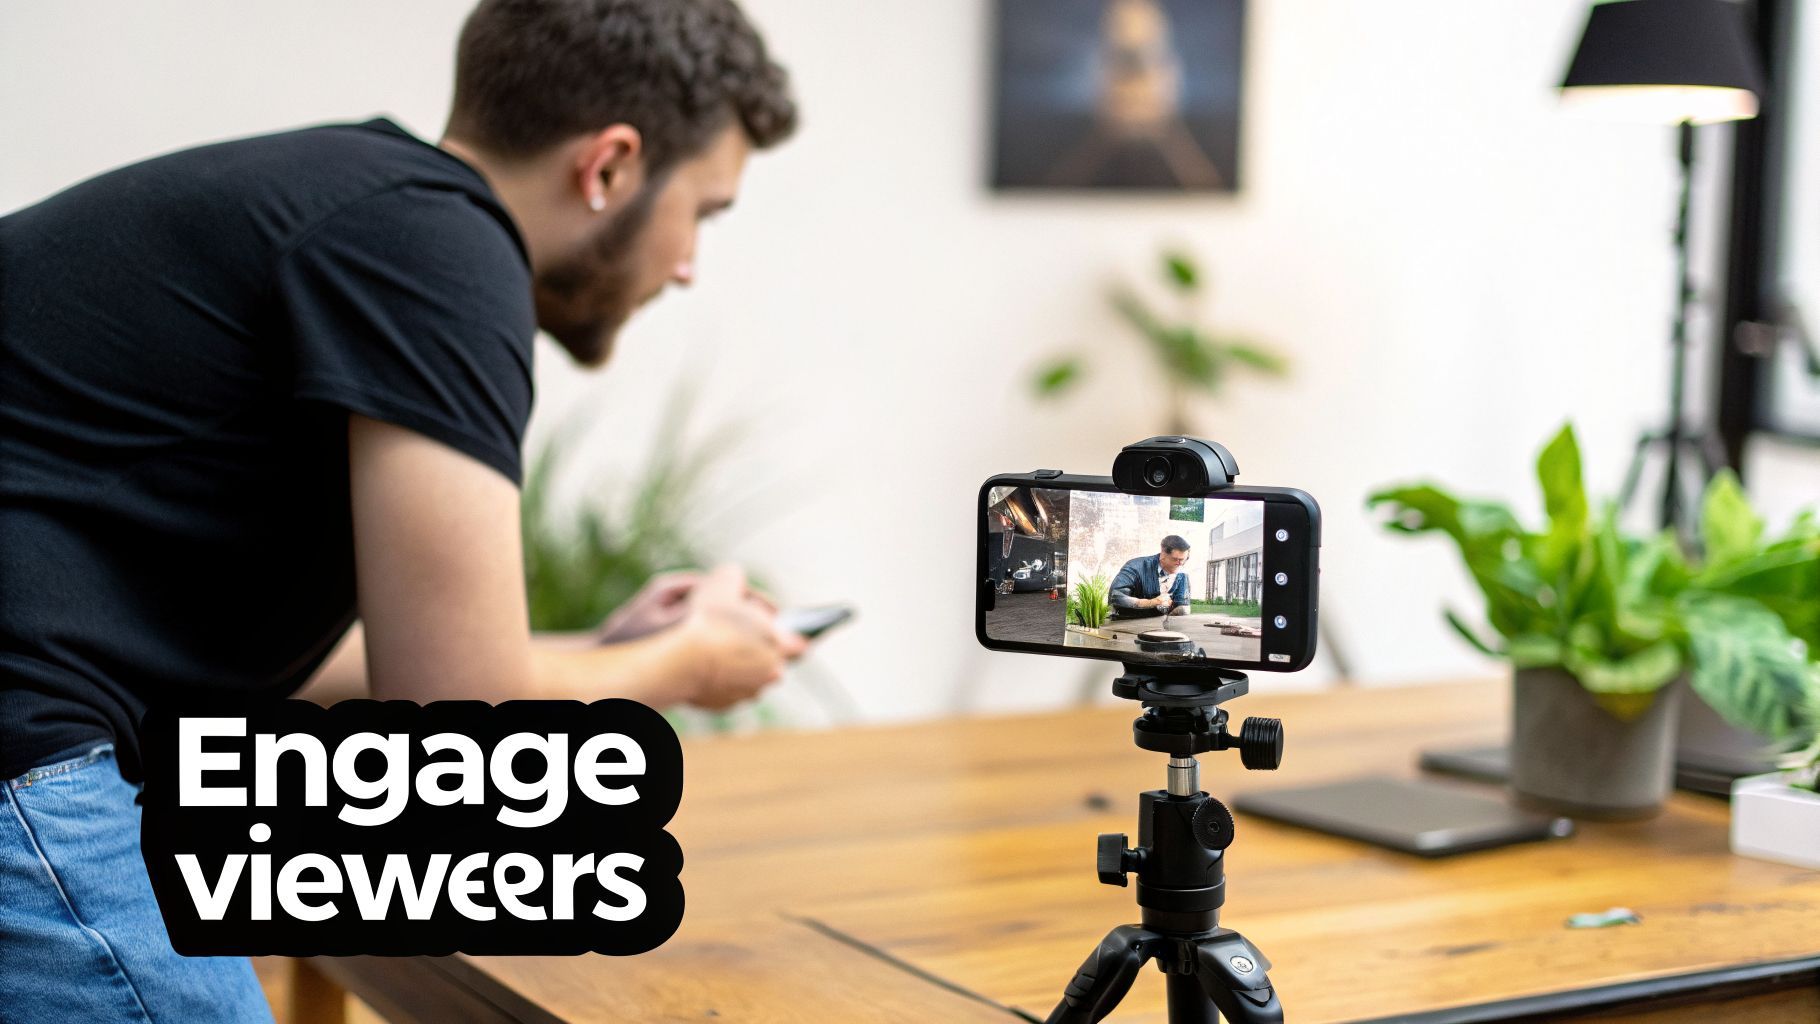
On crowded social media feeds, a perfectly timed zoom can be the one thing that stops someone from scrolling past your video. Learning how to zoom isn't just a technical skill; it’s an artistic decision that completely changes how your story is received. A slow, creeping zoom can create a palpable sense of tension. On the other hand, a quick punch-in can land a punchline or highlight a crucial detail.
Directing Viewer Attention
Your camera tells viewers where to look. A zoom is the most powerful tool you have to guide their eyes and command their focus. By magnifying a part of the frame, you’re essentially pointing and saying, "Look here. This is important." This is incredibly useful for:
- Highlighting specific product features in a demo video.
- Focusing on a person's reaction during a heartfelt interview.
- Drawing the eye to a critical detail in a how-to or tutorial.
Without that guidance, key information can easily get lost in a wide shot, and your message loses its punch. A good zoom ensures your audience sees exactly what you want them to see.
A zoom-in creates intimacy and highlights crucial details, while a zoom-out provides context and a sense of scale. Mastering both is key to versatile storytelling.
Adding Professional Polish
Let's be honest—a static shot can feel boring and amateurish. Even the slightest bit of movement can breathe life into your video and make it feel more polished and intentional. For creators on a tight schedule, tools like an AI ad generator often have built-in effects that apply these dynamic zooms automatically, giving you that professional feel without spending hours in an editor.
This guide will break down every method you have at your disposal. We'll walk through everything from using your camera's optical zoom while filming to applying advanced zoom effects in post-production. You'll get a complete roadmap to mastering this essential skill, including how to use game-changing AI tools like ShortGenius for maximum impact with minimal effort.
So, you want to zoom in on your video? It sounds simple enough, but how you do it makes a world of difference to the final quality. Before you even touch a button or a slider, it’s crucial to understand the different tools in your toolkit.
There are really three ways to get a closer shot, and each has its place. Choosing the right one depends on your gear, when you’re making the decision (during the shoot or in the edit), and the look you’re going for. Let's break down what each of these really means for your footage.
Optical Zoom: The Quality King
Optical zoom is the real deal. It’s a physical process where the glass elements inside your camera's lens actually move to magnify the scene. Think of it just like using a good pair of binoculars—the subject gets closer, but the image stays sharp and clear.
Because it’s all done with optics before the image even hits the sensor, this is a lossless zoom. You get tighter shots of faraway subjects with absolutely zero drop in quality. If you know you'll need to punch in on the action during a shoot—like capturing the subtle expressions of a keynote speaker from the back of a massive auditorium—having a camera with a powerful optical zoom is non-negotiable.
Digital Zoom: The Convenient Crop
Then there's digital zoom. This method doesn't involve any moving parts. Instead, your camera or phone just takes the middle part of the sensor's image and blows it up to fill the screen. It's really just an in-camera crop that happens in real-time.
While it’s handy in a pinch, that convenience comes at a steep price: image quality. You're just stretching the existing pixels, which almost always leads to a soft, pixelated, and generally unprofessional-looking result. It’s a feature to be used sparingly, if at all.
Post-Production Zoom: The Flexible Fix
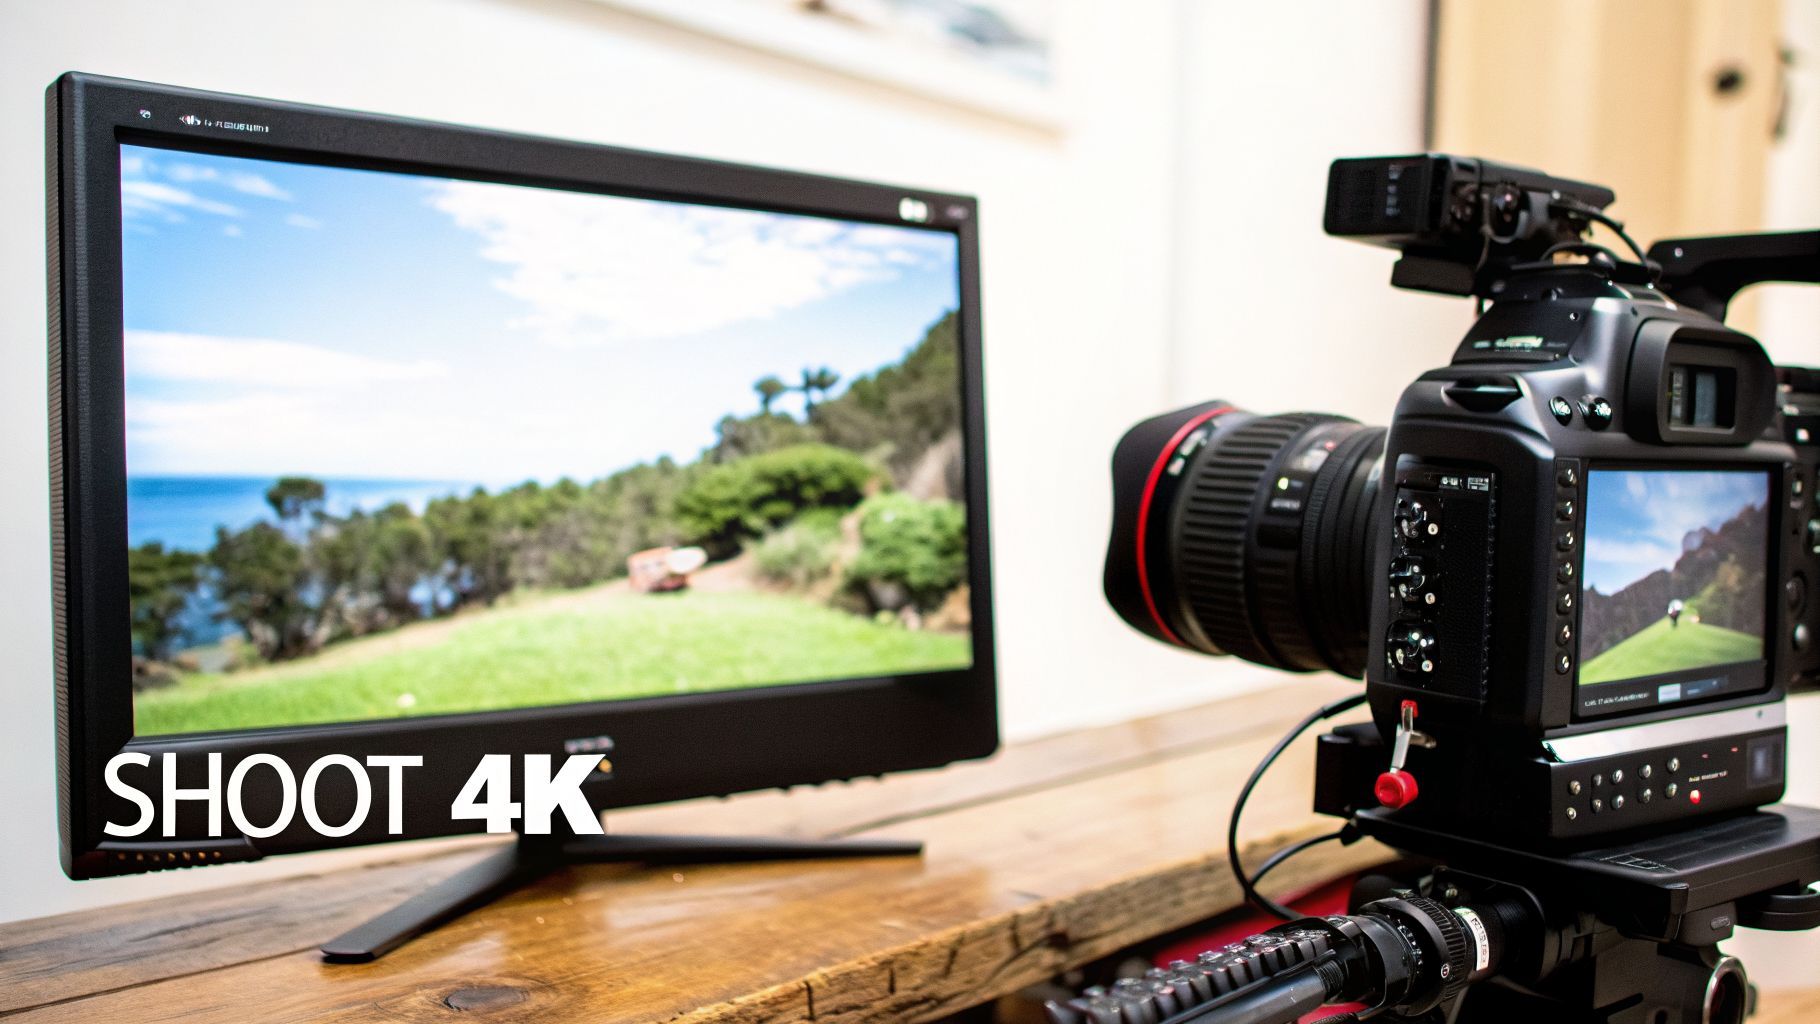
This brings us to the most flexible and forgiving option: the post-production zoom. This is also a digital zoom, but it’s one you perform with total control in your video editing software after the fact. The secret here is to shoot in a higher resolution than your final video will be.
For example, by recording in 4K but editing on a 1080p timeline, you have a huge canvas to work with. You can "punch in" significantly without any noticeable loss in quality because you have all those extra pixels to play with. This is a total lifesaver.
- Framed an interview shot a little too wide? Fix it in post.
- Want to add a slow, dramatic push-in to build tension? Create it with keyframes in your editor.
This kind of digital manipulation has evolved dramatically over the years. The core concept dates back to the 1870s, but it was really AT&T Bell Labs' video call in 1927 and a quirky 1-FPS webcam at Cambridge in 1991 that paved the way. You can even explore the full history of video communication evolution to see just how far we've come.
To help you decide which zoom method is right for your project, here’s a quick comparison.
Optical vs Digital vs Post-Production Zoom
| Zoom Type | How It Works | Quality Impact | Best For |
|---|---|---|---|
| Optical | Physical lens elements move to magnify the image before it hits the sensor. | None (Lossless). The image quality remains pristine. | Capturing high-quality close-ups of distant subjects during the shoot (e.g., wildlife, sports, events). |
| Digital | The camera crops a portion of the image from the sensor and enlarges it to fill the frame. | High (Lossy). Results in pixelation and softness. | Quick, casual shots on a smartphone when you can't get physically closer and quality isn't the top priority. |
| Post-Production | Digitally scaling the footage in video editing software. | Low to None (if shot in higher resolution). Cropping 4K footage for a 1080p video retains excellent quality. | Adding creative zooms, reframing shots, and fixing composition mistakes during the editing process. |
Ultimately, using a combination of a good optical zoom lens and shooting in a higher resolution gives you the best of both worlds: crisp quality in-camera and maximum flexibility in the edit.
Getting Creative with Zooms in Post-Production
While zooming in-camera has its place, the real magic happens in the editing suite. This is where you move from simply capturing a moment to directing the audience's focus with precision. When you zoom in post-production, you’re not just fixing a framing issue; you’re making a deliberate creative choice that can completely change the feel of a shot.
The basic idea is pretty simple: you’re working with the transform properties of your video clip, mainly its Scale and Position. By tweaking these values, you can digitally "push in" on the action. The trick to keeping things looking sharp is to start with high-resolution footage. If you shoot in 4K, you have a ton of extra pixels to play with, so you can zoom in quite a bit before you see any loss in quality.
From Simple Fixes to Dynamic Motion
The easiest way to reframe a shot is with a static zoom. Let's say you filmed an interview and it feels a little too wide. You can just scale the entire clip up to 115% or so to create a tighter, more personal frame. It’s a quick fix that holds for the whole shot.
But the real power lies in using keyframes. Think of a keyframe as a marker you place on your timeline that says, "At this exact moment, I want the clip to look like this." By setting a starting keyframe and an ending keyframe with different scale values, you can create a smooth, animated zoom.
It works like this: you find the point where you want a zoom to begin and set a keyframe for the Scale at 100%. Then, you move forward in your timeline to where the zoom should end and set another keyframe, this time increasing the Scale to something like 130%. Your editing software does all the heavy lifting, generating the frames in between to create a fluid motion.
Pro Tip: The distance between your keyframes controls the speed. If they’re close together, you get a fast, punchy zoom. If you spread them far apart, you create a slow, more dramatic push-in.
Add a Touch of Life with the Ken Burns Effect
One of my favorite techniques is the Ken Burns effect, named after the legendary documentarian. It's all about adding very subtle, slow zooms and pans to otherwise static shots, whether they're still photos or video clips. This gentle movement breathes life into the frame.
Instead of a big, noticeable zoom, you might create a slow drift from 100% to 105% scale over ten seconds. Most viewers won't even consciously register the movement, but it makes the shot feel far more engaging and less static. It's a fantastic way to add a bit of polish to your B-roll or establishing shots. To really master this, learning how to zoom in a video without losing quality is essential for getting professional-looking results.
This diagram helps visualize the difference between the zoom types you have at your disposal, from what the camera lens does to what you can create in your editor.
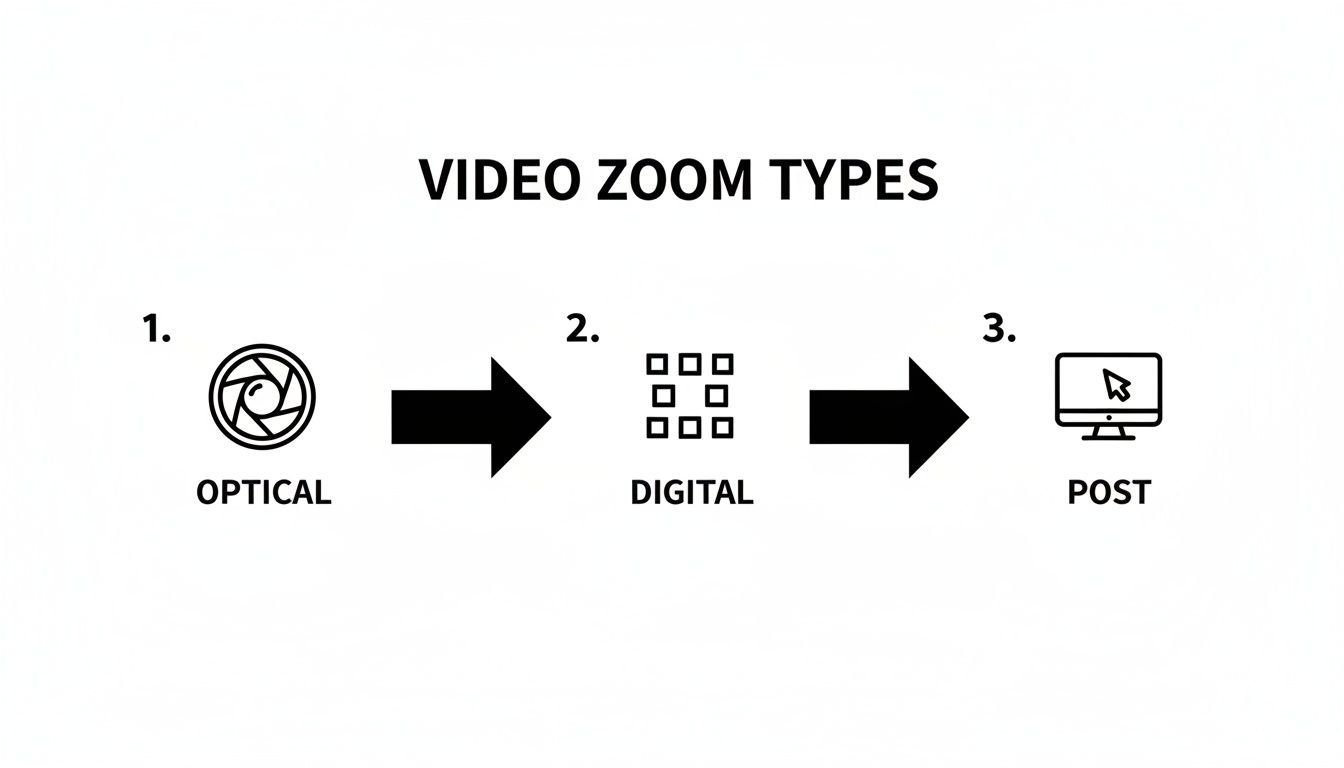
You can see the progression here—from the pure quality of an optical zoom to the complete creative flexibility you get in post-production.
How to Find Zoom Controls in Popular Editors
The core principles of keyframing are the same everywhere, but finding the controls can be a little different depending on your software. Here's a quick guide:
-
Adobe Premiere Pro & Final Cut Pro: In both of these pro-level editors, you'll want to select your clip in the timeline first. Then look for the "Effect Controls" panel (in Premiere) or the "Inspector" (in Final Cut). You'll see "Motion" or "Transform" properties. Just click the little stopwatch icon next to Scale and Position to start adding keyframes.
-
DaVinci Resolve: Once your clip is selected, head over to the "Inspector" panel. The Transform controls are usually right at the top. To set a keyframe, click the small grey diamond next to the Zoom and Position sliders. It will turn red, indicating a keyframe has been set at your playhead's current position.
-
CapCut (Mobile): Even on your phone, this is a breeze. Tap on your clip, and you'll see a keyframe icon (it looks like a diamond with a plus sign) in the toolbar. Tap it once to set your starting point. Then, move down the timeline and simply pinch-to-zoom on the video preview. CapCut is smart enough to add the second keyframe for you automatically.
By mastering keyframes, you're no longer just cropping a video; you're choreographing the viewer's eye. A slow push-in can build suspense, while a quick zoom-out can reveal a surprising twist.
Whether you’re editing a quick clip for social media or a longer-form documentary, these post-production zoom techniques are absolutely fundamental. And as you get better at enhancing your video, you'll probably want to create great-looking thumbnails and graphics to go with it. For more on that, check out our guide on the best image editing tools for creators.
The Smart Way to Zoom on Video with AI
Anyone who’s spent time in a video editor knows the keyframe grind. You find your start point, set a keyframe, scrub forward, set the end point, and then endlessly tweak the motion path to get it just right. It’s powerful, sure, but it's also a massive time drain, especially when you have a batch of clips to get through.
That tedious, manual process is exactly where AI-powered tools are completely changing the game. Instead of plotting out every single movement frame-by-frame, you can now get smooth, professional-looking zooms done in seconds. For creators and marketers who need to move fast, this is less of a feature and more of a necessity.
Use Camera Movement Presets for Instant Effects
What if you could add a perfect, slow push-in for dramatic effect with just a single click? That's the reality with AI-driven presets. In a tool like ShortGenius, for example, you get access to a whole library of pre-built Camera Movement Presets that handle all the complex keyframing for you.
This instantly transforms your editing process from a technical chore into a purely creative one. You can experiment on the fly—try a quick punch-in to emphasize a point, then swap it for a gentle pan to see which feels better. You're no longer bogged down by the how; you can focus entirely on the what.
For a deeper dive into what’s possible, exploring the best AI video editing software tools can show you even more intelligent ways to enhance your footage.
The ShortGenius interface is a great example of this streamlined approach.
As you can see, the options are built for speed. You can add dynamic motion without needing a degree in animation, which is exactly how modern editing should feel.
Automatically Reframe Video for Social Media
One of the biggest headaches in modern content creation is turning a 16:9 widescreen video into a 9:16 vertical clip for platforms like TikTok or Instagram Reels. Doing it manually is a nightmare of constant adjustments to keep your subject from drifting out of the frame.
AI automates this entire task. Tools like the 'Scene & Resize' feature in ShortGenius analyze your footage, lock onto the main subject or action, and intelligently crop the video to fit a vertical format. It’s basically a "smart zoom" that follows the action for you, ensuring the most important part of your shot is always front and center.
This isn't just a time-saver; it's a strategic advantage. It allows you to take one piece of long-form content and effortlessly multiply it into dozens of engaging clips for social media.
A task that once took hours of meticulous reframing can now be completed in minutes. This not only accelerates your workflow but also ensures a consistent, polished look across all your channels. If you're curious how AI can even spin motion from a static picture, our guide on AI-powered image-to-video creation is a great next step. It’s all about getting those dynamic, eye-catching results without the manual labor.
How to Zoom In on a Video You’re Watching
Ever found yourself squinting at your screen, trying to make out some tiny detail in a video? Maybe it’s a crucial line of code in a programming tutorial or fine print on a presentation slide. You don't always need fancy editing software for a closer look; often, the tools are already right at your fingertips.
Knowing how to zoom into a video during playback is a surprisingly practical skill, whether you're on your phone, laptop, or in a work meeting.
Use Your Device's Built-In Magnifiers
Most operating systems come with powerful accessibility features that double as fantastic on-the-fly zoom tools. The best part? They work everywhere—on websites, in media players, and across any app.
-
On a Windows machine: Look for a tool called Magnifier. The quickest way to launch it is by pressing the Windows key + plus sign (+). This instantly zooms in on your screen. You can then use the plus and minus keys to adjust the magnification and just move your mouse to pan around.
-
On a Mac: The feature is simply called Zoom. Head over to System Settings > Accessibility > Zoom to enable it. Once it's on, you can use keyboard shortcuts (like Option + Command + 8) or hold a modifier key (like Control) while using your scroll wheel to smoothly zoom in and out.
These built-in options are my go-to for a quick, universal solution. They're simple, effective, and already installed.
Zooming Within Specific Apps and Platforms
Sometimes, the app you're using has its own way of handling zoom, especially on mobile devices where screen real estate is limited.
The YouTube mobile app is a great example. You can just pinch to zoom on any video, the same way you would a photo. It’s perfect for a temporary close-up without interrupting the flow of the video.
For those who want a bit more precision on a desktop, I often recommend VLC Media Player. It has a feature called "Interactive Zoom" tucked away under Tools > Effects and Filters > Video Effects > Geometry. This lets you create a small magnification box you can drag around the frame, which is incredibly handy for inspecting specific details without blowing up the entire picture.
This kind of playback control is no longer a "nice-to-have"—it's essential. In a world of remote work, being able to focus on a specific person or a shared screen in a crowded video call is key to staying engaged.
This became crystal clear during the massive shift to remote work in 2020. The video conferencing platform Zoom saw its daily meeting participants explode from 10 million in December 2019 to over 300 million by April 2020—that's a 30x increase. According to a deep dive into Zoom's history, the platform now handles over 3.3 trillion meeting minutes a year.
In a Zoom call, you can "pin" a participant's video feed. This locks their video as the main focus on your screen, which is a simple but powerful form of playback zoom for following a presentation or a key speaker.
Pro Tips for Flawless Video Zooms
Knowing the mechanics of a zoom is one thing, but making it feel polished and motivated is a completely different skill. It’s what separates a quick, clunky edit from a professional one. These are the tips I’ve learned over the years to make sure your zooms enhance the story, not distract from it.
First and foremost, I can't stress this enough: start with the highest resolution possible. Shooting your source footage in 4K is an absolute game-changer. It’s like buying yourself an insurance policy for post-production. It gives you so much room to play, letting you punch in on a 1080p timeline without any noticeable loss in quality.
Match the Motion to the Mood
A zoom should never feel random; it needs a reason to exist. Ask yourself what you're trying to make the audience feel. If you're cutting a high-energy montage, a series of quick, punchy zooms can amplify that excitement. But if you’re focusing on an emotional moment, a slow, delicate creep-in builds intimacy and draws the viewer closer to the subject.
One of the biggest tells of an amateur edit is a mismatched zoom speed. A fast, jarring zoom during a heartfelt monologue feels completely out of place. Conversely, a lazy, slow zoom during a chaotic action sequence just kills the energy. Always let the emotional tone of the scene dictate your zoom's speed and timing.
Your goal is for the zoom to feel so natural that the viewer doesn't notice the technique itself—only its emotional impact. A great zoom is felt, not seen.
Smooth Out Your Keyframes
Nothing screams "digital zoom" like an abrupt start and stop. To get that silky smooth motion, you need to use your video editor's "ease in" and "ease out" functions on your keyframes. This simple tweak adds a subtle acceleration and deceleration to the movement, making it feel organic—just like a real camera operator would do.
As you work, you'll inevitably run into a few common headaches. Here’s how to fix them:
- Pixelation: This means you've pushed your zoom too far on a lower-resolution clip. The only real fixes are to back off the zoom or, ideally, reshoot the scene in a higher resolution like 4K.
- Shaky Zooms: This often happens when you try to apply digital stabilization after you’ve already animated the zoom. The proper workflow is to stabilize the clip first, then build your zoom on top of that stable foundation.
Combine that high-resolution footage with smooth, intentional keyframing, and your zooms will start looking professional and compelling every single time.
Answering Your Top Questions About Video Zooms
As you start playing with zoom effects, a few questions almost always pop up. Let's tackle some of the ones I hear most often from other creators.
How Can I Zoom Without Losing Quality?
This is the classic dilemma, right? How do you punch in on the action without turning your beautiful footage into a pixelated mess? The only way to get a truly lossless zoom is by using your camera's optical zoom while you're actually recording. This is the lens doing the physical work, so there's no digital trickery involved.
If you're already in the editing phase, your best bet is to work with oversized footage. For example, if you shoot in 4K but plan to export the final video in 1080p, you've given yourself a huge canvas. This extra resolution lets you crop and zoom in quite a bit before the quality starts to look degraded.
What’s the Best Software for Creating Zoom Effects?
Honestly, the "best" tool really boils down to what you're trying to accomplish. If you need absolute precision for a cinematic project, you can't beat the granular control you get with professional editors like Adobe Premiere Pro or DaVinci Resolve. Their keyframe systems let you fine-tune every little detail.
But for cranking out content for social media, speed is everything. This is where AI-powered editors completely change the game.
For creators who need to produce content at scale, AI video editors are a lifesaver. They automate the tedious parts of creating zooms, freeing you up to focus on the creative vision.
How Do I Create a Slow, Dramatic Zoom?
That smooth, cinematic push-in is all about mastering keyframing. The secret is to give your zoom plenty of time to breathe. Place your starting keyframe (where the zoom begins) and your ending keyframe (where it stops) far apart on the clip's timeline.
Then, you'll want to apply "ease in" and "ease out" functions to those keyframes. This tells the software to gradually speed up into the zoom and then gently slow down as it approaches the end. It's the difference between a smooth, elegant camera move and an abrupt, robotic-looking zoom.
Ready to create stunning video zooms in a fraction of the time? ShortGenius uses AI to apply professional camera movements and intelligently reframe your content with a single click. Start creating faster and see the difference for yourself.