How to Use AI Video Generator: A Practical 2026 Guide

Learn how to use AI video generator tools step by step, from prompts and scenes to voiceover, editing, and publishing across every channel in 2026.
You're staring at a blank canvas in your video tool, a script open in another tab, and a deadline that leaves no room for a three-hour edit. The brief says “make a short video,” but that means choosing a format, writing a hook, generating scenes, checking continuity, adding narration, captioning the result, resizing it, and publishing it across several channels.
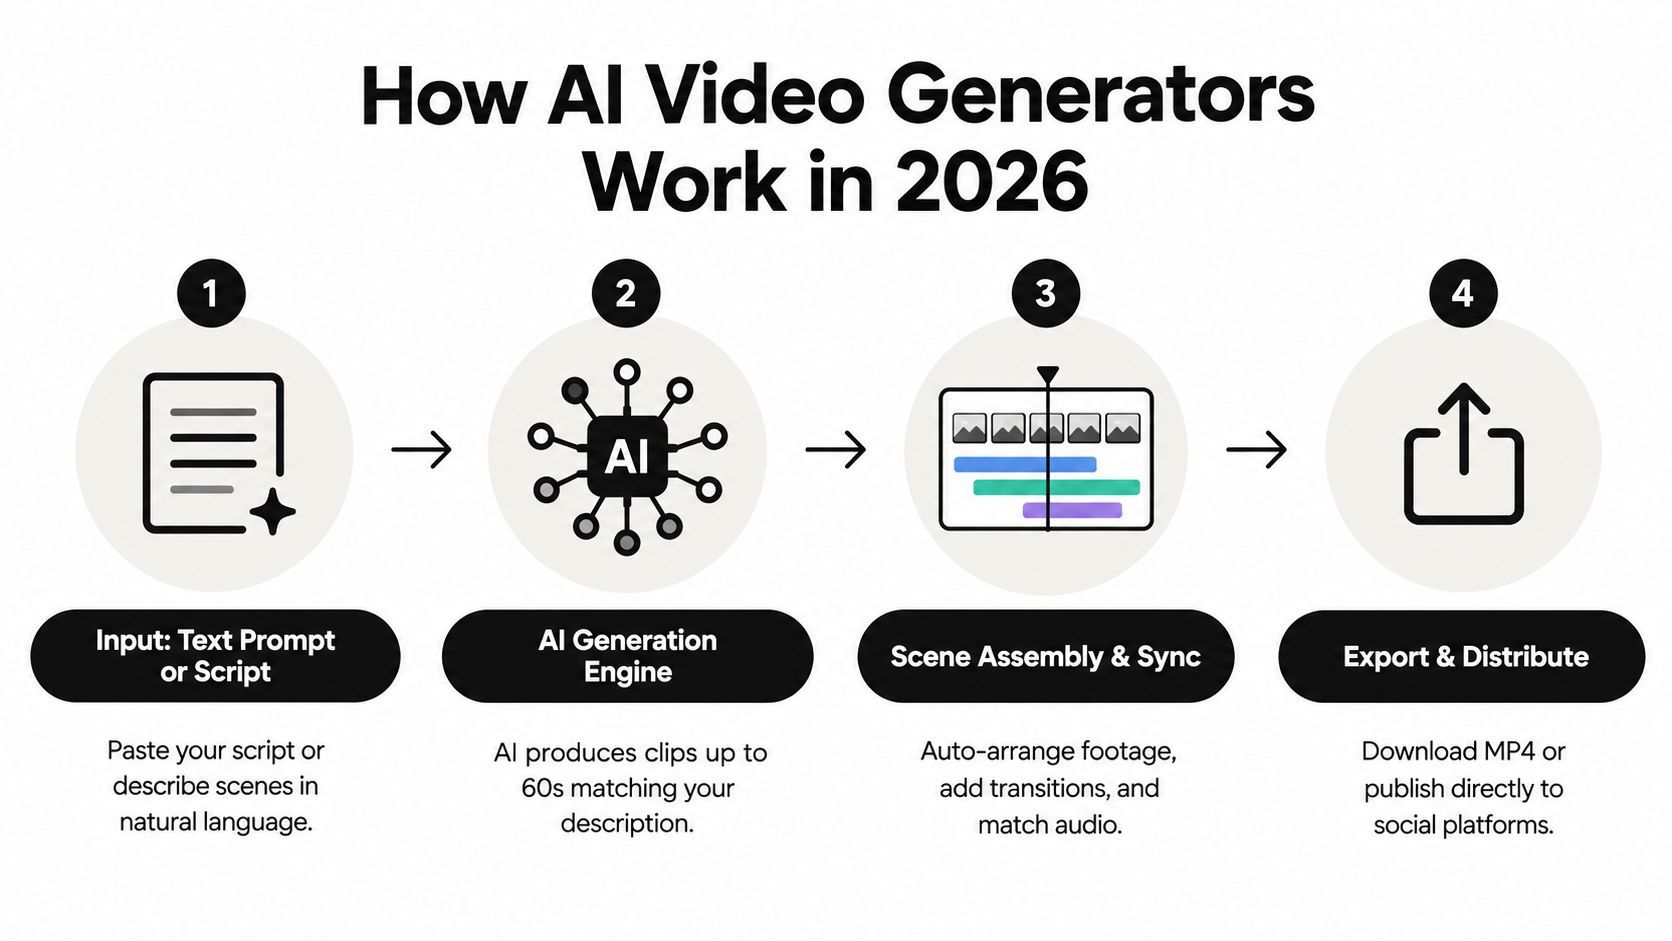
That's why learning how to use an AI video generator isn't mainly about writing a clever prompt. The reliable approach is a production pipeline: plan scenes, generate multiple options, review every clip, assemble a rough cut, refine the weak points, and schedule the finished versions. Purpose-built AI video generation has already become a sub-$1 billion category in 2026, with one estimate valuing it at USD 788.5 million in 2025 and projecting USD 3,441.6 million by 2033, while another estimates about USD 847 million in 2026 and projects USD 3.35 billion by 2034 (industry market overview). The exact forecasts differ, but the direction is clear: these tools are becoming part of everyday content infrastructure.
What an AI Video Generator Actually Does in 2026
A creator opens a workspace such as ShortGenius and starts with a simple request: turn a product idea, blog post, or short script into a social video. The generator can break that input into scenes, create or select visuals, add narration and music, place captions, and assemble the result on a timeline. The creator still decides whether the result feels useful, trustworthy, and worth publishing.
That distinction matters. An AI video generator isn't a magic “publish” button. It's a connected set of production tools that compresses repetitive work while leaving editorial judgment with a human.
The three generation paths
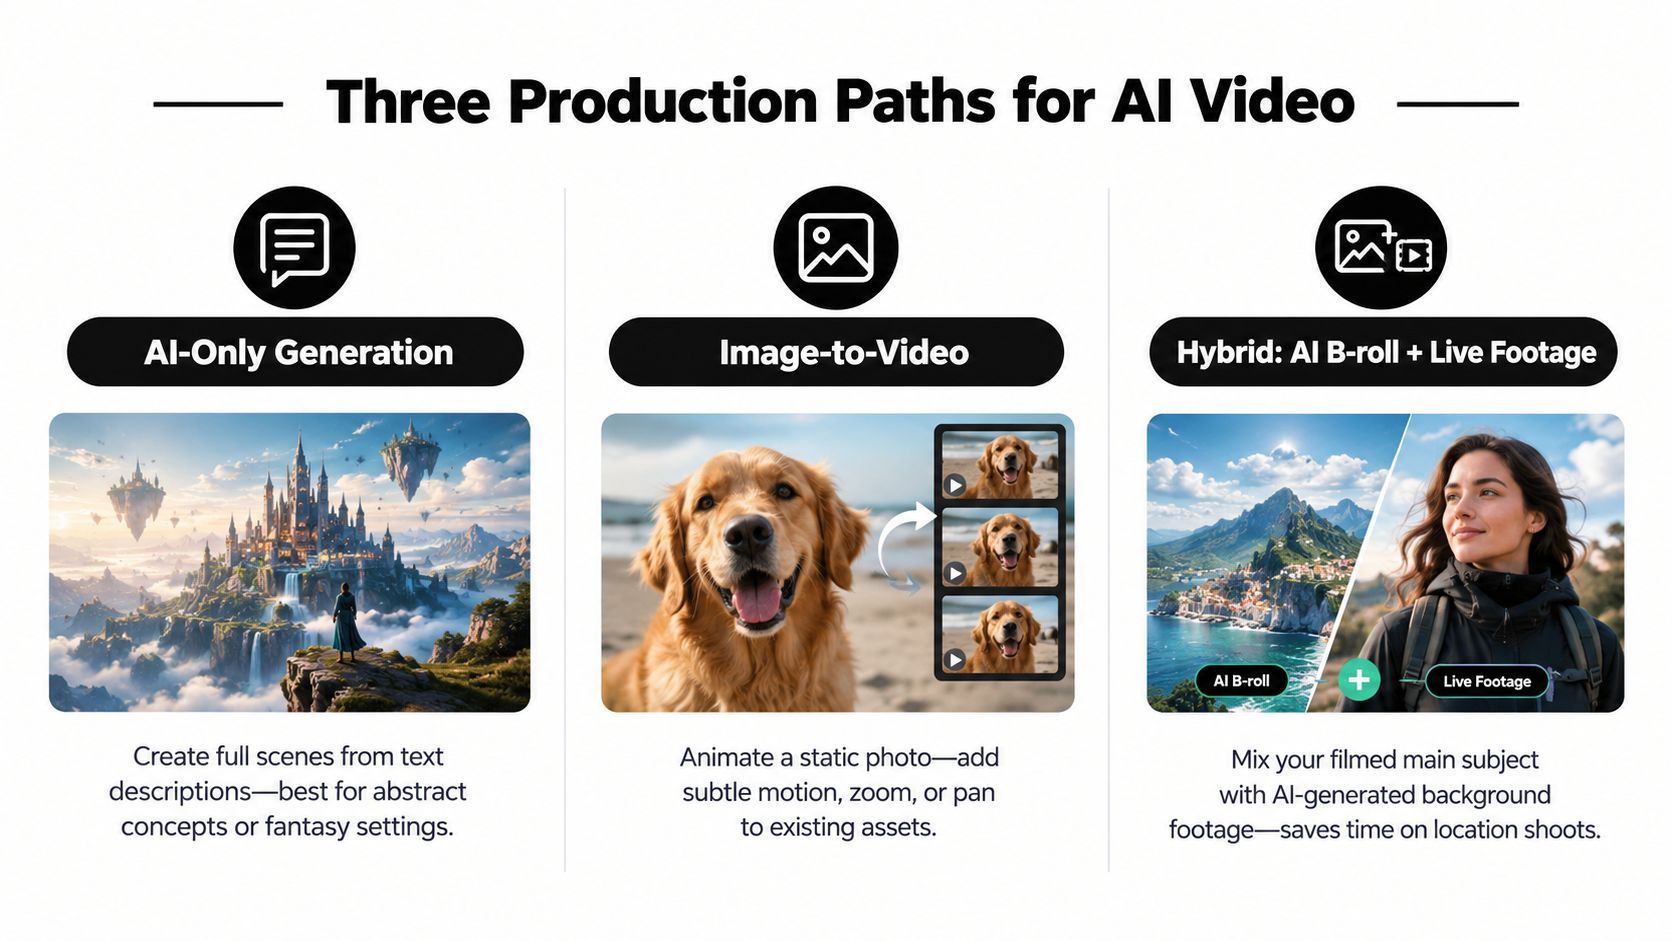
Most creators use one of three engine families:
- Text-to-video creates a scene from a written description. It's useful for abstract concepts, imagined locations, visual metaphors, and impossible camera setups.
- Image-to-video animates an existing still, such as a product photograph, character reference, poster, or brand illustration. It gives you a stronger visual anchor than a text-only request.
- Hybrid production combines generated footage with phone clips, screen recordings, interviews, or live-action product shots. This is often the most practical route for trust-led marketing.
A strong workspace also supports batch generation, scene-level regeneration, reusable templates, and exports for different channels. Those capabilities save more time than a single impressive render because they let you test a group of hooks or visual directions without rebuilding the entire project.
Practical rule: Treat the first render as a draft, not a verdict.
The human editor still controls pacing, emphasis, visual taste, factual accuracy, and brand fit. Current benchmark work separates quality, realism, relevance, and temporal consistency, and one evaluation method checks video in 9-frame grids, using the minimum grid score to expose local failures such as scene breaks or visual drift (benchmark methodology). In practice, that means a clip can look excellent overall while failing at one important moment.
AI now handles much of the mechanical workload. It doesn't replace the person who knows which shot should open the video, where the viewer may lose interest, or whether a generated logo looks acceptable beside the one.
Setting Up Your Workspace and Brand Kit
A reliable workflow starts before the first prompt. Set up the workspace once so every new project inherits the decisions your team has already approved.
Begin by creating an account and naming the workspace by channel, client, or brand. A creator might use “Fitness Shorts,” while an agency could create separate spaces for each client. Choose a default canvas for each recurring output: 9:16 for vertical short-form, 1:1 for square feed posts, and 16:9 for standard YouTube layouts. Keep channel-specific templates rather than changing the canvas manually at the end.
Upload the assets that should appear consistently:
- Logo lockups, including light and dark versions.
- Product photography and approved packaging views.
- Talent reference images for recurring presenters or characters.
- Color palettes, fonts, lower thirds, and intro or outro elements.

Build templates around repeatable decisions
A brand kit works best when it maps assets to templates. Create one master template for each format, then attach the appropriate typography, caption treatment, logo position, lower third, transition style, and closing frame. New projects should inherit these settings automatically instead of asking the editor to reconstruct them from memory.
Set workspace defaults for voice, music mood, and caption style. A calm educational channel may use a measured narration voice, restrained music, and high-contrast captions. A fast product channel may need tighter pacing, stronger caption emphasis, and a more energetic sound bed. These defaults don't lock the editor in place, but they remove repetitive setup work.
Two small organizational choices have an outsized effect:
- Pin one master template per format. Put the approved vertical, square, and wide versions at the top of the project picker.
- Create a shared B-roll library. Sort clips into folders such as product details, reactions, interfaces, backgrounds, transitions, and seasonal assets.
Use clear filenames and mark approved assets so nobody accidentally builds a campaign around an outdated logo or unlicensed clip. Once this setup is complete, the workspace becomes a production home rather than a blank editor. The team can generate a batch of scenes without re-onboarding the brand for every video.
Writing Prompts and Scripts That Produce Usable Scenes
AI video responds better to scene-by-scene direction than to one giant paragraph describing an entire finished video. Start with the message, then divide the script into visual units. A short social video might contain several scenes, each with its own subject, action, setting, style, and camera instruction.
For a skincare serum demonstration, avoid a broad request such as “make a cinematic skincare ad.” It doesn't identify the product, the movement, or the visual reason for the shot. A usable prompt might specify a clear glass serum bottle with a white dropper, placed on pale stone beside a folded towel, with morning light entering from the left, a slow close push, a clean editorial look, and no extra labels.
Use a fixed prompt structure
| Prompt Element | Purpose | Example Wording |
|---|---|---|
| Subject | Names the object or person that must remain recognizable | “Clear serum bottle with a white dropper cap” |
| Action | Defines what changes during the shot | “A single drop forms at the pipette tip” |
| Setting | Establishes the environment and surface | “On pale stone beside a folded cotton towel” |
| Style | Guides the visual treatment | “Clean editorial skincare commercial, soft neutral palette” |
| Camera | Controls framing and movement | “Macro close-up, slow push-in, shallow depth of field” |
Break a product script into separate moments instead of asking for a complete commercial in one request:
- Prompt one: “The same clear serum bottle with white dropper cap stands on pale stone in soft morning window light, macro close-up, slow push-in, clean editorial skincare style.”
Scene result: A stable product establishing shot. - Prompt two: “The same bottle remains on the same pale stone surface, a hand lifts the white dropper and releases one clear drop, side light from the left, tight close-up, slow controlled motion.”
Scene result: A product-use detail with one obvious action. - Prompt three: “The same bottle and towel appear beside a small cream dish, camera moves from the dish toward the bottle, warm morning light, medium close-up, restrained premium beauty style.”
Scene result: A wider closing composition suitable for a call to action.
Repeat the same character or product descriptor in every related prompt. “The same clear serum bottle with white dropper cap” gives the model a stronger continuity anchor than switching between “serum,” “skincare product,” and “glass bottle.”
Vague words need context. “Cinematic” alone says very little. Pair it with a shot size, lens impression, lighting direction, camera movement, and time of day. If the model produces too much movement, simplify the action rather than adding more adjectives.
Save successful prompts in a winning prompts document. Record the input, the output you kept, the model used, and the changes that improved it. Over time, that document becomes a template library for product shots, talking-head backgrounds, transitions, and recurring series.
Generating, Assembling, and Swapping Scenes
Choose the production path based on the shot's job, not the model's demo reel. AI video works best when each scene has a clear role and a defined level of visual control.
AI-only generation suits abstract concepts, fantasy settings, imagined product worlds, and visual hooks that would be difficult to film. It offers speed and creative range, but exact brand details, readable text, and continuity across several scenes remain unreliable.
Image-to-video gives you a stronger starting point when the product, character, or composition already exists in a reference image. Use it to animate a product photograph with a restrained camera move, add a controlled hand action, or turn a still background into supporting motion. The image anchors the composition, although excessive movement can still warp edges or change product features.
Hybrid production fits testimonials, vlogs, demonstrations, and founder-led ads. Keep the person or physical action in real footage, then place AI-generated B-roll, backgrounds, extensions, or transitions around it. You retain human presence and physical accuracy without filming every location or pickup shot. Guidance on hybrid AI video workflows recommends this division of labor, with AI handling backgrounds, B-roll, effects, and extensions while real footage or avatars carry the hero moments.
Assemble for the edit, not for the generator
Treat each output as a scene card on the timeline. Review the motion, choose the strongest section, and trim the weak opening and ending. Generated footage often needs tight in-points and out-points because movement may stutter as a shot starts or finishes.
Batch generation saves more time than endlessly polishing one result. Create 5 to 10 variations, select the best 2 to 3, then refine those with image-to-video or video-to-video workflows, as outlined in this production workflow guidance. Compare framing, movement, and continuity before building the final sequence.
Regenerate only the failed scene. Keep the surrounding timeline, reuse prompts that produced usable results, and retain the same reference image and seed when the platform supports them. For a difficult transition, use the previous clip's final frame as the next clip's first-frame reference. Continuity is not guaranteed, but the handoff becomes clearer.
Use this decision rule:
- Use AI-only for visual concepts and supporting shots.
- Use image-to-video for controlled product or character compositions.
- Use hybrid footage when trust, physical accuracy, or human emotion carries the message.
ShortGenius provides scene breakdown, generated visuals, voiceover, captions, B-roll, music, transitions, and scene-level controls in a prompt-first workflow. Review its AI video production workflow alongside other tools before choosing a setup.
Adding Voiceover, Captions, and Quick Edits
Post-production should be a focused checklist, not another open-ended creative session. Finish the visual sequence first, then lock the narration against the actual timing.
Start by choosing a stock or approved cloned voice. Paste the finalized script, listen for awkward emphasis, and adjust pacing through the voice settings instead of repeatedly rewriting the recording. If the narration sounds rushed, shorten the copy or reduce the delivery speed. Don't try to solve a visual timing problem by forcing the voice to race.
A fast finishing pass
- Generate the voiceover. Listen for names, technical terms, product claims, and unnatural pauses.
- Create captions from the final audio. Select the caption treatment from the brand kit, then compare every word with the spoken track.
- Trim scene edges. Remove weak frames at the start and end of generated clips, especially where motion begins with a wobble or ends with a visible freeze.
- Check the mobile crop. Keep faces, products, and text inside the safe central area before exporting.
- Create destination versions. Use 9:16 for TikTok, Instagram Reels, and YouTube Shorts, 1:1 for square feed content, and 16:9 for standard YouTube video.
- Swap without rebuilding. Replace a failed scene while preserving the voice track, caption style, and timeline position.
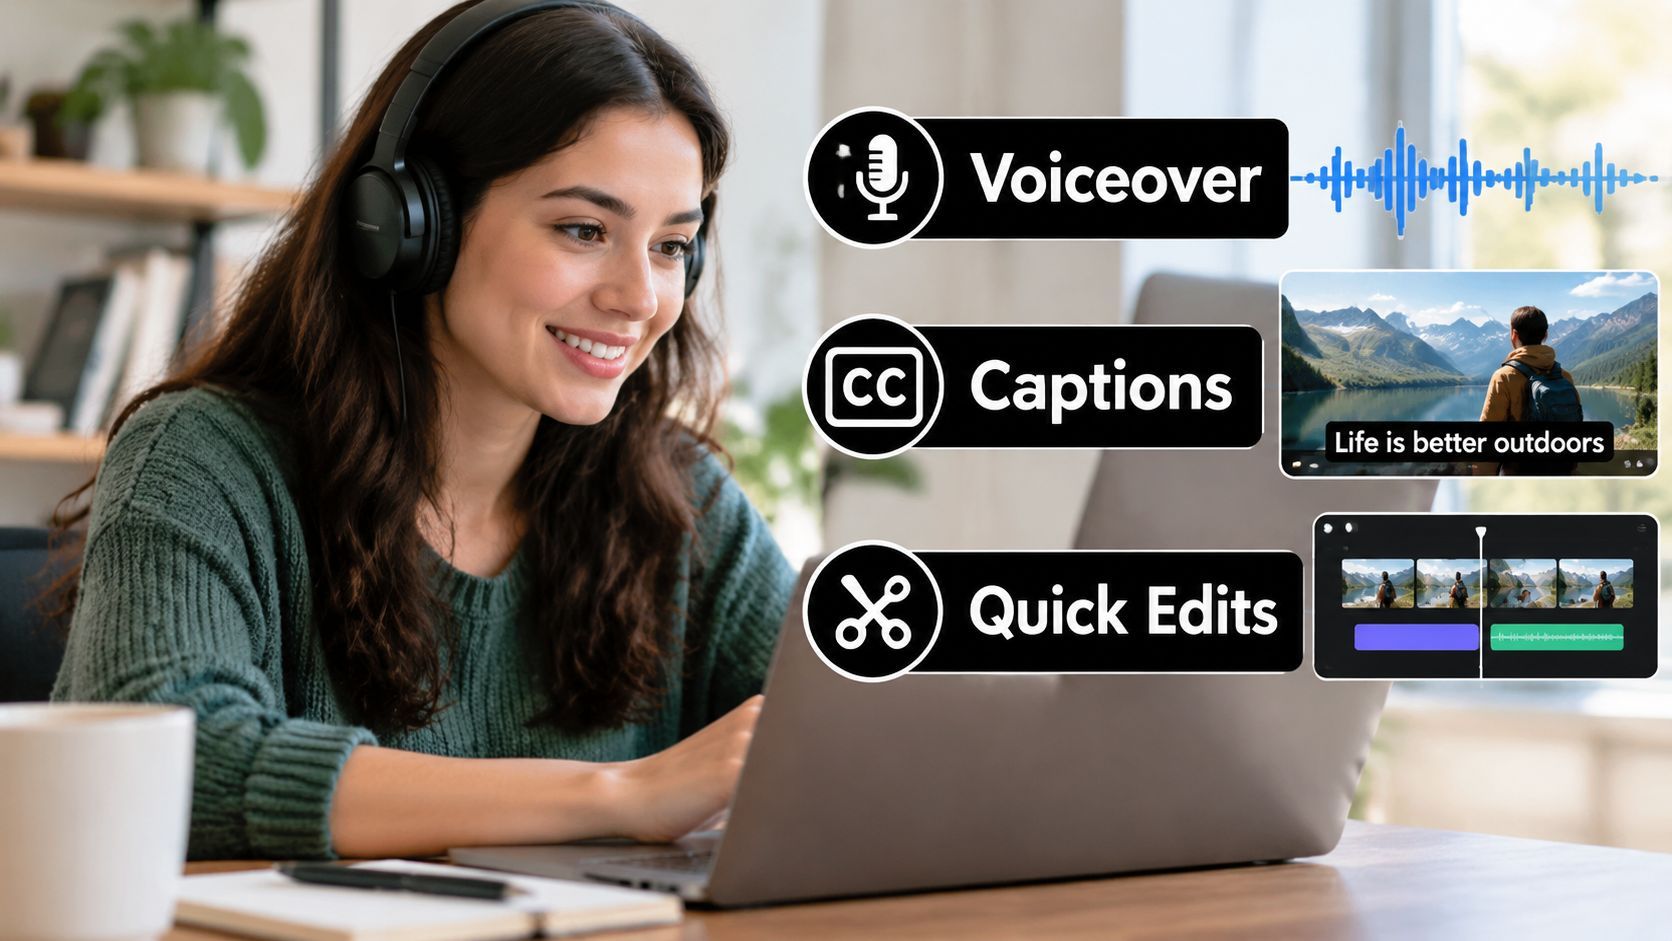
Captions deserve a human review because automatic timing can look correct while still emphasizing the wrong phrase. Check line breaks, names, numbers, and calls to action. A caption that emphasizes the product or lands after the spoken phrase weakens the whole edit.
Keep winning voice settings attached to the project or template. When a scene needs regeneration, the replacement should inherit the same narration and pacing rather than introducing a new voice that changes the video's character.
Publishing Across TikTok, YouTube, Instagram, Facebook, and X
Publishing becomes slow when every channel is treated as a separate project. Build a distribution system around series, not isolated files. Create folders such as “Monday Tips,” “Wednesday Reactions,” “Product Demonstrations,” or “Customer Questions,” then connect each folder to the relevant publishing workflow.
The project name should carry enough context for a team member to understand it without opening the file. A practical naming pattern includes the series, topic, hook, format, and status. Keep the master version separate from channel exports so a caption change or new crop doesn't overwrite the source.
Match the edit to the destination
| Platform | Aspect Ratio | Caption Style | Max Length |
|---|---|---|---|
| TikTok | 9:16 | Large, high-contrast, fast-changing captions | Confirm current platform limit before scheduling |
| YouTube | 16:9 for long-form, 9:16 for Shorts | Search-aware title cards and readable subtitles | Confirm current format-specific limit |
| 9:16 for Reels, 1:1 for feed posts | Brand-led captions with strong opening text | Confirm current placement limit | |
| 9:16, 1:1, or 16:9 depending on placement | Clear captions that work with sound off | Confirm current placement limit | |
| X | 16:9 or 1:1, with vertical variants where appropriate | Compact captions and a direct hook | Confirm current upload limit |
Treat the table as a production planning guide, not a substitute for checking each platform's current upload rules. Limits and accepted formats can change, so verify them inside the scheduler before a campaign goes live.
Connect TikTok, YouTube, Instagram, Facebook, and X through the tool's approved account connection flow. Then generate native versions from the same project instead of uploading one unmodified file everywhere. A vertical cut may need different opening text from a YouTube version, while X may require a shorter caption and a more self-contained message.
Stagger releases when the content supports a series. Use audience insights to choose publishing windows, but don't confuse a scheduled time with a strategy. After publishing, compare retention, comments, saves, shares, and click behavior by hook and format. Views alone won't tell you whether the opening, pacing, or offer worked.
Optimization, Troubleshooting, and Workflow Templates
AI video replaces part of the production work, not the editor's judgment. A generator can produce a persuasive first draft quickly, yet multi-scene projects still expose character morphing, changing object states, broken motion continuity, inaccurate logos, and flickering text.
Independent benchmark research identifies weak temporal consistency and poor compositional control as recurring technical problems. Strong models still struggle with object state changes, motion continuity, and text fidelity. The DEVIL evaluation metric has reached about 90% consistency with human ratings, so a human review remains necessary before release (video evaluation research).
A practical repair playbook
- Temporal drift: Regenerate only the damaged segment, reuse the same reference image, and simplify the action.
- Inconsistent product or character: Repeat the exact descriptor, preserve the reference image, and lock the seed when available.
- Hallucinated text or logos: Remove generated lettering, then add approved text in the editor.
- Off-beat lip sync: Reduce dialogue complexity, choose a simpler shot, or replace the speaking clip with voiceover over supporting footage.
- Broken transition: Use the previous scene's last frame as the next scene's visual reference.
- Resolution collapse: Replace a damaged source instead of repeatedly upscaling a poor render.
- Unconvincing physical demonstration: Insert real footage for the action and keep AI for surrounding B-roll.
Batch generation saves time only when each variation has a clear test. Create several hooks, openings, or B-roll options, label them by scene and purpose, then compare them with the same edit structure. Keep the strongest version, swap weak scenes without rebuilding the entire project, and preserve approved references for the next batch.
AI works well for talking-head intros, listicle Shorts, abstract B-roll, product atmosphere, and looping visual concepts. Filmed footage is safer for emotional reactions, precise physical demonstrations, and moments where viewers must trust that an event really happened. Authenticity and disclosure also matter. Deloitte warned in late 2025 that generative video could lead to additional labeling requirements and other policy responses in 2026, so maintain a clear review and disclosure process (policy coverage).
Reusable workflows that can ship
| Workflow | Prompt and Scene Plan | Voiceover Style | Publishing Cadence |
|---|---|---|---|
| Daily Short | Hook, problem, one visual example, takeaway, CTA. Generate several hook and B-roll variants, then keep the strongest sequence. | Direct, conversational, tightly edited | Schedule as part of a recurring short-form series |
| Weekly YouTube Video | Intro, context, three to five main points, demonstrations, summary, next step. Use real screen recordings or footage for proof and AI scenes for transitions or concepts. | Calm explainer with deliberate pauses | Publish one edited master, then create platform-specific clips |
| Monthly Ad Batch | One product message with multiple hooks, visual openings, offers, and CTAs. Keep product shots and legal copy manually controlled. | Brand-approved voice with consistent delivery | Schedule approved variants across paid and organic placements |
Run a final human check before publishing. Watch on a phone, read every caption, inspect the first and last frames, verify the product and offer, and confirm that the disclosure approach fits the platform and campaign.
ShortGenius (AI Video / AI Ad Generator) combines scriptwriting, image generation, video assembly, natural voiceovers, captions, B-roll, resizing, scene swaps, brand kits, and multi-channel scheduling in one workflow. Visit ShortGenius (AI Video / AI Ad Generator) to turn a brief into a reviewed, reusable production pipeline rather than a one-off render.