How to Edit a Video on Phone The Ultimate Creator's Guide
Discover how to edit a video on phone with our complete guide. Learn practical tips for shooting, editing, and sharing professional-quality mobile videos.
Editing a video on your phone is so much more than just cutting clips together. It’s about taking that raw footage—all the good, the bad, and the shaky—and shaping it into a compelling story, all from the palm of your hand. Think of it as turning a rough draft into a published piece, ready for your audience to enjoy.
Your Blueprint for Standout Mobile Videos
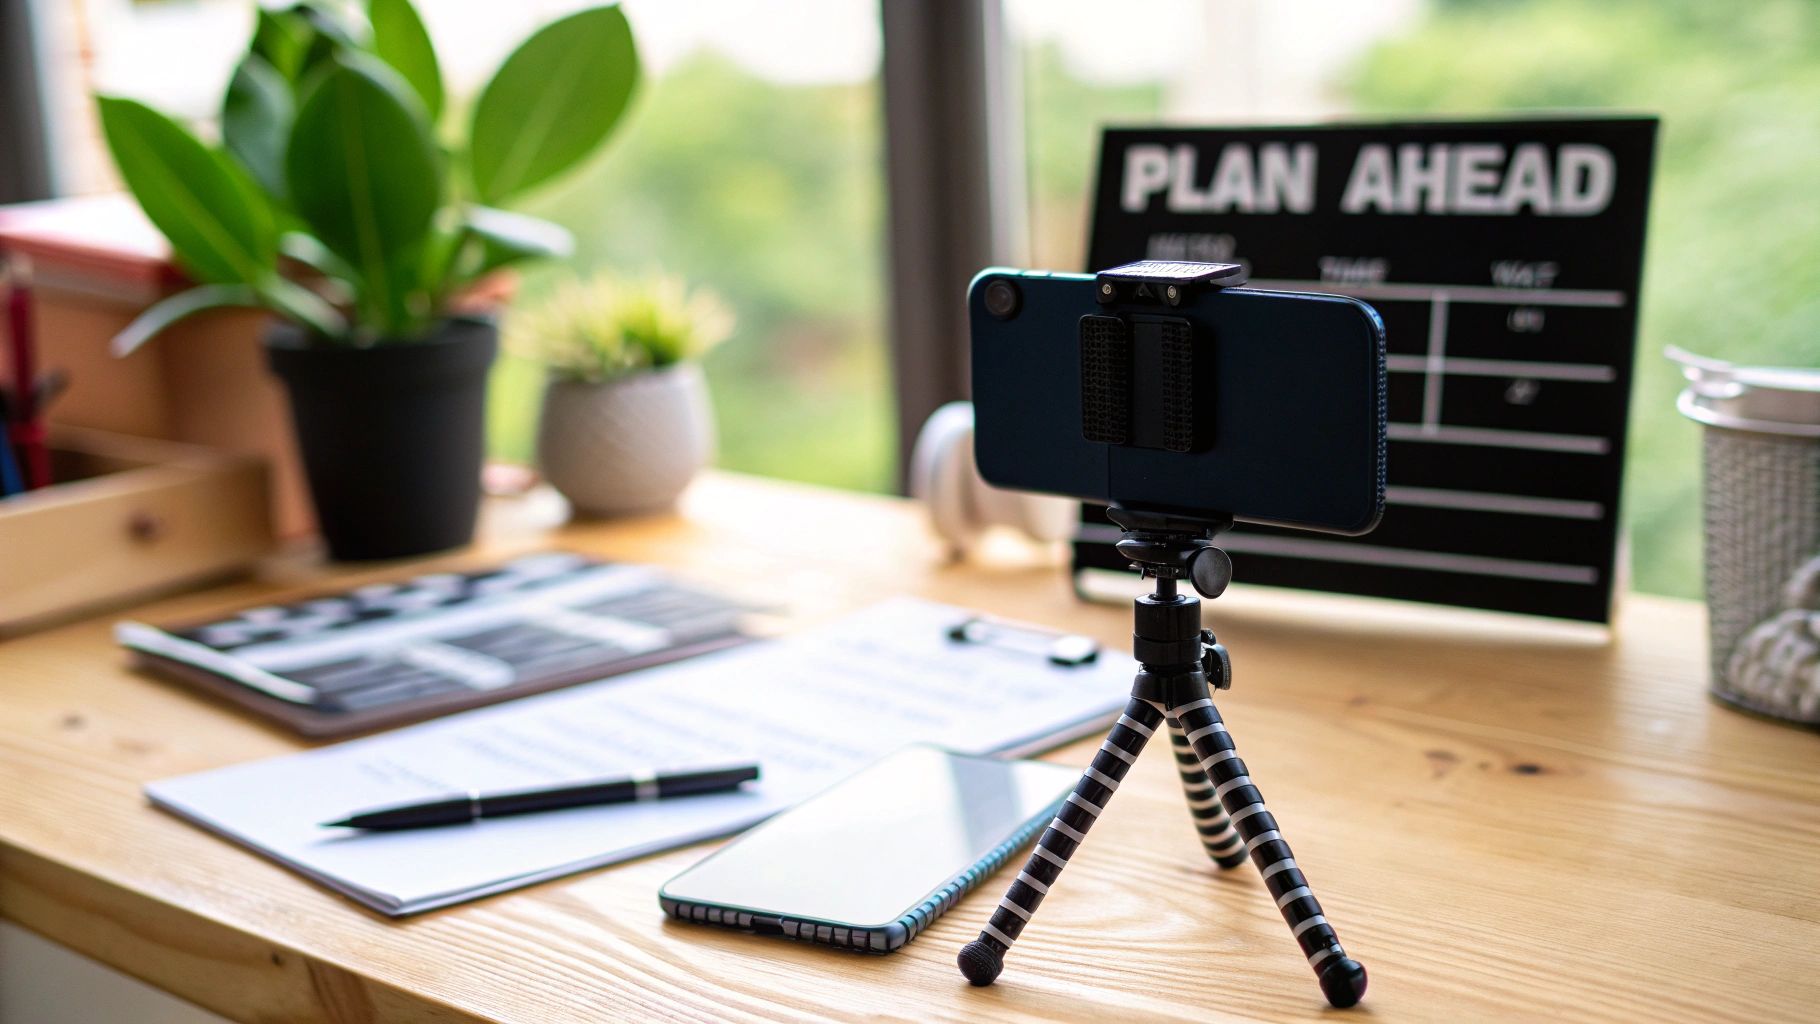
Here's a secret that pros know all too well: a fantastic video is rarely saved in the edit. It’s made in the preparation. The best editing sessions start long before you even open an app—they begin with capturing the right footage from the get-go.
Think of your phone as a pocket-sized production studio. This guide will show you how to use it like a seasoned pro, starting from the very beginning. By shifting your mindset from just filming to intentionally creating, you'll find the actual editing process becomes faster, easier, and yields a much more professional result.
Planning Your Message and Shots
Before you even think about hitting that record button, pause and ask yourself: what’s the point of this video? Seriously. Knowing your goal is the single most important thing, as it guides every single decision you'll make.
For instance, if you're making a quick tutorial for a product, you’ll want clear, steady shots that focus on the details. But a travel vlog? That’s all about creating a vibe, so you’ll want a mix of sweeping scenic shots and energetic close-ups to pull the viewer into the adventure.
- Nail Down Your Core Message: What is the one thing your audience absolutely must take away? Write it down in a single sentence.
- Create a Quick Shot List: This doesn't need to be fancy. A few bullet points in your notes app can act as a simple storyboard, keeping you on track.
- Gather Your B-roll: Always capture extra footage, or B-roll, to splice into your main shots. These cutaways add visual flair and context, making your video far more dynamic. Learn more about what is B-roll and why it's so important in our detailed guide.
Mastering Your Phone's Camera
You really don’t need a bunch of expensive gear to get incredible footage from your phone. It all comes down to mastering the fundamentals of capturing clean video and audio.
The best editors know that high-quality source material is the ultimate time-saver. Spending an extra five minutes on lighting and stability can save you an hour of frustrating fixes later.
First things first: stability is everything. Shaky footage is an instant giveaway of amateur work. Prop your phone against a stack of books or grab a cheap tripod. It makes a world of difference.
Next, find good lighting. Natural light from a window is your best friend. Always face the light source to avoid casting strange shadows on your face.
And finally, don't forget the audio. Find a quiet room to record in and stay relatively close to your phone’s microphone. This simple attention to detail is what separates a decent video from an impressive one.
Mastering the Core Editing Workflow
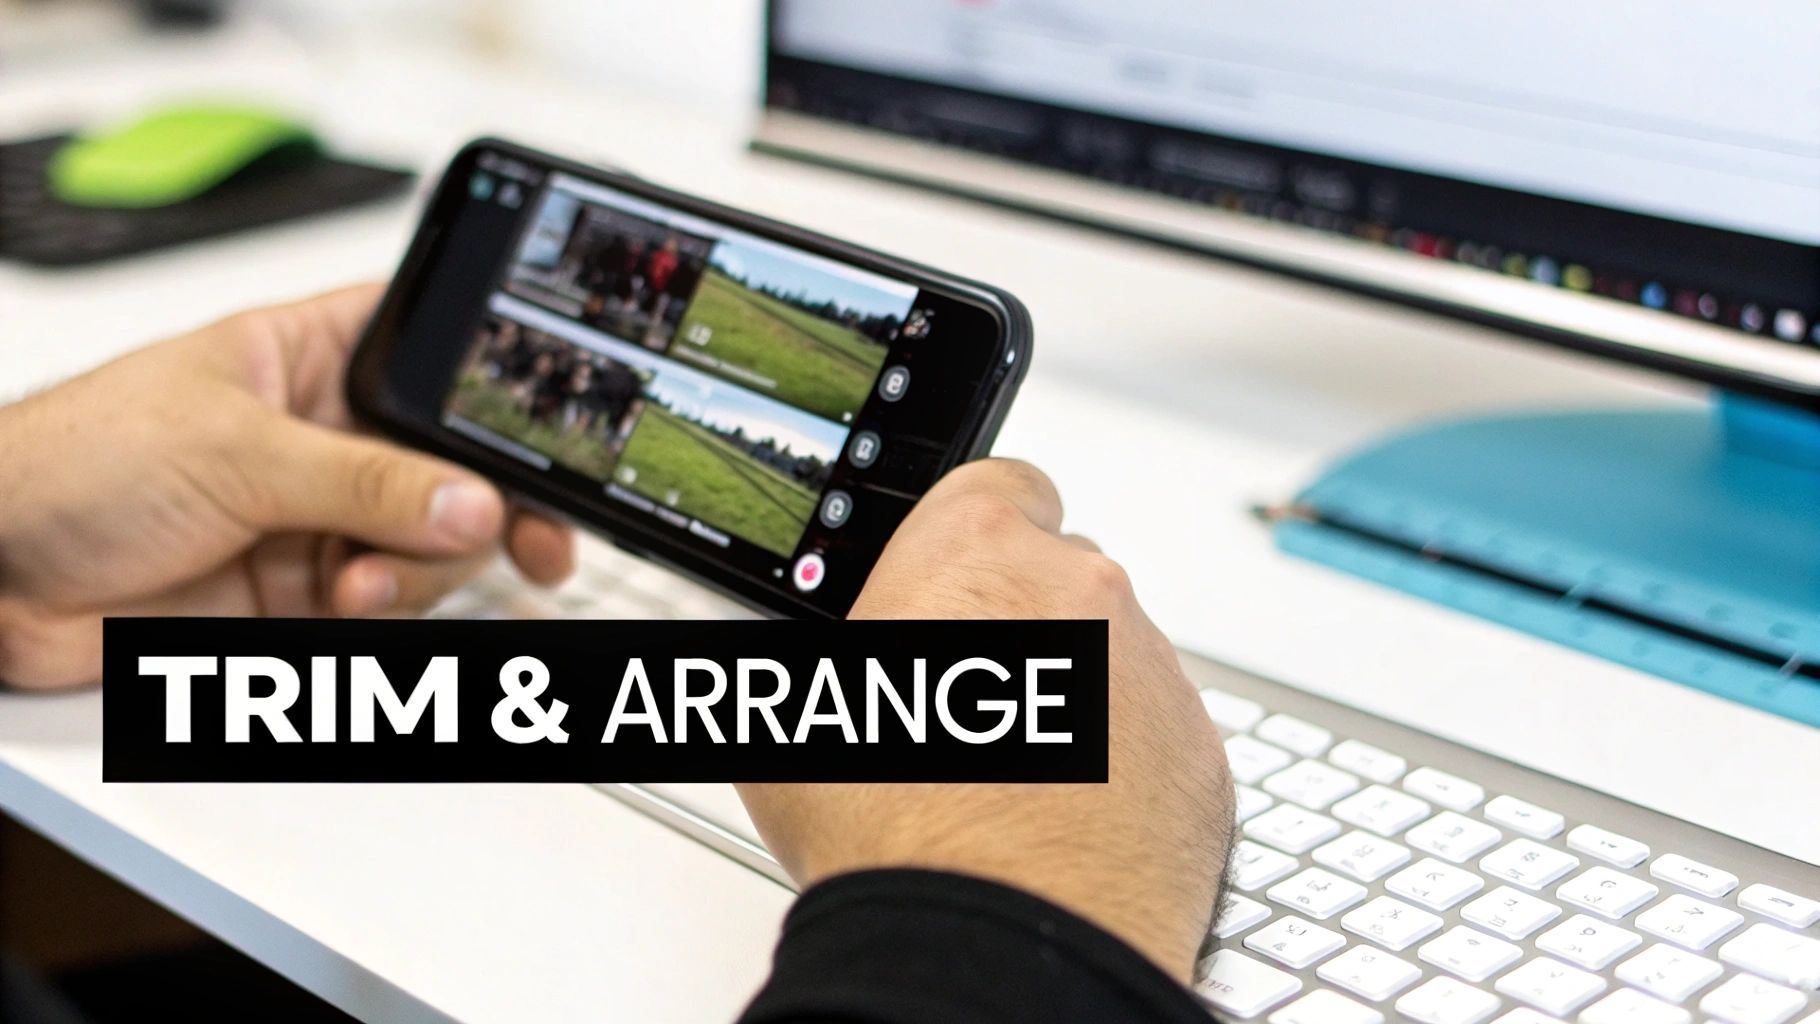
Alright, you've got your footage planned and shot. Now for the fun part—piecing it all together on your phone. This is where a jumble of raw clips starts to feel like a real story. First thing's first: pull all your clips into your editing app and get them onto the timeline.
Your timeline is your creative playground. As you start dragging clips into place, think less about organizing files and more about building a narrative. Does that first shot immediately grab attention? Do the clips flow logically from one to the next? Go ahead and shuffle them around; experiment until the sequence feels right.
The Art of Precision Trimming
With your clips in a rough order, it's time for the most important part of the edit: trimming. Let’s be honest, nearly every clip has fluff at the beginning or end—a wobbly start, an awkward pause, or that moment you look away from the camera. Trimming is about cutting all that away.
This is where you need to be ruthless. Your job is to make the viewing experience completely seamless. For instance, if you're putting together a quick tutorial, you want to snip out every "um," "uh," and long pause. This makes you sound more confident and keeps the pace snappy, which is exactly what you need to hold your audience's attention. A tightly trimmed video just feels more professional.
Using Transitions to Guide the Narrative
Transitions aren't just for flashy effects; they're the punctuation in your video's story. When you use them right, they direct the viewer’s attention and set the pace. But if you overdo it, your video can end up looking amateurish and distracting.
My advice? Keep it simple and use transitions with a clear purpose.
- Jump Cut: This is your workhorse. A straight, hard cut between two similar shots is perfect for vlogs or tutorials. It creates energy and lets you hide mistakes or combine the best parts of different takes.
- Fade to Black/White: Use a fade to signal a major shift. It could be the end of a scene, a jump forward in time, or a change of location. It gives the viewer a second to mentally reset.
- Cross Dissolve: This is a much softer transition where one clip gently blends into the next. It’s great for montages or for creating a smooth, flowing feeling between two related shots.
Think of transitions as storytelling tools. A quick cut creates urgency, while a slow dissolve suggests a more reflective mood. Your choice directly influences how your audience feels.
While your app might offer flashy wipes and zooms, mastering the simple cut, fade, and dissolve will honestly cover 90% of what you'll ever need. To get even better, it’s worth learning the fundamentals, like how to rotate, enlarge, and adjust videos on your iPhone. By focusing on arranging, trimming, and transitioning with intent, you're building a solid foundation for a video that truly connects—all from the palm of your hand.
Enhancing Your Video With Audio And Text
Let's be honest, silent films are a thing of the past. Your visuals might be what stops the scroll, but it's the audio and text that truly pull viewers in and create a complete, professional-feeling experience. Nailing these elements is a huge part of learning how to edit a video on your phone, and it’s what separates a simple clip from a polished, memorable piece of content.
Think of audio as your video's emotional engine. It sets the mood, guides the viewer's feelings, and makes sure your core message lands perfectly. I've seen incredible footage fall completely flat because of bad sound—it really is that important.
Balancing Your Audio Mix
First things first: your main audio track, which is usually your voice, has to be clean and perfectly understandable. Most mobile editing apps these days have a handy AI-powered tool, often called something like "Enhance Speech." It’s a one-tap fix that cleans up background noise and balances the levels. Trust me, it's a lifesaver for any footage you've shot on the go.
If you're looking to really level up the sound quality in your videos, it's worth checking out external budget USB microphones. Even though they're often used for desktop setups, many can be adapted for mobile and make a world of difference.
Once your voiceover is sounding crisp and clear, you can start layering in the other audio elements.
Pro Tip: Don't just slap a background music track on your timeline. Look for an audio "ducking" feature in your app. It automatically lowers the music volume whenever someone is speaking, which keeps your dialogue front and center without you having to manually adjust everything.
Next up is finding that perfect background track. Most apps offer a built-in library of royalty-free music, so take a few minutes to explore. The right song can completely change the vibe of your video, so it's worth the search.
Making Your Video Accessible And Engaging With Text
Text overlays do two critical jobs: they make your content accessible to a much broader audience and they hammer home your key points. With so many people watching social media videos on mute, captions have gone from a "nice-to-have" to an absolute must.
The good news? It’s never been easier. Modern editing apps use AI to automatically generate subtitles from your video's audio. You literally just press a button, and the app transcribes everything. You can then jump in to quickly fix any small errors and style the text to match your brand. For a more detailed walkthrough, check out our guide on how to add captions to videos.
But don't stop at captions. Text can do so much more:
- Titles and Intros: A clean, bold title right at the start immediately tells viewers what they're about to watch.
- Key Takeaways: Use animated text to pop up important stats, quotes, or tips. This visual cue helps people remember what you're saying.
- Calls to Action (CTAs): You have to tell your audience what to do next! A simple text overlay like "Follow for More!" or "Link in Bio" can make a huge difference in your engagement.
Choosing the right audio and text can feel a bit like putting together a puzzle, but it’s one of the most satisfying parts of the whole editing process. To help you get started, here’s a quick guide I put together for matching audio to your video's intended vibe.
Choosing the Right Audio for Your Video Vibe
This table is a great starting point for finding the right sound for your content. Think of it as a cheat sheet for setting the perfect mood.
| Video Type / Mood | Recommended Music Genre | Example Sound Effects (SFX) |
|---|---|---|
| Upbeat Tutorial | Lo-fi Hip Hop, Corporate Pop | "Whoosh" for transitions, "Click" for taps |
| Emotional Storytelling | Cinematic, Ambient, Acoustic | Subtle wind, soft chimes, gentle heartbeat |
| Action & Travel Vlog | Epic Orchestral, EDM, Rock | Drone sounds, camera shutter, car pass-by |
| Comedy Skit | Quirky Ukulele, Jazzy | Cartoon "boing," slide whistle, record scratch |
By thoughtfully layering your sound and strategically placing text, you're doing more than just editing a video—you're crafting an experience that truly connects with your audience.
Polishing and Exporting for Every Platform
This is where the magic really happens. The final touches are what separate a decent video from a truly memorable one. We're talking about that last 10% of effort that delivers 90% of the professional feel. It all starts with color.
A Quick Primer on Color Correction and Grading
Don't get spooked by the terminology. Most mobile apps have made color incredibly intuitive.
First up is color correction. Think of this as the cleanup phase. You'll tweak basic settings like brightness, contrast, and saturation to make the video look balanced and natural. Your goal is simply to make the footage look "correct" before you get creative.
Next comes color grading, which is all about mood and style. This is where you apply a specific look, much like an Instagram filter. You can use built-in presets (sometimes called LUTs) to give your video a warm, cinematic, or moody vibe with a single tap. Sticking to a consistent color grade is a fantastic way to build a recognizable brand style.
Tailoring Your Video for Each Social Platform
You can't just create one video and blast it everywhere. A 16:9 horizontal video that looks amazing on YouTube will get butchered by the crop on TikTok. A core part of learning how to edit on your phone is understanding how to adapt your content for its destination.
Here’s a quick rundown:
- YouTube (16:9): The classic widescreen format. This is your go-to for vlogs, detailed tutorials, and anything designed for a bigger screen.
- Instagram Reels & TikTok (9:16): It’s all about vertical here. Your most important visuals and text need to stay in the center, since the platform’s interface often covers the top and bottom.
- Instagram & Facebook Feed (4:5): This slightly taller vertical format is a secret weapon. It grabs more screen real estate than a standard square post, making people more likely to stop scrolling.
Thankfully, most apps have a simple "Format" or "Aspect Ratio" button. Just be sure to scrub through your video after resizing to make sure nothing crucial gets cut off.
This process of layering audio, text, and effects is what truly elevates the final product.

As the diagram shows, these elements aren't afterthoughts; they're foundational to a polished video.
Choosing the Best Export Settings
You’re on the home stretch! The final export is your last chance to make sure all your hard work pays off. The goal is to get the best possible quality without creating a gigantic file that takes ages to upload.
Your export settings are the final handshake between your creative vision and the platform's technical requirements. Getting them right ensures your hard work is displayed in the best possible quality.
Here’s what you need to focus on:
- Resolution: Stick with 1080p. It's the sweet spot for social media, offering crisp clarity without the massive file size of 4K. Most platforms heavily compress 4K video anyway, so you often won’t see the benefit.
- Frame Rate: For most content, 30 frames per second (fps) is the standard and looks perfectly smooth. If you're aiming for a more "cinematic" feel, dropping to 24 fps can help you achieve that.
The explosive growth of these tools proves just how powerful mobile creation has become. The global video editing apps market is on track to hit USD 1,593.25 million by 2026. This isn't just a niche hobby anymore; it's a massive industry. You can dig deeper into these video editing app market trends to see where things are headed.
By balancing these simple settings, you ensure your video looks great and uploads without a hitch.
Work Smarter, Not Harder: Speed Up Your Edits with AI
Manual editing gives you total control, but let's be honest—it can be a real time-sink. This is where artificial intelligence comes in, not to take over your creative vision, but to be your behind-the-scenes editing assistant. The latest mobile editing apps are loaded with smart AI features that handle the grunt work, getting you from a camera roll full of clips to a polished video in record time.
Think about having an assistant who can instantly scan all your footage and pull out the best parts. That’s what smart clip selection tools are designed to do. They analyze your clips for action, smiles, or clear dialogue and serve up the highlights, letting you jump straight into storytelling instead of spending hours scrubbing through shaky footage.
Let AI Handle the Tedious Stuff
Beyond just finding the best shots, AI is brilliant at automating the repetitive tasks that kill your creative momentum. If you're figuring out how to edit a video on your phone, this kind of automation is a lifesaver, especially when you need to get content out the door consistently.
- Automatic Subtitles: Forget typing everything out. With one tap, AI can transcribe the audio in your video and generate perfectly timed captions. This is a must for accessibility and engagement, since so many people watch videos with the sound off.
- Intelligent Reframing: You just finished a great horizontal video for YouTube, but now you need a vertical version for TikTok. Instead of manually re-cropping every single clip, AI-powered reframing automatically follows the main subject, keeping them centered in the new format.
These features dramatically slash your production time. This gives you more headspace to focus on what really matters—your story, the pacing, and the overall feel of your video. You can even explore the best AI video editing software to see how different apps are putting these powerful tools to work.
Stay Consistent with Templates and Presets
One of the toughest parts of being a creator is keeping a consistent look and feel across all your content. AI-driven templates and presets make this incredibly simple. You can apply a pre-made style—complete with your brand's colors, fonts, and logos—to any new project with a couple of taps.
The demand for intuitive, high-performance platforms that deliver studio-quality results directly on smartphones is reshaping the market. This trend is crucial for the creator economy, where 91% of businesses now actively use video as a marketing tool. You can find more information about how accessible editing technology is driving the industry on aleaitsolutions.com.
This means every video you post can have that same professional finish, strengthening your brand identity without the hassle of a manual setup every single time. It’s all about working smarter and using technology to create more high-quality content, faster. By embracing these AI tools, you're not just speeding up your edits; you're building a more efficient and scalable workflow for your entire content strategy.
Got Questions About Editing on Your Phone?
Jumping into mobile video editing for the first time? You're bound to have questions. It's totally normal to wonder if you can really get pro-level quality or which app is actually worth your time.
Think of this as a quick chat to clear up those final doubts. We'll tackle the most common questions I hear from creators who are just starting out.
What’s the Best App for Editing Videos on a Phone?
Honestly, the "best" app really depends on what you're trying to do.
If you're brand new to this, something like CapCut or InShot is a great starting point. They're designed to be super intuitive but are still packed with enough features to get the job done right. You can learn the basics without getting lost in a sea of complicated menus.
For those who want that desktop-level control with a multi-track timeline, LumaFusion is a monster of an app. But if your goal is creating a high volume of content without spending hours on every video, AI-powered tools are where it's at. They automate the grunt work, letting you go from a simple idea to a finished video in a tiny fraction of the time.
How Can I Make My Phone Videos Look More Professional?
This is the big one, but the answer is simpler than you think. A professional look doesn't come from a fancy camera—it comes from getting the basics right. Nail these three things, and you'll see a massive difference.
- Stability and Lighting: First things first: stop the shake. Nobody wants to watch wobbly footage. A cheap tripod is your best friend, but even leaning your phone against a stack of books works in a pinch. Also, get near a window. Soft, natural light is your secret weapon for making video look incredible.
- Clean Audio: You can have the most beautiful 4K footage in the world, but if your audio is muffled and full of background noise, people will click away. A simple, inexpensive lavalier mic that clips to your shirt is one of the best investments you can make.
- Polished Edits: This is where the magic happens. Stick to simple, clean transitions. Apply a consistent color grade or filter across all your clips so they feel like they belong together. And always, always add clear, readable captions.
Professionalism isn't one big secret; it's the result of consistently getting the small things right. Good light, steady shots, and clear audio are the foundation of every great video.
Can I Really Edit High-Quality Video Only Using My Phone?
Yes. 100% yes. The phone in your pocket right now is a powerhouse. Modern smartphones have processors and cameras that easily outperform professional gear from just a few years back. You're holding a complete production studio.
When you combine that incredible hardware with a sophisticated editing app (especially an AI-assisted one), there are no limits. You can shoot in stunning 4K, layer multiple clips, add slick graphics and effects, and export a perfectly polished video straight to your social feeds without ever opening a laptop.
Ready to skip the tedious parts of editing and focus on your creativity? ShortGenius uses AI to handle scriptwriting, scene generation, voiceovers, and captions in minutes. Turn your ideas into a consistent stream of high-quality content for every platform. Start creating faster with ShortGenius today!