Bulk Upload YouTube Shorts How to Batch and Schedule Fast

Learn how to bulk upload YouTube Shorts, batch prep files, and schedule efficiently. Avoid errors and publish consistently with proven workflows.
You've finished editing a week's worth of Shorts, exported the files, and now YouTube Studio is waiting. Uploading one video at a time means repeating the same metadata work, opening the same visibility controls, and manually checking every scheduled post. The upload itself isn't the problem. The friction comes from keeping titles, descriptions, thumbnails, privacy settings, and publish times aligned across the whole batch.
Bulk upload YouTube Shorts helps by turning that repetitive session into a controlled intake process. YouTube Studio lets you select multiple Shorts together, but it doesn't turn the entire publishing calendar into one click. Each Short still needs its own final details and scheduling decision, so the winning workflow combines batch preparation with careful video-level review.
Why Bulk Uploading YouTube Shorts Saves Hours Every Week
A practical batch usually starts before YouTube Studio opens. The videos are already edited, named in order, and matched to a spreadsheet containing the final title, description, hashtags, thumbnail note, visibility choice, and planned publish time. Once the files enter Studio together, processing can happen in parallel while the creator works through the details.
YouTube's desktop Help Center documents a native selection limit of up to 15 Shorts at a time for upload, which makes multi-file intake possible inside the platform (YouTube Help). That limit is useful, but it doesn't mean YouTube will publish 15 Shorts with one command. The platform still requires creators to open each draft, complete the details, and choose whether it stays private, goes public, or is scheduled.
What the native workflow actually does
Think of bulk upload as a staging lane, not an automatic publishing machine.
- File intake: Select several finished vertical videos in one desktop upload session.
- Parallel processing: Let YouTube process the files while you prepare the associated metadata.
- Draft completion: Open each item through EDIT DRAFT and finish the video details, a workflow reinforced by YouTube's own Help Center instructions.
- Individual scheduling: Set the visibility and timing for every Short separately.
That distinction changes how you plan the work. If you upload 15 files with no metadata prepared, you've only moved the repetitive task into a crowded dashboard. If you prepare the information first, the batch becomes a fast verification exercise instead of a writing session.
Practical rule: Batch the mechanical work, but never batch your judgment. Every Short deserves an individual title, description, audience setting, and publish time.
YouTube describes Shorts creation through standard upload flows on both mobile and desktop, reflecting the format's evolution from a mobile-first product into a normal part of the channel publishing workflow (YouTube for Creators). For most solo creators, a smaller production batch is easier to review than pushing the native ceiling every time. A group of 5 to 10 Shorts is often a manageable working size according to creator workflow guidance (ShortSync's bulk upload guide), while the full 15-file capacity works better when the files and metadata are already highly organized.
Preparing Your Shorts for Error Free Batch Uploads
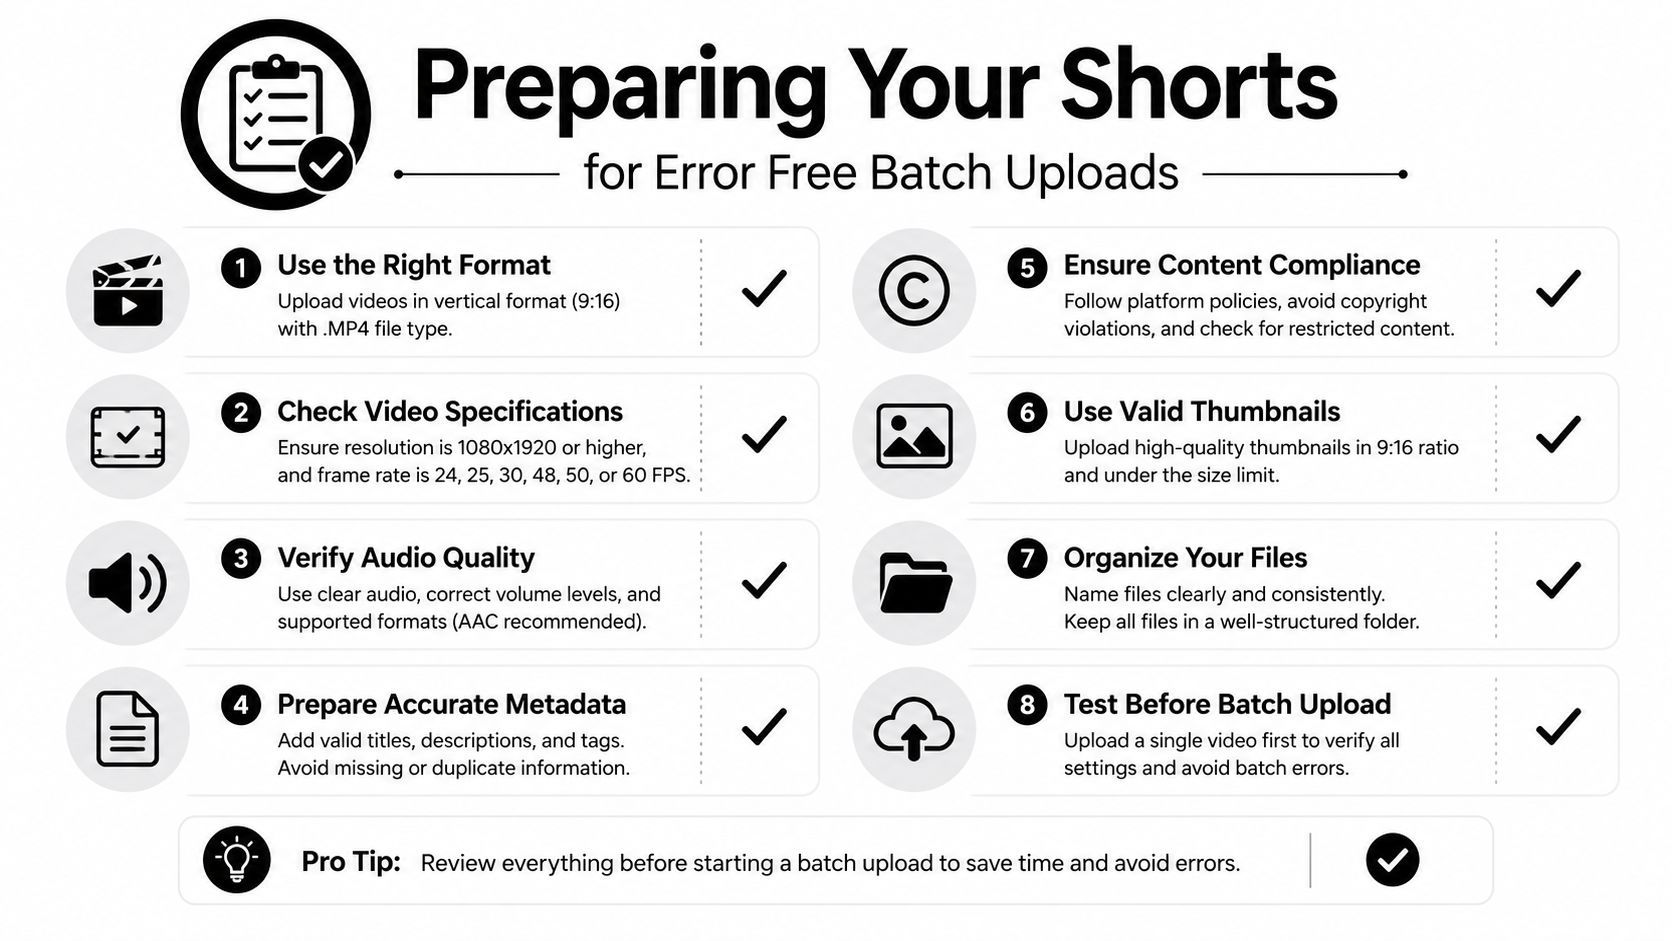
The fastest upload session is the one that needs no re-export. Before selecting files, confirm that every video is designed to qualify as a Short and that its filename can be matched to the right metadata without guesswork.
YouTube's programmatic upload documentation uses the same general video upload system for Shorts rather than a dedicated Shorts endpoint. In practical terms, prepare vertical 9:16 videos, generally 60 seconds or less, and use MP4 with H.264 when you want a widely supported export combination (YouTube Data API upload documentation).
Use a file system that mirrors the publishing order
Create one folder for the batch, then name every file with a clear sequence and topic. A pattern such as 01-topic-hook.mp4, 02-topic-demo.mp4, and 03-topic-mistake.mp4 makes it easier to identify a file while switching between drafts. Avoid vague names such as final-final2.mp4, especially when several videos share similar footage.
Keep supporting assets nearby. If you use custom thumbnails, give the image a matching base name so 02-topic-demo.mp4 pairs with 02-topic-demo.jpg. Consistent exports matter too. Mixing codecs, frame sizes, or audio settings can create uneven processing results and makes troubleshooting harder.
Prepare metadata outside YouTube Studio
A spreadsheet should answer every question Studio will ask. Use one row per Short and include:
- Title: Write the final title before uploading, rather than relying on a filename or improvising in the dashboard.
- Description: Prepare the opening sentence, relevant links, and any recurring hashtags in advance.
- Thumbnail: Record the exact thumbnail filename or mark the Short as ready for its selected frame.
- Visibility: Decide whether the draft remains private, becomes public, or receives a schedule time.
- Review status: Add a simple checkbox for metadata, thumbnail, captions, and final playback review.
This is also where you can build reusable production habits. If your team creates many visual assets for several platforms, the broader workflow principles in this guide to batch processing for social posts can help you organize source files and repeated production steps before distribution.
The point isn't to eliminate review. It's to move writing and decision-making away from the upload interface, where distractions and similarly named drafts create avoidable errors. Keep the first batch modest if you're still developing the system, then expand toward Studio's native limit once the spreadsheet and naming convention feel reliable.
Here's a short pre-upload check:
- Confirm the video is vertical and exported consistently.
- Verify the filename matches the correct spreadsheet row.
- Check the title, description, hashtags, and thumbnail asset.
- Confirm the intended privacy setting and schedule time.
- Move only finished files into the upload folder.
A visual walkthrough can help you see how the desktop process fits together:
How to Bulk Upload YouTube Shorts in YouTube Studio
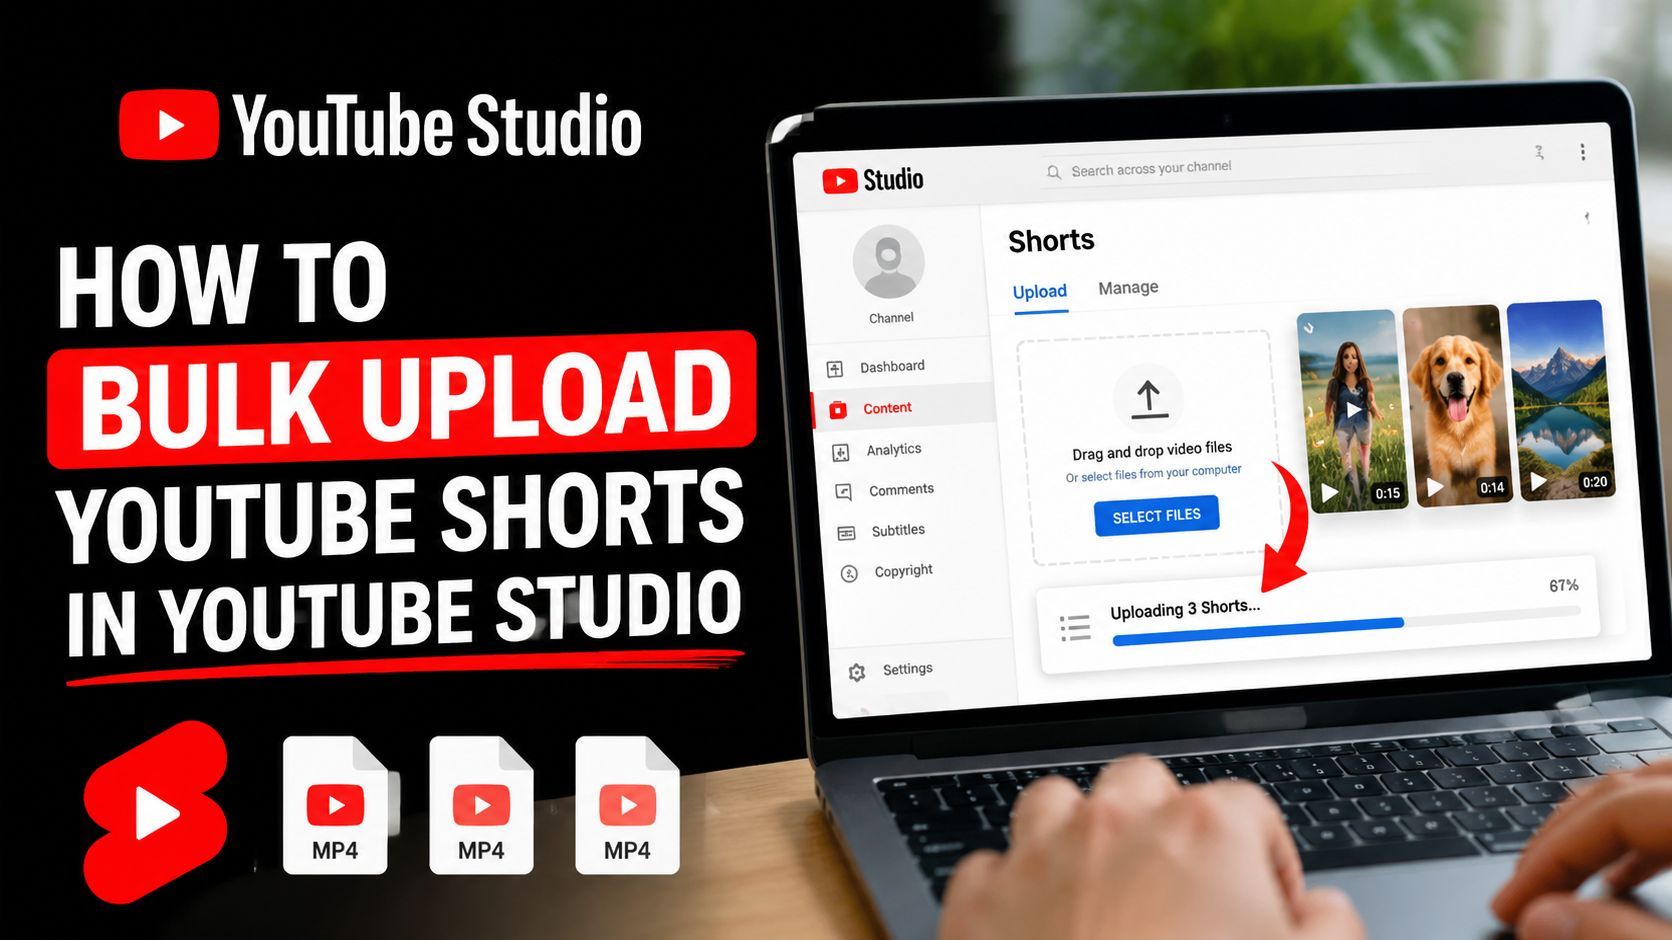
The desktop Studio workflow is a sequence of screens, not a single upload action. Open your prepared folder and spreadsheet first, then keep both available while Studio creates the individual video drafts.
Start the multi-file upload
- Sign in to YouTube Studio from a desktop browser.
- Click Create in the upper-right corner, then select Upload videos.
- In the file picker, select the prepared Shorts together. The documented desktop limit is up to 15 files per batch.
- Click Select or confirm the file choice, then wait for the upload cards to appear in Studio.
- Watch the progress indicators. A file can finish uploading while its processing status is still pending, so leave the page open until the cards settle.
- Select an individual video card to open its details. Use the card list or the draft controls to move through the batch.
If a file fails during selection or processing, read the message on that video card before continuing. Remove the failed item, correct the local file, and upload it again rather than assuming Studio will retry it. A video that uploads successfully can still remain incomplete until its draft details are saved.
Complete the draft details
For each video, select EDIT DRAFT when Studio makes that control available, as described in YouTube Help. The details screen contains the title and description fields, thumbnail controls, audience settings, and other publishing options. Compare the displayed draft with the matching spreadsheet row before saving.
Use the Show more controls when you need settings that are not visible in the initial view. If a title, description, or thumbnail is missing, fix that draft before opening the next one. Keep the visibility setting at Private while unfinished work remains, then save the draft and return to the batch list.
Schedule each completed Short
Open the visibility section for a finished draft and select Schedule. Choose the date and time, check the displayed time zone, then click Schedule to commit the setting. Studio applies that timing to the current video only, so repeat the action for each Short with a different release time.
After saving, open the scheduled content list and check the visible date and time beside every video. If a draft still shows Private, or if a time is absent, reopen that video and correct the setting. The upload is finished when each card has saved details and the intended publishing status, not when the file transfer alone reaches completion.
Scheduling and Automation Options Beyond Native Upload
Native Studio is a strong fit when you want direct control and your calendar is limited to YouTube. It keeps the files and settings inside your channel, but the workflow remains manual at the metadata and scheduling stages. Third-party tools can reduce repeated platform work, while an API-based process can support custom internal systems.
| Method | Best For | Bulk Limit | Scheduling Control |
|---|---|---|---|
| Native YouTube Studio | Creators who publish directly to YouTube | Up to 15 files per desktop intake session, according to YouTube's Help Center | Individual draft completion and scheduling |
| Third-party scheduler | Teams coordinating YouTube with other social channels | Depends on the tool and account workflow | Calendar-based queues, platform-specific captions, and centralized review |
YouTube Data API videos.insert | Developers and production teams building an internal pipeline | Governed by API access, authorization, and implementation choices | Programmable upload and metadata handling, with scheduling logic built by the team |
Choose native Studio when control matters most
Studio is the least complicated route. You can inspect every draft in the same environment where the Short will publish, and you don't need to connect another service. The trade-off is clear: titles, descriptions, visibility, and timing still require video-by-video attention.
Use a scheduler for distribution work
A third-party scheduler makes more sense when the same creative batch must be adapted for multiple platforms. It can centralize a content calendar and reduce repeated uploads, but you'll need to check account permissions, supported YouTube features, thumbnail behavior, and how the tool handles platform-specific metadata.
The useful question isn't whether automation sounds faster. Ask whether it preserves the review steps your channel needs. Guidance on small business automation is helpful here because a good automation system removes repetitive handoffs without hiding the decisions that still require a human.
Consider the API for a custom pipeline
For programmatic publishing, YouTube uses the standard videos.insert upload flow with OAuth 2.0 authorization and the youtube.upload scope. The official API documentation explains the upload method, but teams still need to build their own file validation, metadata mapping, error handling, scheduling logic, and review controls (YouTube Data API upload guide).
Shorts that meet the applicable vertical and duration requirements are handled as normal video uploads for this purpose. That's convenient for developers, but it also means the API won't magically solve creative classification, metadata quality, or publishing judgment. Automation is most useful after the content system is already disciplined.
Common Mistakes to Avoid When Uploading Shorts in Bulk
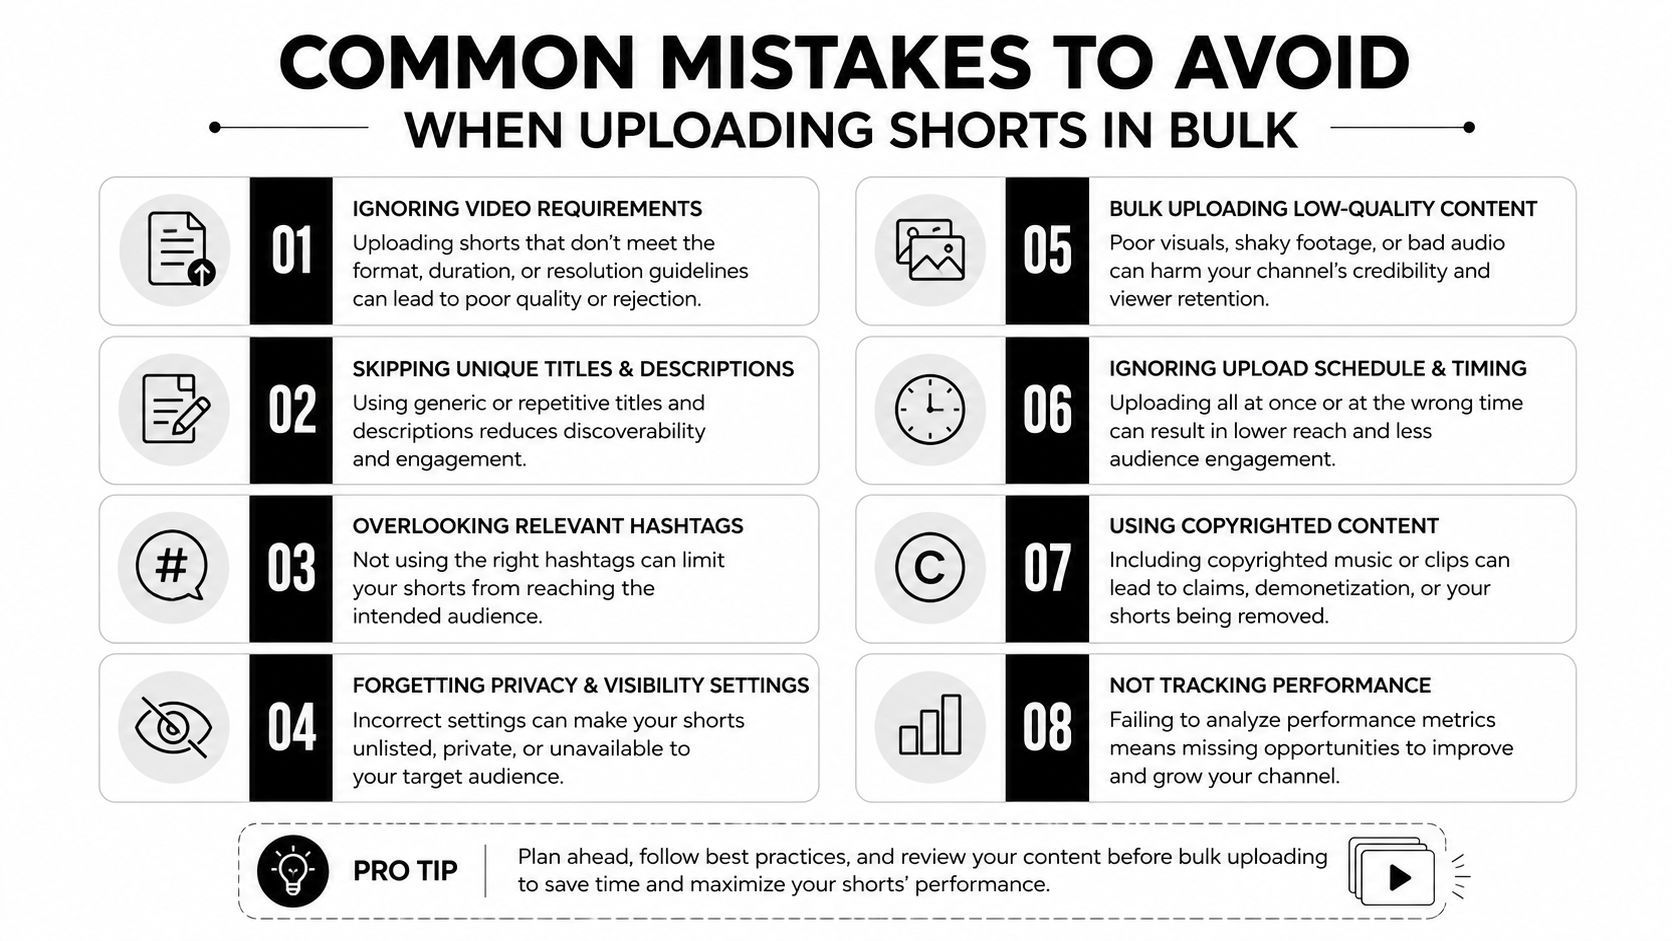
Most failed batches don't fail because the creator clicked the wrong upload button. They fail because the file-to-metadata relationship breaks somewhere between the editing folder and the scheduled content list.
A mismatched title can make a good Short hard to identify later. A rushed description can omit an important link. A group of drafts scheduled without a final check can publish with the wrong thumbnail or an unintended visibility setting.
Protect the metadata mapping
Use one spreadsheet row per file and copy the filename into the row before writing the title. That small step gives you a stable reference when several Shorts cover the same topic. Don't trust memory to distinguish similar drafts after processing finishes.
Watch for these failure points:
- Inconsistent naming: A vague filename makes the wrong draft easy to select.
- Duplicate titles: Similar titles reduce clarity in your calendar and make later reporting harder.
- Unfinished descriptions: A missing call to action or link often indicates that the draft was never reviewed.
- Incorrect format: A file that doesn't meet the intended vertical Short specifications may need reprocessing or re-exporting.
- Premature publishing: Leaving a draft public while the batch is incomplete removes your review buffer.
- Collapsed timing: Scheduling every item together can create a messy publishing calendar instead of a deliberate cadence.
- Skipped verification: Never assume a saved draft has the intended schedule until you check the scheduled list.
- Overfilled batches: Using the maximum upload capacity for every session can create unnecessary metadata pressure.
Use a day-before review as a quality gate, not an optional ritual. Confirm the title, description, thumbnail, visibility, and schedule for each upcoming Short. Publishing consistently is more valuable than shaving a few minutes from upload intake and then correcting avoidable mistakes after the content is live.
Build a Repeatable System for Consistent Shorts Publishing
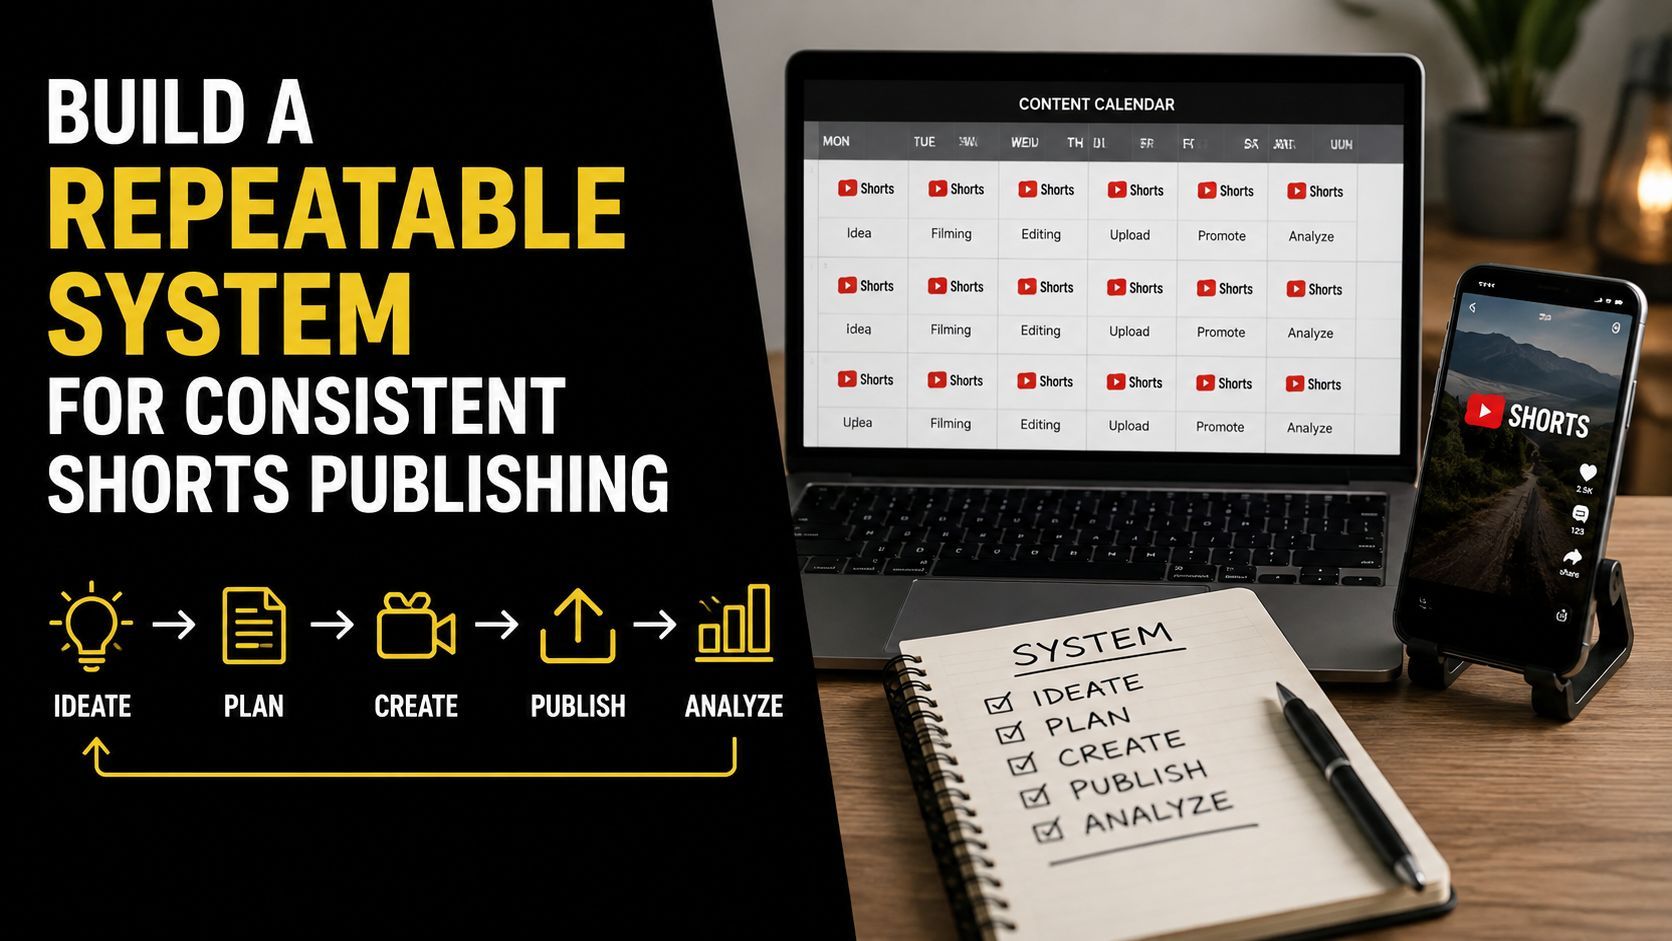
A batch day should end with scheduled Shorts, not a folder of unfinished drafts. Build the workflow around a theme, then separate production, metadata, upload, and verification. That structure makes it easier to process 5 to 15 videos without letting one missing field delay the entire queue.
Keep creative decisions away from upload day. Finish the edits first, then prepare titles, descriptions, visibility settings, and publish times in a spreadsheet. Match each row to its file, upload the finished videos together in YouTube Studio, and complete the drafts before scheduling them individually.
A simple weekly rhythm
- Create: Produce a connected group around one topic or format.
- Package: Export consistently and prepare the matching metadata.
- Stage: Upload the batch and leave drafts private.
- Schedule: Assign publish times, then check the saved schedule.
- Review: Inspect the upcoming queue before anything goes live.
A spreadsheet is the control layer for this process. It shows which Shorts are ready, which metadata needs review, and which items still require a schedule. Once the workflow is stable, increase batch size gradually instead of filling the native upload limit every time.
For creators distributing beyond YouTube, ShortGenius brings scriptwriting, image generation, video assembly, voiceovers, editing, project organization, and social scheduling into one workspace. Hook quality still affects whether a viewer stays, so these three-second hook examples for founders can help shape the opening moment of each Short.
Start with one repeatable batch day. After several cycles without metadata or scheduling errors, expand the queue carefully.
ShortGenius (AI Video / AI Ad Generator) can give creators one place to organize a Shorts series from idea through publishing. Use it when separate folders, spreadsheets, and scheduling tools are creating unnecessary handoffs.