AI Camera App Workflow for Viral Short-Form Video
Learn the ultimate workflow for using an AI camera app to shoot and edit viral short-form video. A step-by-step guide for creators in 2026.
Your camera roll is full. Half the clips were shot in a hurry, the lighting changed from one take to the next, and the footage that looked sharp on your phone suddenly feels messy once you try to turn it into a short-form video.
That's the main problem most creators face. It isn't access to a camera. It's turning fast capture into something consistent, polished, and publishable without spending your entire evening fixing mistakes you made while shooting.
A good AI camera app helps, but only if you treat it like one part of a system. Capture decisions affect everything that happens later. If your footage is too aggressively processed, your edit gets harder. If your framing is inconsistent, your captions and crops get uglier. If your clips are clean and intentional, the whole production line moves faster.
The Creator's Dilemma Your Workflow Is Your Secret Weapon
Creators feel pressure from both sides. Platforms want speed. Audiences expect quality. Creators often end up sacrificing one for the other, then wondering why content production feels chaotic.
The fix usually isn't a new trick or another effect pack. It's a repeatable workflow. Shoot with intention, let the AI help where it's strong, and avoid handing over creative control where the app tends to make bad choices.
That matters more now because AI capture tools aren't a niche category anymore. The global AI camera market was valued at USD 8.2 billion in 2023 and is projected to reach USD 74.0 billion by 2033, with a 24.6% CAGR from 2024 to 2033, according to Market.us research on the AI camera market. That growth doesn't automatically make every feature useful, but it does tell you where creator tools are headed.
Practical rule: Speed comes from decisions you make before you hit record, not from trying to rescue weak footage later.
When an AI camera app is part of a real workflow, it does three things well. It helps you get usable exposure and processing faster, it reduces small technical mistakes during capture, and it gives you cleaner source material for the final edit.
What it doesn't do is replace shot planning.
The creators who move fastest usually aren't shooting more. They're shooting fewer clips with a clearer purpose. A talking-head opener. A close-up for emphasis. A cutaway that supports the line you know you'll say. A reaction shot you can use to hide a trim. That kind of planning is what turns AI from a gimmick into a powerful tool.
Nailing the Capture with Your AI Camera App
Most creators make their edit harder at the shooting stage. They turn on every AI enhancement, shoot everything in the highest quality available, and assume more data means more flexibility. In practice, that often creates footage that's harder to cut, slower to transfer, and less natural once you stack captions, crops, and transitions on top.
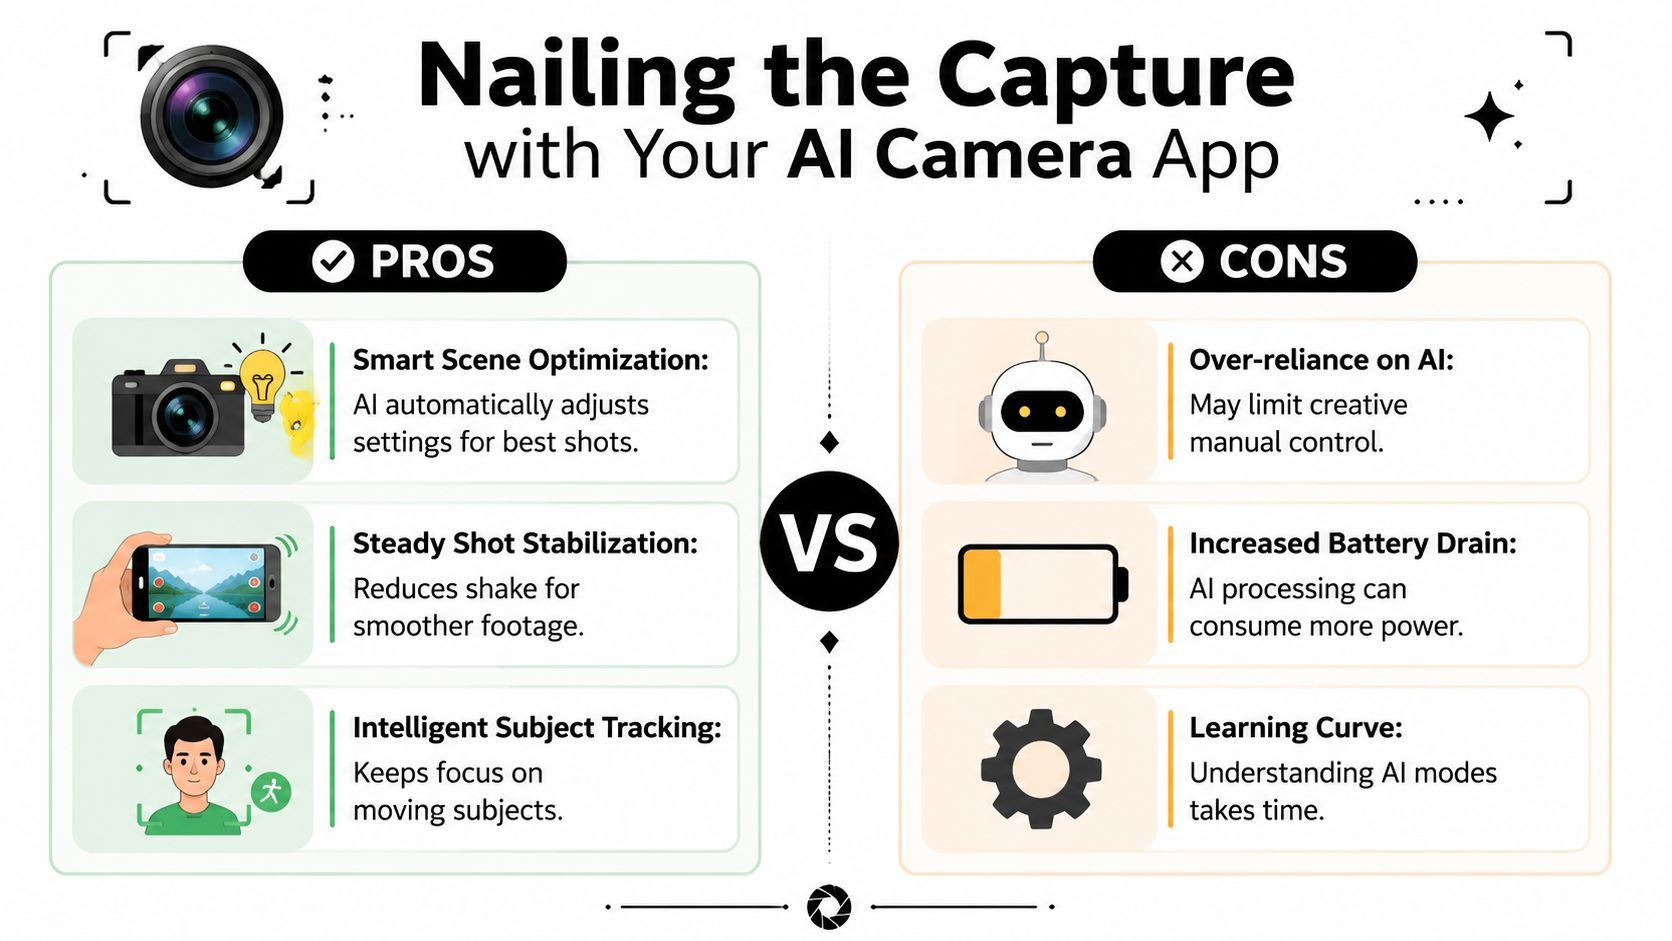
Use AI for correction, not for style
The strongest AI camera app features are the ones that solve technical problems imperceptibly. Stabilization, HDR balancing, subject tracking, and exposure help can save a shoot. Heavy beauty filters, cartoon color rendering, and exaggerated portrait effects usually create footage that feels cheap once it's edited.
For mobile capture, the core process is already doing a lot behind the scenes. Modern AI camera apps use a multi-frame fusion process where the phone captures several frames in quick succession. The AI then merges the best parts, applies scene-specific adjustments like HDR and noise reduction, and delivers an enhanced result in milliseconds, as described in HONOR's explanation of AI camera processing.
That's useful. It also explains why some clips look great in static scenes and fall apart when the subject moves fast.
A simple rule works well in the field:
- Enable stabilization when you're walking, panning slowly, or shooting handheld B-roll.
- Use HDR carefully when the background is much brighter than the subject.
- Leave beauty modes off for creator content unless the final style is intentionally polished and synthetic.
- Keep subject tracking on for solo shooting, especially for tutorials and movement-heavy intros.
If your content relies less on showing your face and more on assembling visual sequences, a dedicated faceless video production app can also help you think differently about what footage you need to capture.
Pick settings based on the edit, not the spec sheet
A lot of creators default to 4K because it sounds safer. Sometimes it is. Often it isn't.
If you know the video is headed to short-form platforms, your best setting is the one that gives you clean motion, manageable file sizes, and enough room to crop without making your phone overheat halfway through the session. For many shoots, stable vertical footage at a moderate frame rate is more useful than oversized files that slow your whole workflow.
Here's a field-ready setup guide.
| Video Type | Resolution/FPS | Key AI Feature to Enable | Pro Tip |
|---|---|---|---|
| Talking head | 1080p at a standard frame rate | Subject tracking | Lock your framing before the first line so every cut sits in the same crop window. |
| Product B-roll | 4K if your phone handles it cleanly | HDR or scene optimization | Shoot wider than you think you need so you can punch in later without awkward reframing. |
| Fast action | 1080p at a higher frame rate if available in your app | Stabilization | Test motion first because AI processing can smear detail when movement is too aggressive. |
| Low-light indoor clip | 1080p | Noise reduction with restrained enhancement | Keep movement slow. Let the AI help exposure, but don't expect it to fix fast subject motion. |
| Walk-and-talk | 1080p | Stabilization and tracking | Hold your pace steady. Sudden turns make tracking and auto exposure wobble. |
Good short-form footage isn't footage with the most processing. It's footage that still looks believable after cuts, captions, and platform compression.
Build your shot list around edit points
The biggest upgrade isn't technical. It's editorial. Every clip should have a job before you shoot it.
Use this three-part structure:
-
Opening shot
Start with your strongest visual or your face delivering the hook. Don't warm up into it. Record three versions with slightly different energy so you have options in the edit. -
Support shots
Capture details that explain the point without needing extra words. Hands, screen taps, product movement, reaction shots, over-the-shoulder views. -
Transition coverage
Shoot a few neutral clips that can hide cuts. Reaching for an object, changing position, tapping record, looking off-camera. These clips save rough edits.
Later, when you're assembling the piece in your editor, these "boring" shots are the ones that keep the pacing smooth.
A quick demo helps if you want to compare your own shooting habits against a practical mobile workflow:
What consistently works on real shoots
I trust AI camera help most when the scene is clear and the intent is simple. One subject. One lighting pattern. One priority.
I trust it least when the scene has competing motion, bad mixed lighting, reflective surfaces, or a subject moving toward and away from the lens. That's where smart processing starts guessing, and guesses are expensive in the edit.
Common AI Camera Pitfalls and How to Avoid Them
The biggest mistake with any AI camera app is assuming automatic means reliable. It doesn't. It means the app is making trade-offs for you, and some of those trade-offs are bad for creator footage.

Fast motion exposes the limits
A lot of advanced camera processing happens on the device instead of sending raw video elsewhere. That's useful because it cuts latency and bandwidth demands, but it also means you're working inside the limits of a phone or edge device. IDS describes on-device AI processing as a practical deployment pattern for machine-vision tasks, and the same basic constraint shows up in creator tools. Small hardware has finite processing headroom.
That shows up first in hard scenes:
- Dim light with movement creates smearing, ghosting, or weird texture.
- Backlit faces can trigger aggressive compensation that makes skin look flat.
- Busy backgrounds confuse subject separation and edge handling.
- Long recording sessions can make performance inconsistent if the device heats up.
If you're filming dance clips, fitness demos, kitchen movement, or handheld street footage, assume your app needs stress testing before an important shoot.
Three failures I see all the time
Some problems are easy to recognize once you've seen them a few times.
Motion artifacts in low light
Multi-frame enhancement helps detail, but when the subject moves quickly between frames, the merged result can look warped. Hands often show this first.
Unnatural skin rendering Many apps subtly smooth skin or lift tones even when beauty features seem mild. Under captions and close crops, that fake texture becomes obvious.
Edge failures in portrait-style modes
Hair, fingers, glasses, and reflective objects tend to break the illusion. The blur or separation looks fine in a preview, then ugly on a larger screen.
If a clip only looks good on the phone that captured it, it isn't safe yet.
Field tests that save you later
Before a serious shoot, run a short test session in the exact kind of environment you'll use. Not a clean window-lit desk if the actual video is a moving night scene.
Use a checklist like this:
- Test a fast hand move across the frame to see whether the AI creates ghosting.
- Record one clip under mixed light so you can check whether skin tone shifts during movement.
- Turn your head and step forward to see if tracking and exposure stay stable.
- Review at full size on a larger screen, not only inside the phone gallery.
Most creators don't need perfect footage. They need predictable footage. Once you know where your app fails, you can shoot around it. Slow down movement, simplify backgrounds, disable heavy enhancement, or switch to a more neutral mode that leaves room for correction later.
From Clips to Story Assembling in ShortGenius
You finish a shoot with twenty clips that all look usable. The problem shows up in the edit. Three clips say the same thing, the strongest proof lands too late, and the best opener is buried halfway through the folder. Story assembly decides whether your footage becomes a scroll-stopper or just another clean-looking draft.
Start with a script spine
Short videos cut faster when each clip has a job. I build around a simple spine: hook, proof, detail, conclusion. That gives every shot a reason to exist, and it prevents the common edit trap where good footage piles up without building momentum.
Inside ShortGenius video editing workflow, that structure pays off fast. Instead of scrubbing through raw footage hoping a story appears, you can match clips to lines and see where the sequence is thin, repetitive, or missing evidence. That matters because shooting decisions made earlier, like grabbing a clean reaction shot or a second angle of the product, become timing fixes here instead of reshoots later.
Use a basic method:
-
Write the hook first
Keep it to one clear sentence so the opener is easy to identify. -
Map each line to footage
Give every line one main visual and one backup option. The backup saves the cut if pacing changes. -
Reserve inserts for transitions
Hand movements, screen taps, detail shots, and quick environment clips hide trims and let you tighten delivery without a jumpy result.
Organize by function, not by date
Phone galleries sort footage by capture time. Editors need footage sorted by purpose.
Build bins or folders for:
- Hooks
- Talking-head sections
- Proof clips
- B-roll
- Cut fillers
- End frames
That small change speeds up every decision. If the opening feels flat, the strongest hook options are already grouped. If a line runs long, cutaway clips are ready to cover the trim. If the proof arrives too late, you can pull a demonstration shot forward without digging through the whole shoot.
Organize the project the way the audience will experience it, not the way the phone recorded it.
Trim for rhythm before polish
The first pass is about pace. Effects, titles, and styling can wait. What matters now is whether the video moves with intent.
I cut in this order:
- Remove soft starts from spoken lines.
- Tighten dead air that slows the point.
- Cover hard edits with inserts or B-roll.
- Reorder proof shots so the sequence builds instead of repeating itself.
The full system comes together at this point. The AI camera app helps you capture more usable footage in less time. ShortGenius helps you turn that footage into a story with shape, pace, and a clear payoff. When both parts of the workflow are planned together, the final edit gets faster and looks more deliberate.
The Final Polish Adding Voice Captions and Reach with AI
Most editing time doesn't disappear in the timeline. It disappears in the finishing work. Voiceovers, captions, reformats, cleanup, titles, scheduling. That's where creators lose momentum and where a lot of otherwise strong videos get stuck half-finished.
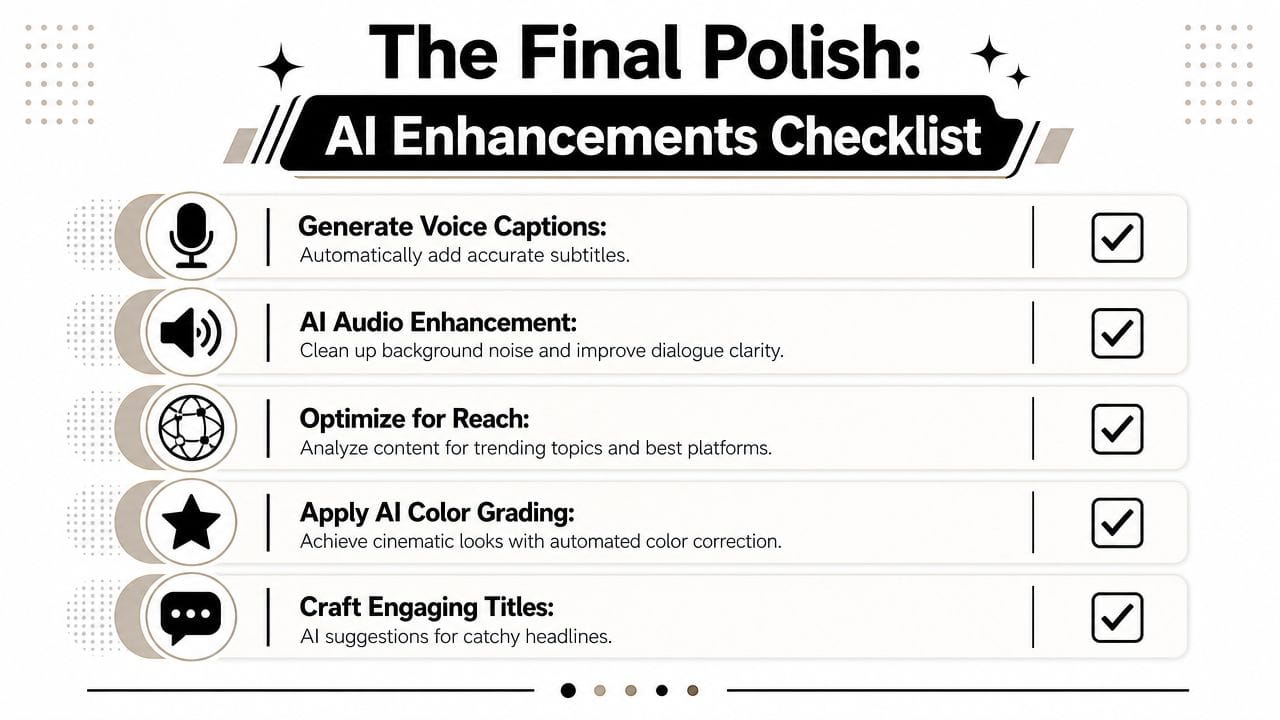
Voice and captions shouldn't be separate projects
If your recorded audio is weak, inconsistent, or rushed, replacing or supporting it with AI voice can save the video. That's especially useful for explainer content, list formats, product demos, and faceless sequences where pacing matters more than preserving the exact live take.
The same goes for captions. They aren't an optional add-on anymore for short-form content. They shape readability, pacing, and emphasis. Good captions can rescue clarity when someone is watching without sound. Bad captions can make a clean edit feel amateur.
Use AI finishing tools well by keeping a few standards:
- Match the voice to the format. A calm explainer voice works for tutorials. It usually feels wrong for urgent reaction content.
- Edit the caption text, don't blindly accept it. Auto-generated words can be close and still miss the point if your phrasing is fast or casual.
- Style for readability first. Fancy caption animation isn't helpful if words are hard to track.
Resize after you lock the story
A lot of creators resize too early. They start worrying about platform formatting before the sequence itself works. That's backwards.
Get the story right first. Then adapt the frame. Once the cut is locked, resizing for vertical-first platforms becomes a distribution task instead of a creative interruption.
That matters because the platform mix isn't static. A later market forecast puts the AI camera market at USD 18.96 billion in 2026 and says North America holds the largest regional share at 33.68% in 2025, according to Fortune Business Insights on the AI camera market forecast. For creators trying to reach audiences across TikTok, Instagram, and YouTube, fast reformatting isn't a nice bonus. It's operationally necessary.
Here's the finishing order that keeps things efficient:
-
Lock the cut
No more clip swapping unless something is broken. -
Clean the audio path
Remove distracting noise and make speech intelligible before adding music. -
Generate captions
Then review for names, slang, timing, and emphasis words. -
Create platform versions
Check whether the subject stays centered in each crop. -
Write the title and publish assets
Thumbnail text, opening line, caption copy, and posting schedule should support the same core idea.
The best AI finishing tools don't make you more creative. They protect your creative energy by removing repetitive work.
Reach depends on adaptation, not duplication
Posting the exact same export everywhere usually underperforms. Different platforms reward different opening speeds, text density, and framing tolerance. The efficient move isn't rebuilding the video from scratch. It's adapting the final package with minimal extra effort.
That means checking:
- Opening screen composition so text isn't buried under interface elements.
- Caption size so it remains readable in tighter mobile views.
- Voice pace if one version needs to move faster than another.
- End screen timing so the call to action doesn't get cut off by platform overlays.
AI finishing earns its keep. Not because it replaces editorial judgment, but because it shortens the gap between one approved cut and several ready-to-publish versions.
Your New AI-Powered Video Creation System
A reliable AI camera app isn't just a capture tool. It's the front end of a production system. When you use it well, it gives you cleaner source footage, fewer technical surprises, and clips that are easier to shape into a strong short.
The rest comes down to discipline. Shoot fewer, better clips. Use AI for stabilization, exposure help, and processing support. Don't let it over-style your footage. Test failure points before important shoots. Organize your material by story function instead of by the order it was recorded.
That's the workflow that scales. Not endless retakes. Not throwing filters at weak footage. Not hoping the edit will solve problems that started on location.
When capture and finishing are aligned, content production gets lighter. You spend less time rescuing clips and more time making choices that viewers notice. Better hooks. Better pacing. Better framing. Better distribution.
And that's what most creators want. Not more tools. A system that makes the tools work together.
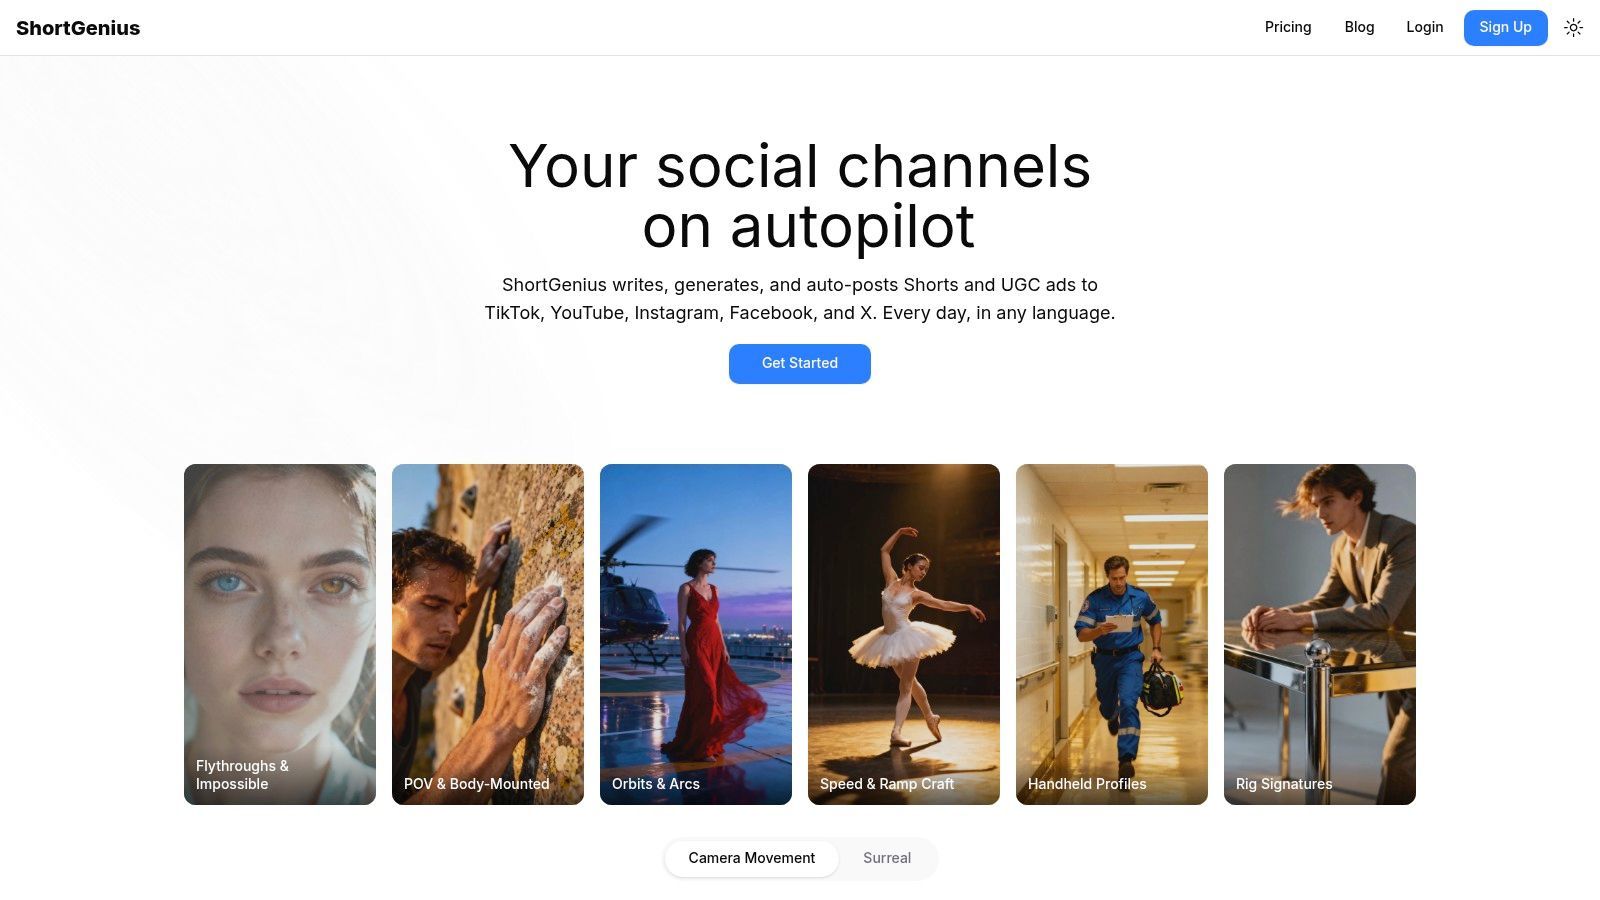
If you want one place to turn raw ideas, captured clips, voiceovers, captions, resized edits, and scheduled posts into a repeatable publishing workflow, try ShortGenius (AI Video / AI Ad Generator). It's built for creators and teams who want to move from concept to finished short-form content without stitching together a dozen separate tools.