How to Stream on Twitch A Beginner's Guide to Going Live
Learn how to stream on Twitch with our complete guide. We cover essential gear, software setup, and proven tips to help you start and grow your channel.
Before you can even think about going live on Twitch, you need to get your gear in order. This doesn't mean you need a soundproof studio worthy of a Hollywood blockbuster, but there are a few non-negotiables. A solid PC or console, a steady internet connection, a microphone that doesn't sound like a drive-thru speaker, and a decent webcam are the four pillars of any good stream. This is your essential streaming toolkit.
Building Your Essential Streaming Toolkit
Jumping into the world of Twitch hardware can feel like diving into the deep end. The good news? You can absolutely start with what you have and build up from there. The initial mission is simple: create a stable, clear broadcast that lets you be the star of the show.
The single most important piece of the puzzle is your internet connection. We're all used to hearing about download speeds for watching Netflix or gaming, but for streaming, upload speed is king. If your upload is slow or spotty, your stream will look like a pixelated mess to your viewers, regardless of how beastly your PC is. You'll want to aim for at least 6 Mbps upload speed to comfortably push out a quality 1080p stream.
Here’s a look at what a basic, effective streaming setup looks like. It’s all about how the pieces work together.
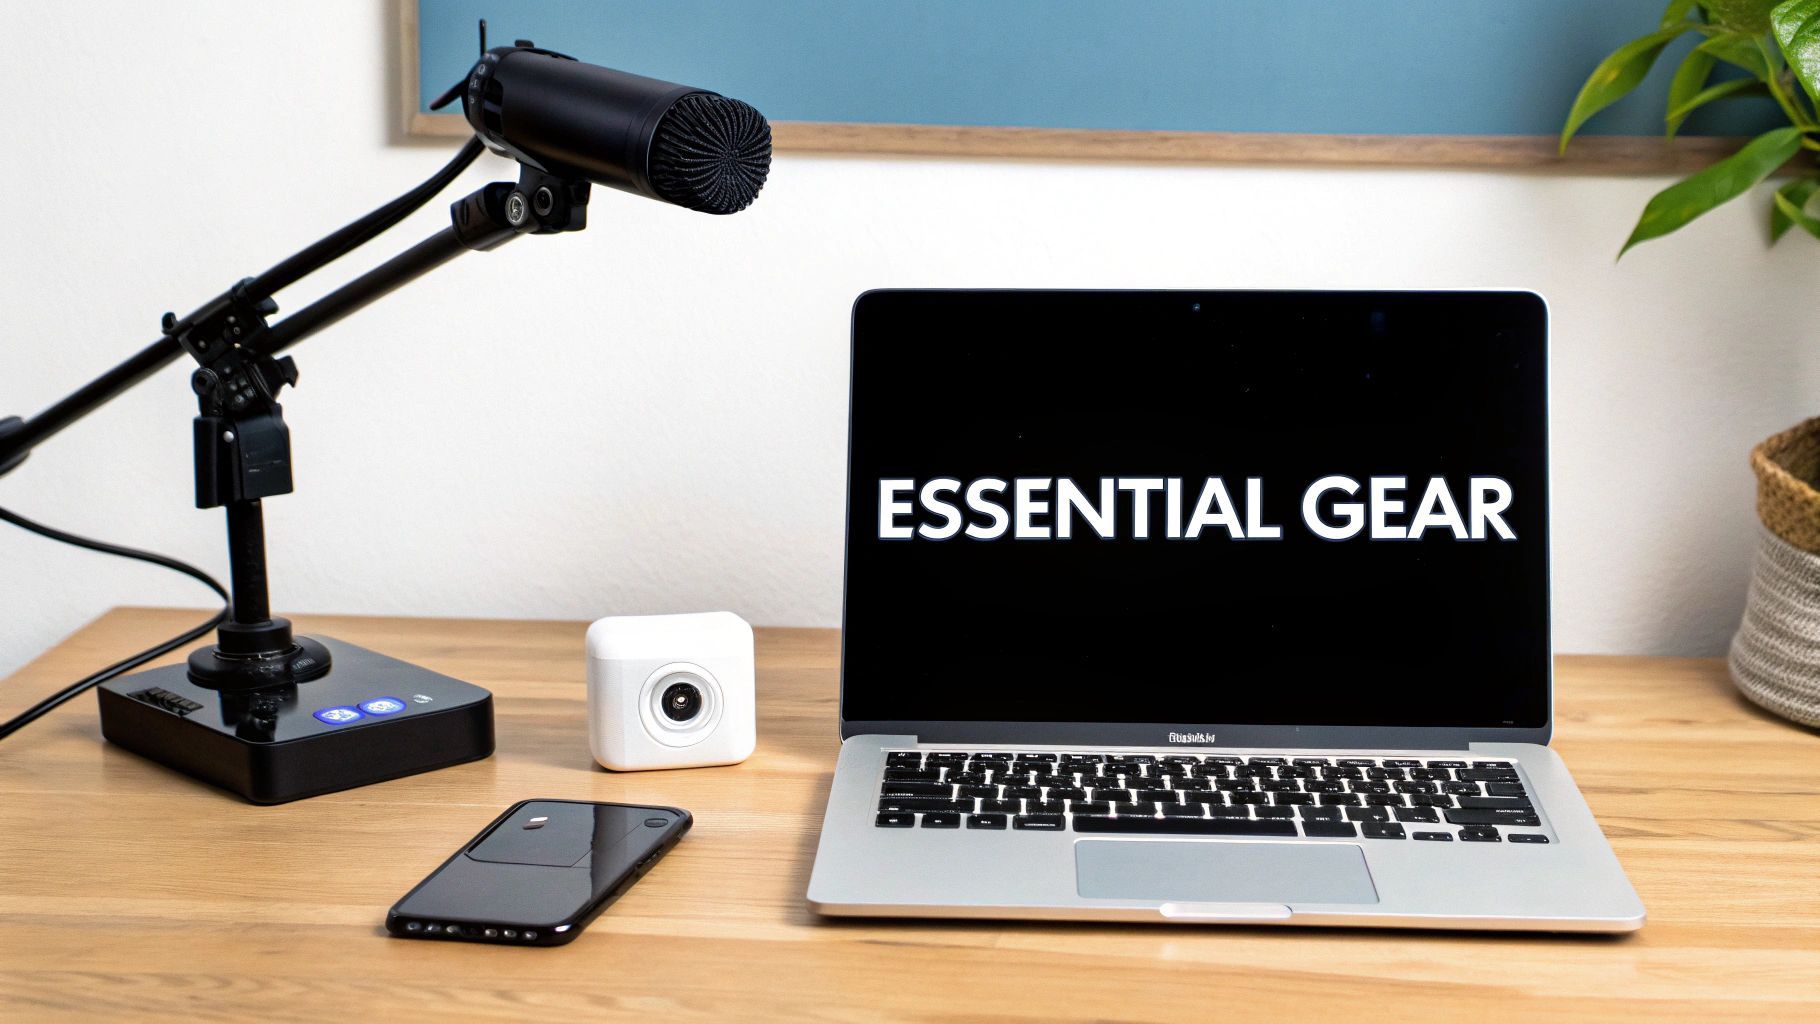
This setup shows the core relationship between your audio, your video, and the computer that powers it all. That synergy is the heart of your entire operation.
Core Hardware Components
Your PC or console is the engine that drives your stream. For anyone on a PC, a capable processor (CPU) and a dedicated graphics card (GPU) are critical. They do the heavy lifting of running your game and encoding the video feed for Twitch at the same time without turning your gameplay into a slideshow. If you're streaming from a console, things are a bit simpler since the PlayStation and Xbox have streaming baked right in, though a capture card is a great investment for better quality and more control.
With the engine sorted, let's talk about the parts your audience will actually see and hear.
- Microphone: Your voice is how you connect with your chat. Trust me on this—a standalone USB microphone like a Blue Yeti or Rode NT-USB+ is a world away from a crackly headset mic. Clear, crisp audio instantly makes your stream feel more professional and keeps people around longer.
- Webcam: People want to see your reactions! A reliable 1080p webcam, like the classic Logitech C920, is the perfect place to start. It gives viewers a clear picture of you, which is huge for building that community vibe.
Pro Tip: A classic rookie mistake is splurging on a 4K camera while using a cheap headset mic. Viewers will click away from a stream with terrible audio much faster than one with slightly fuzzy video. Always, always prioritize your microphone first.
Essential Streaming Hardware at a Glance
To make sense of the options, I've broken down some recommendations based on where you're at in your streaming journey. You don't need the "High-End" column to succeed, but this gives you a roadmap for future upgrades.
| Hardware Component | Budget-Friendly Option | Mid-Range Recommendation | High-End Choice |
|---|---|---|---|
| Microphone | Gaming Headset Mic | Blue Yeti USB Microphone | Shure SM7B + Audio Interface |
| Webcam | Built-in Laptop Cam | Logitech C920 Pro HD | Sony A6000 + Cam Link 4K |
| Lighting | A well-lit room | Elgato Key Light Air | Elgato Key Light (x2) |
| PC CPU | Intel Core i5 / AMD Ryzen 5 | Intel Core i7 / AMD Ryzen 7 | Intel Core i9 / AMD Ryzen 9 |
| PC GPU | NVIDIA GeForce RTX 3050 | NVIDIA GeForce RTX 4060 Ti | NVIDIA GeForce RTX 4080 |
| Internet Speed | 6+ Mbps Upload | 10+ Mbps Upload | 25+ Mbps Upload (Fiber) |
Choosing the right gear is all about balancing your budget with your goals. Start with the "Budget-Friendly" column if you need to, and you'll still be able to produce a great-looking stream.
As you start getting some traction, you'll want to chop up your best moments into clips for social media. This is how you grow. Turning those clips into polished promos using a tool like an AI ad generator can help you bring new viewers back to your live stream, creating a cycle of growth that works for you even when you're offline.
Building Your Twitch Channel from the Ground Up
Think of your Twitch channel as your personal corner of the internet. It's your digital storefront, your community hangout, and the very first thing anyone will see. Before you dive into streaming software or worry about your first "Go Live," you need to build that space. It all starts with creating an account and picking a username that sticks—something that reflects who you are or what you're about.
Once you’ve got your account, your first and most important task is to turn on Two-Factor Authentication (2FA). Seriously, don't skip this. Twitch actually requires it before you can stream, and it’s the best way to keep your account safe from bad actors. With that out of the way, it's time to head over to your Creator Dashboard. This is where the magic happens.
Bringing Your Channel Page to Life
Your Creator Dashboard is your command center, and it’s where you'll start to shape your channel's identity. The first things to tackle are your profile picture and banner—these are the most prominent visuals on your page. They’re essentially your channel’s logo and billboard.
- Profile Picture: Go for something clean and easy to recognize. A good headshot, a custom illustration, or a simple logo all work great.
- Profile Banner: This is the big image at the top. Use this space to your advantage! Post your stream schedule, drop your social media handles, or use branded graphics that set the tone for your stream.
- About Section: So many people sleep on this. Use the 'About' panels to tell people who you are. Introduce yourself, explain what games or content you love, lay out your chat rules, and link out to your other social profiles.
A little thought into your visual brand goes a long way. Taking some time to think about things like choosing the right logo style for your brand can really help you stand out.
This dashboard is where you'll manage everything, from what your stream title says to your core channel settings.
Getting comfortable here is key to figuring out how to stream on Twitch. It’s also where you’ll find your all-important stream key.
Dialing in the Important Settings
Inside the dashboard, you’ll find a "Stream" tab with some critical settings. The most important one is your Primary Stream Key. This is the unique code that connects your streaming software to Twitch. Guard this thing with your life—if someone else gets it, they can stream to your channel.
You can also adjust your latency settings here. You can choose normal latency for the best possible video quality, or you can opt for low latency to have a more real-time, interactive chat experience with your viewers.
Pro Tip: Find the "Store past broadcasts" setting and turn it on immediately. This tells Twitch to save your streams as VODs (Videos on Demand). For a new streamer, this is absolutely essential. It gives people a chance to discover you even when you're offline.
Making your channel look professional is more than just vanity. You're competing with over 7 million other creators streaming every month for the eyes of about 2 million viewers who are live at any given moment. A polished, branded channel is your first, best shot at grabbing a piece of that attention.
Configuring Your Streaming Software Like a Pro
Think of your streaming software as the director's booth for your entire show. It’s the tool that grabs your gameplay, your webcam feed, and your microphone audio, then blends them all together into the final broadcast that goes out live to Twitch. For anyone just learning how to stream on Twitch, the choice almost always boils down to two main options: OBS Studio and Streamlabs Desktop.
OBS Studio is the open-source powerhouse. It’s incredibly flexible, giving you granular control over every single aspect of your stream. More importantly, it’s known for being light on system resources, which is a lifesaver when you're already pushing your PC to its limits with a demanding game.
On the other hand, Streamlabs is built on the same foundation as OBS but wraps it in a much more beginner-friendly package. It comes with integrated tools like alert boxes, themes, and chat management, which can feel less intimidating if you're just starting out.
OBS vs Streamlabs A Comparison for New Streamers
Deciding between OBS and Streamlabs is a common first hurdle for new streamers. While both get the job done, they cater to slightly different needs and technical comfort levels. This table breaks down the key differences to help you choose the right starting point for your channel.
| Feature | OBS Studio | Streamlabs Desktop |
|---|---|---|
| Ease of Use | Steeper learning curve, but offers complete control once mastered. | Very beginner-friendly with a guided setup and integrated features. |
| System Performance | Lightweight and consumes fewer system resources. | Can be more resource-intensive due to its built-in features and UI. |
| Customization | Highly customizable with a vast library of third-party plugins. | Less flexible; customization is limited to its integrated app store. |
| Integrated Features | A la carte; you add alerts, chat, etc., via browser sources or plugins. | All-in-one; chat, alerts, and themes are built directly into the app. |
| Cost | 100% free and open-source. | Free to use, but many premium themes and apps require a subscription. |
| Who It's For | Tech-savvy creators or those who need maximum performance and control. | New streamers who want a simple, all-in-one setup experience. |
Ultimately, there's no "wrong" choice here. Many streamers start with Streamlabs for its simplicity and then graduate to OBS Studio as they become more confident and need more advanced control over their broadcast.
Getting Your Twitch Account Connected
The first thing you need to do, no matter which software you pick, is to link it to your Twitch channel. Dive into the settings menu and look for a "Stream" or "Output" tab. The simplest method is to log in to Twitch directly through the software. It's a one-and-done solution that automatically configures the best server for you and handles the security side of things.
You can also do it manually by grabbing your stream key from your Twitch Creator Dashboard. Just be careful with this key—if someone else gets it, they can stream directly to your channel. Treat it like a password.
Building Your First Scene
In the world of streaming, a scene is simply a layout of all the different things your audience sees on screen. You'll probably want a few different scenes ready to go: one for your gameplay, maybe another for when you're just chatting with your audience (with a full-screen webcam), and a classic "Be Right Back" screen for breaks.
Each element within a scene is called a source. To put together a basic gameplay scene, you’ll need to add a few key sources:
- Game Capture: This is what grabs the video feed from your game.
- Video Capture Device: Your webcam. This lets your viewers see your reactions.
- Audio Input Capture: Your microphone, so everyone can hear your brilliant commentary.
Once you add them, you can simply click and drag to resize and position everything. A common setup is to have the game capture as the full-screen background layer with a small webcam source tucked into one of the corners.
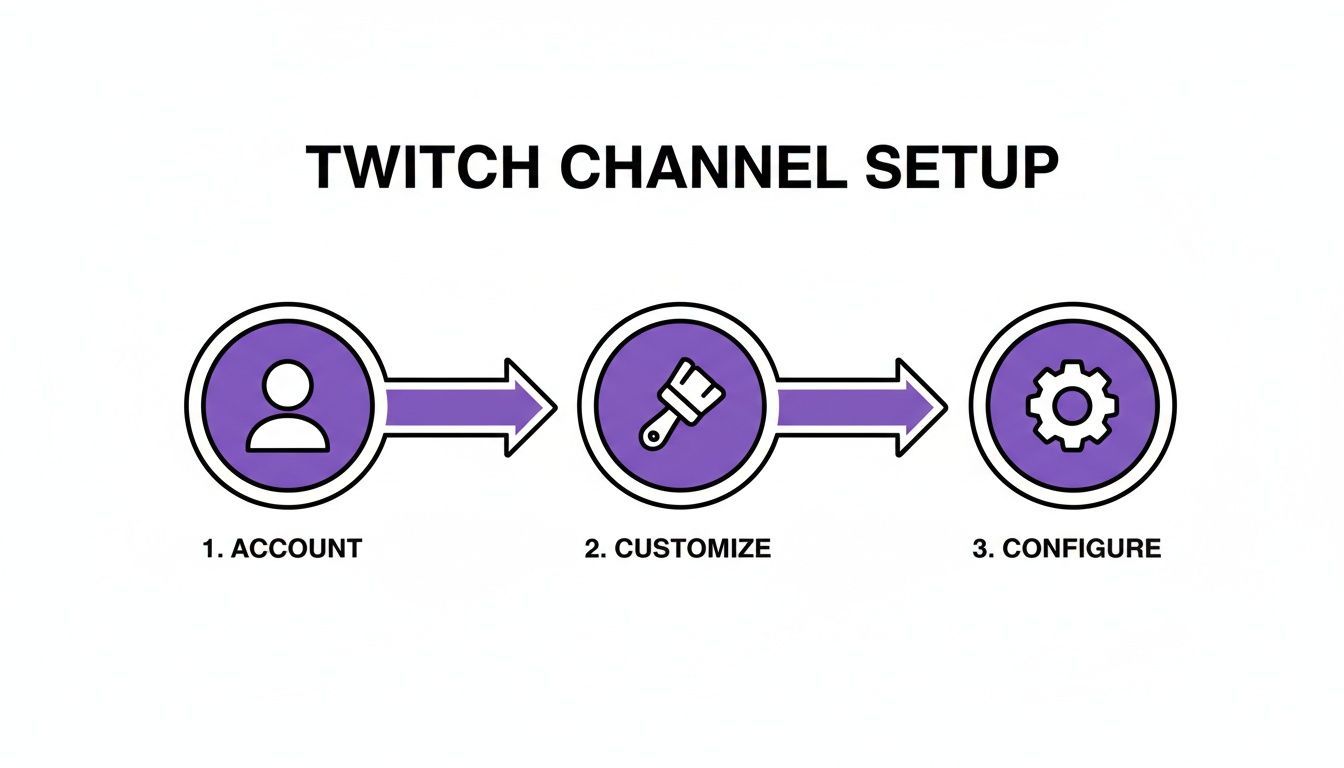
This diagram perfectly illustrates the flow: once your account is made, it's all about customizing your channel's look and then configuring the software to bring it all to life.
Fine-Tuning Your Output Settings for a Smooth Stream
This is arguably the most critical part of the technical setup. Your output settings, specifically your bitrate and resolution, dictate the quality and stability of your stream. It's a balancing act between how powerful your PC is and, more importantly, how fast your internet's upload speed is.
A higher bitrate equals better video quality, but it demands more from your internet connection. A classic mistake is setting the bitrate too high, which leads to a choppy, unwatchable stream for your viewers.
For a smooth 1080p stream at 60 frames per second (fps), Twitch recommends a bitrate somewhere between 4500 and 6000 kbps. Before you lock that in, run an internet speed test. If your upload speed is under 8 Mbps, you should seriously consider streaming at 720p instead to guarantee a stable broadcast.
The best way to nail these settings is to experiment. Run a few private test streams, then watch the VOD back on Twitch. How does it look during fast-paced action? Is the audio clear? Taking the time to dial this in is what separates a frustrating, laggy stream from a professional-quality broadcast.
Mastering Your First Stream and Engaging Viewers
That moment you click "Go Live" for the first time is a weird mix of pure adrenaline and stomach-churning nerves. All the software setup and scene-building is done, but now the real work starts. Going from just broadcasting to actually entertaining is all about connection, and that begins with you.
Let’s be honest, overcoming on-camera shyness is a huge hurdle for almost everyone. It feels totally awkward at first, and that's okay. Your first audience might be one or two friends, or maybe just the void. This is your training ground. Use this quiet time to get comfortable talking to yourself, narrating what you’re doing in-game, or walking through your creative process.
Think of it as your commentary practice run. If you're playing a game, talk through your strategy. "Okay, I'm pushing left here because I think they'll rotate from the east." This habit, often called "always be talking," is probably the most critical skill a new streamer can learn. It ensures that when someone does pop into your stream, they find an active, engaging broadcast instead of dead air.
Building Your Community from Viewer One
That first chat message? It's a huge deal. Make sure you acknowledge that person immediately, by name. Something as simple as, "Hey, [username]! Welcome in. How's your day going?" can turn a passive lurker into an active part of your stream.
Your first viewers are your foundation. How you interact with them sets the tone for your entire community. Treat every single person who joins your chat like a VIP, because in these early days, they absolutely are.
As more people start trickling in, managing the chat becomes a bigger priority. This is where you bring in some basic moderation tools and a trusty chatbot.
- Moderation: Ask a friend you trust to be your first mod. They can help keep the vibe positive and boot any trolls while you stay focused on your content.
- Chatbots: Set up a simple bot like Streamlabs’ Cloudbot or the StreamElements Bot. You can program easy commands like
!socialsor!scheduleso the bot can handle frequently asked questions for you.
Putting this simple structure in place helps create a welcoming and safe space, which is exactly what makes people want to stick around and come back.
Handling Common Technical Hiccups
Look, no stream is perfect. You will run into technical problems like dropped frames or audio lag. The key is not to panic. More often than not, these issues pop up because your bitrate is set too high for your internet connection to handle.
If your stream starts getting choppy, just briefly end it, lower your bitrate in your software settings by about 500 kbps, and start it back up. It's a quick fix that usually works. A great pro tip is to keep your streaming software's stats window open on a second monitor. This lets you keep an eye on your CPU usage and network health in real-time, so you can often spot problems before your viewers even notice. Learning to troubleshoot on the fly is a core skill for any streamer.
Ultimately, crushing your first stream is about building confidence and laying the groundwork for a community. Success on Twitch can scale to incredible heights. For example, Kai Cenat was the most-watched streamer recently, pulling in over 100 million hours watched, while Ibai's 'La Velada del Año V' event hit a staggering peak of 9.33 million concurrent viewers. This just shows the massive potential of the platform for creators who nail both their content and their community. You can dig into more stats like this in a great breakdown of Twitch viewership trends.
Growing Your Channel Beyond Live Broadcasts
Your job as a creator doesn't stop the moment you hit "Stop Streaming." Honestly, that's often when some of the most important work for growing your channel begins. The real trick is to stop seeing your stream as a single, live event and start looking at it as a mountain of potential content for other platforms.
This is where multi-platform content repurposing really shines. By taking the best moments from your hours-long Twitch VODs and slicing them into short-form videos, you build a powerful machine for getting discovered. Platforms like TikTok, YouTube Shorts, and Instagram Reels are literally built to push exciting clips to new people, creating a funnel that brings fresh eyes right back to your live stream.
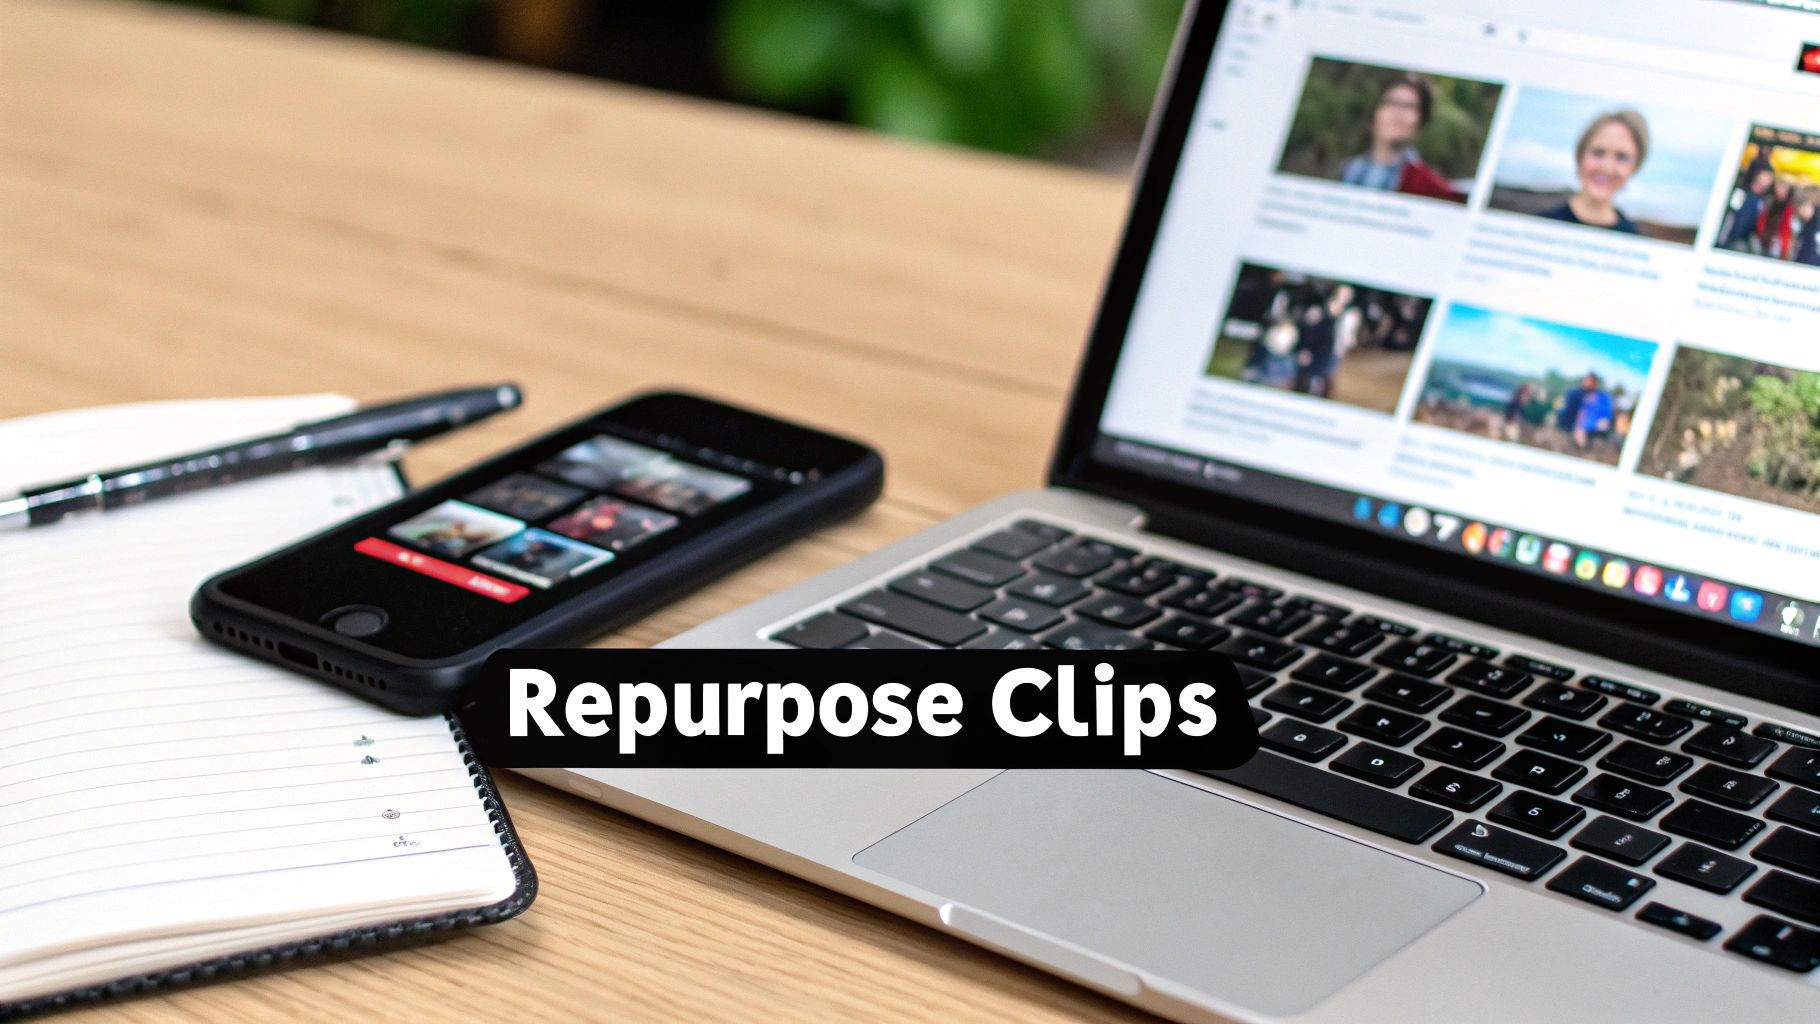
This image perfectly illustrates the modern creator's workflow. The live content from your main screen becomes bite-sized gold for mobile feeds, driving a constant cycle of growth and engagement.
Identifying Your Most Shareable Moments
Let's be real: after a long stream, the thought of scrubbing through hours of footage to find that one perfect clip can be exhausting. The key is to know exactly what you’re hunting for. You’re looking for the moments that are instantly re-watchable and have the best shot at going viral.
Here’s what I always look for:
- Peak Emotional Reactions: Did you completely lose it after a jump scare in a horror game? That’s a clip.
- Incredible Gameplay: A clutch 1v5 win or a once-in-a-lifetime shot is prime short-form material.
- Hilarious Banter: A genuinely funny exchange with your chat or a friend you're playing with is super relatable.
- Genuine Advice: Dropped a really useful tip or a thoughtful insight? Clip it. That's pure value for a viewer.
Your goal is to find self-contained moments that are entertaining even for someone who has no idea what was happening in the full stream. If a 30-second clip can make a total stranger laugh or say "wow," it's a winner.
Building an Efficient Repurposing Workflow
Creating a steady stream of short-form content is all about working smarter, not harder. You could manually clip moments using Twitch's tools and then edit them yourself. But tools powered by AI, like ShortGenius, are designed to do the heavy lifting for you by automatically finding the most engaging moments and formatting them perfectly for vertical video. This can completely remove a massive time-sink from your post-stream routine.
The money you make on these other platforms can also become a serious part of your income as a creator. To get a better sense of what's possible, you can dive into our guide on https://shortgenius.com/blog/how-much-does-tiktok-pay.
Remember, growing on Twitch is about more than just what happens live. When you actively build your community on other platforms using effective community management strategies on social media, you create a powerful ecosystem around your brand. Your content starts working for you 24/7, turning your offline hours into your most productive period for growth.
Common Questions About Streaming on Twitch
Jumping into the world of Twitch is a huge thrill, but it's also totally normal to feel a bit overwhelmed. You've probably got a dozen questions buzzing around your head before you even think about hitting that "Go Live" button. Let's walk through some of the most common ones I hear from new streamers.
A lot of newcomers get hung up on thinking they need a pro-level, multi-thousand dollar setup right out of the gate. That's just not true. You can absolutely start streaming for next to nothing, especially if you already have a gaming console or a decent PC.
How Much Does It Really Cost to Start?
Seriously, you don't need to break the bank. If you're planning to stream from a PlayStation 5 or Xbox Series X/S, you can get going with just the console, a headset, and the built-in broadcasting apps. For those on PC, the computer itself is the biggest hurdle.
Assuming you've got a PC that can handle it, your initial costs can be well under $100. A good USB microphone and a solid 1080p webcam are all you really need. My advice? Put your money into your audio first. Viewers are far more forgiving of so-so video quality than they are of crackly, hard-to-understand sound.
The biggest mistake I see new streamers make is dropping a ton of cash on gear they don't need yet. Your content and your personality are what bring people in, not a $400 microphone. Start lean, figure out what you love to stream, and let your future stream earnings pay for the upgrades.
What Internet Speed Do I Actually Need?
This one is critical. When it comes to streaming, your upload speed is king—it’s far more important than your download speed. This is what determines how smooth and high-quality your broadcast looks to everyone watching.
For a stable 1080p stream, Twitch recommends an upload speed of at least 6 Mbps. You can check yours in seconds with any free online speed test. If your connection is a little on the slow side, don't panic. Streaming at 720p is a perfectly good alternative that looks great and puts much less strain on your bandwidth.
How Do I Reach Twitch Affiliate?
Getting that Twitch Affiliate invite is the first major milestone on your path to making money from your stream. This is what unlocks channel subscriptions, Bits, and your cut of ad revenue. The requirements are pretty straightforward and are designed to show you're committed to building a community.
Here’s what you need to hit within any 30-day window:
- Get 50 followers.
- Stream for at least 8 hours total.
- Go live on 7 different days.
- Have an average of 3 or more concurrent viewers.
Hit all four of those, and Twitch will automatically send you an email invitation. While earning on Twitch is a fantastic goal, it’s also smart to think about the bigger picture. Understanding the creator economy on other platforms is key. For a different perspective, check out our guide on how much YouTube pays. Diversifying your presence is how you build a sustainable career in the long run.
Ready to take your content beyond the live stream? ShortGenius is built for streamers. It automatically finds the best moments from your VODs and turns them into viral-ready short videos for TikTok, YouTube Shorts, and Reels. Stop spending hours editing and start repurposing your content the smart way. Visit https://shortgenius.com to see how top creators are scaling their brands.