How To Screen Record On iPad With Audio And Edit Videos Like A Pro
Learn how to screen record on iPad with audio, trim clips, and share your videos seamlessly using built-in tools and advanced tips.
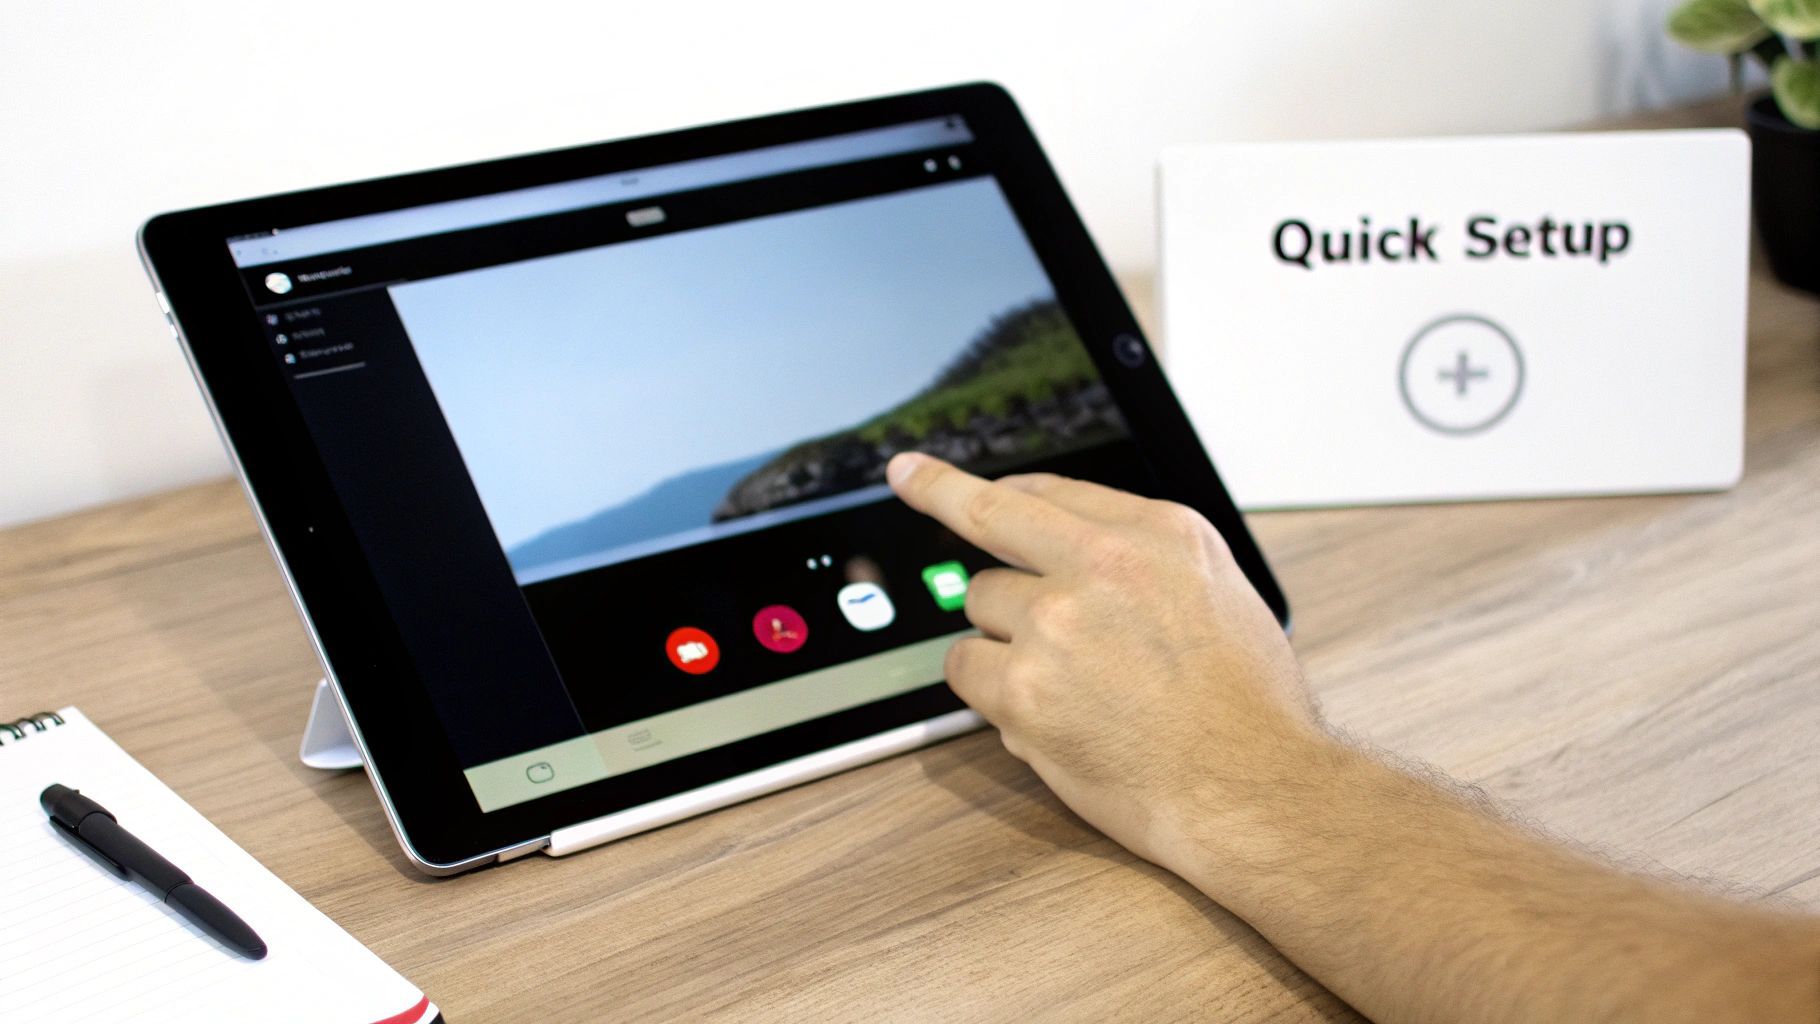
Before you can start capturing your screen, you first need to add the feature to your iPad’s Control Center. It's a one-time setup that takes less than a minute. Just head to Settings > Control Center, then tap the green plus icon next to Screen Recording. Once you've done that, you're ready to record anytime.
Get Your iPad’s Built-in Screen Recorder Ready to Go
Your iPad has a fantastic, built-in tool for recording whatever is happening on your screen. It's perfect for creating app tutorials, saving gameplay highlights, or just showing a family member how to do something. You can skip the third-party apps, which often add annoying watermarks or have privacy concerns. Apple’s native recorder is clean, simple, and already part of iPadOS.
The only catch? The screen recording button isn't visible by default. You have to manually add it to your Control Center. Think of the Control Center as your command hub for quick-access tools, and getting the recorder in there puts it just a swipe away. For creators, teachers, or anyone who needs to demonstrate things on their iPad, this quick setup is a lifesaver.
If you just want the quick steps to get started, this table breaks it down.
Quick Setup for iPad Screen Recording
This table outlines the essential steps to enable the built-in screen recording feature on your iPad quickly.
| Step | Action | Location |
|---|---|---|
| 1 | Open the Settings app. | Your iPad's Home Screen |
| 2 | Tap on Control Center. | In the left-hand menu |
| 3 | Scroll to More Controls. | Below the "Included Controls" section |
| 4 | Tap the green + icon next to Screen Recording. | To the left of the "Screen Recording" label |
Once you've done this, the recorder icon will be waiting for you in the Control Center whenever you need it.
Why This Quick Setup Matters
Placing the Screen Recording icon in your Control Center is more than just a setup task; it’s about making your workflow effortless. I always recommend dragging it toward the top of your included controls for even quicker access. Trust me, this is incredibly helpful for those spontaneous moments you want to capture without digging through menus.
Think about these real-world scenarios:
- For educators: You can quickly record a walkthrough of a tricky math problem for a student who's struggling.
- For app developers: Found a weird bug? Capture it on video in seconds to show your team exactly what happened.
- For gamers: Instantly start recording an amazing play without having to pause the action and lose your flow.
This native feature first appeared with iOS 11 and completely changed how we capture content on an iPad. Before that, recording your screen was a real hassle, often requiring you to physically connect your device to a Mac. You can read up on the history of this feature to appreciate how far it's come.
Customizing your Control Center this way ensures you're always just a swipe and a tap from recording. The sheer convenience turns a once-hidden feature into an essential part of your creative toolkit.
Recording Your First Video With Audio

Alright, you've added the screen recording button to your Control Center. Now for the fun part: actually capturing your first video. This is where a lot of people get stuck, especially when it comes to audio. You need to decide if you want to record your voice, just the sounds from the app, or nothing at all.
Pull down the Control Center from the top-right corner of your screen. You’ll see the record button, but don't just tap it yet. Instead, long-press or firmly press it. This little trick opens up a hidden menu, and that’s where the magic happens.
Activating Your Microphone
In that menu, you'll see a microphone icon. By default, it's always off. This means if you just hit record, your iPad will only capture the internal audio—the sound from your game, your video call, or your music app.
To add your own voice for narration or commentary, just tap that microphone icon. It'll turn red and say "Microphone On." Now you're all set to talk over whatever you're recording.
Deciding when to use it is pretty intuitive once you get the hang of it:
- Microphone Off: This is your go-to for capturing pure gameplay footage with its original soundtrack or recording an app's sound effects without any distracting background noise.
- Microphone On: Absolutely essential if you're making a tutorial, walking a colleague through a presentation, or providing commentary for a game clip.
Don't underestimate the power of adding your voice. In creator circles, we see that using microphone audio is a common practice for 80% of creators, and it can boost tutorial views by as much as 40% on YouTube. The good news is this feature is supported on over 90% of iPad models running iPadOS 16 or newer, a detail you can see pop up in threads like this Apple community discussion.
Pro Tip: If you're using the built-in mic, try to hold your iPad about an arm's length away. This simple adjustment helps cut down on echo and prevents those harsh "popping" sounds from your breath, giving you much cleaner audio right from the start.
Starting and Stopping Your Recording
Once you've made your audio choice, tap "Start Recording." You'll get a quick three-second countdown, which is just enough time to switch to the app you want to record. A red bar or pill will appear at the top of your screen, letting you know you're live.
When you're finished, stopping is just as easy. You can either tap the red status bar and hit "Stop" in the prompt that appears, or simply swipe down to open the Control Center again and tap the now-glowing red record button.
Your iPad will automatically save the video directly to your Photos app, ready for you to trim, edit, or share.
Edit And Manage Your Screen Recordings

So you've stopped your recording. What now? Your iPad automatically saves the video file straight to your Photos app—no "Save As" prompts to deal with. A little notification will pop up confirming it's saved, and you can tap that for a quick look. If you miss it, no worries. Just open Photos, and your new recording will be right there in your library.
Of course, the raw file is rarely perfect. There's usually a clumsy start where you opened Control Center or a bit of fumbling at the end. The great thing is, you don’t need a fancy third-party app to fix this. The Photos app has some surprisingly decent built-in tools for a quick cleanup.
Trimming Your First Clip
Let’s get that clip polished. Open the screen recording in Photos and tap the Edit button in the top-right corner. At the bottom, you'll see a video timeline with bright yellow handles at each end. This is where the magic happens.
Just drag those handles inward to snip off the unwanted bits. You can trim the awkward beginning and the messy ending in seconds. As you adjust, the main screen previews exactly where the new clip will start and stop.
Once it looks good, tap Done. Now you have a decision to make:
- Save Video: This option overwrites your original recording. It's clean, but permanent.
- Save Video as New Clip: This creates a brand new, trimmed video and leaves the original file untouched.
I almost always go with Save Video as New Clip. It’s a safety net. This way, I have a polished version ready to go, but the full, raw recording is still there if I ever realize I cut out something important.
Keep an eye on your storage. Those recordings can be surprisingly beefy. A five-minute 1080p recording can easily take up 150 MB or more. Trimming off just 30 seconds can free up dozens of megabytes, and that really adds up.
Organizing Your Recordings For Easy Access
If you're anything like me, your Photos app can turn into a chaotic mess of screenshots, family photos, and video clips. To avoid losing your mind (and your recordings), it pays to get organized from the start.
Head over to the Albums tab in Photos and tap the little + icon to create a New Album. I like to make specific albums for different projects, like "Social Media Clips" or "App Demos."
This simple step keeps all your related content bundled together, making it easy to find what you need. From a dedicated album, it's a breeze to export your videos for more advanced editing or to drop them into a tool to generate ad clips like this one: https://shortgenius.com/ai-ad-generator.
And if you need to pull the audio from your video to create captions or a written guide, you can find a great walkthrough on how to transcribe your recorded videos.
Pro Tips For High-Quality iPad Recordings
Anyone can make a screen recording, but creating one that looks and sounds professional takes a bit of prep work. Trust me, spending just a minute or two on setup can save you from having to re-record everything. The first thing I always do is silence the digital noise. Nothing ruins a great take faster than a random text message banner popping up.
Before you even think about recording, swipe down from the top-right corner to open your Control Center and tap the crescent moon icon. This turns on Do Not Disturb (or whatever Focus mode you have set up). It’s the digital equivalent of putting a "recording in session" sign on your door.
Next, give your iPad a little breathing room. If you have a bunch of apps running in the background, it can slow things down and cause your recording to stutter, especially if you’re capturing a game or a complex app. Just double-press the Home button (or swipe up from the bottom on newer models) and swipe away any apps you don't need open.
Prepare Your Scene And Sound
Think of your iPad screen as a little movie set. A few simple tweaks to your digital and physical environment can make a massive difference in how polished your final video feels.
First, lock in your screen orientation. Are you making a tutorial for a standard YouTube video? Record in landscape mode. If you're creating content for TikTok, Reels, or YouTube Shorts, you’ll want to record in portrait mode. Getting this right from the start saves you a world of pain in editing.
Also, watch out for screen glare. It’s an easy mistake to make. Try to sit with your back to a window, or adjust the lights in your room so they don't create distracting reflections on the screen. Sometimes all it takes is a slight tilt of the iPad to get a perfectly clear view.
For crystal-clear narration, the built-in microphone is decent, but an external mic is a game-changer. An affordable lavalier mic that plugs directly into the Lightning or USB-C port can drastically reduce echo and background hiss, making your voice sound rich and professional.
Audio And Final Polish
If you do end up with some unwanted background hum in your recording, don't sweat it. You can often fix it right on your iPad. Just open the video in iMovie (it’s a free app from Apple), detach the audio track from the video, and use its built-in noise reduction feature to clean it up before you export.
Following these simple but effective steps elevates your content from a basic screen grab to something truly professional. This is especially critical if you’re turning your recordings into user-generated content or ads. In fact, learning how to create compelling AI UGC ads from your raw footage can transform a simple demo into a high-performing marketing asset. A few extra moments of prep ensures your final product is something you'll be proud to share.
Export And Share Your Recordings
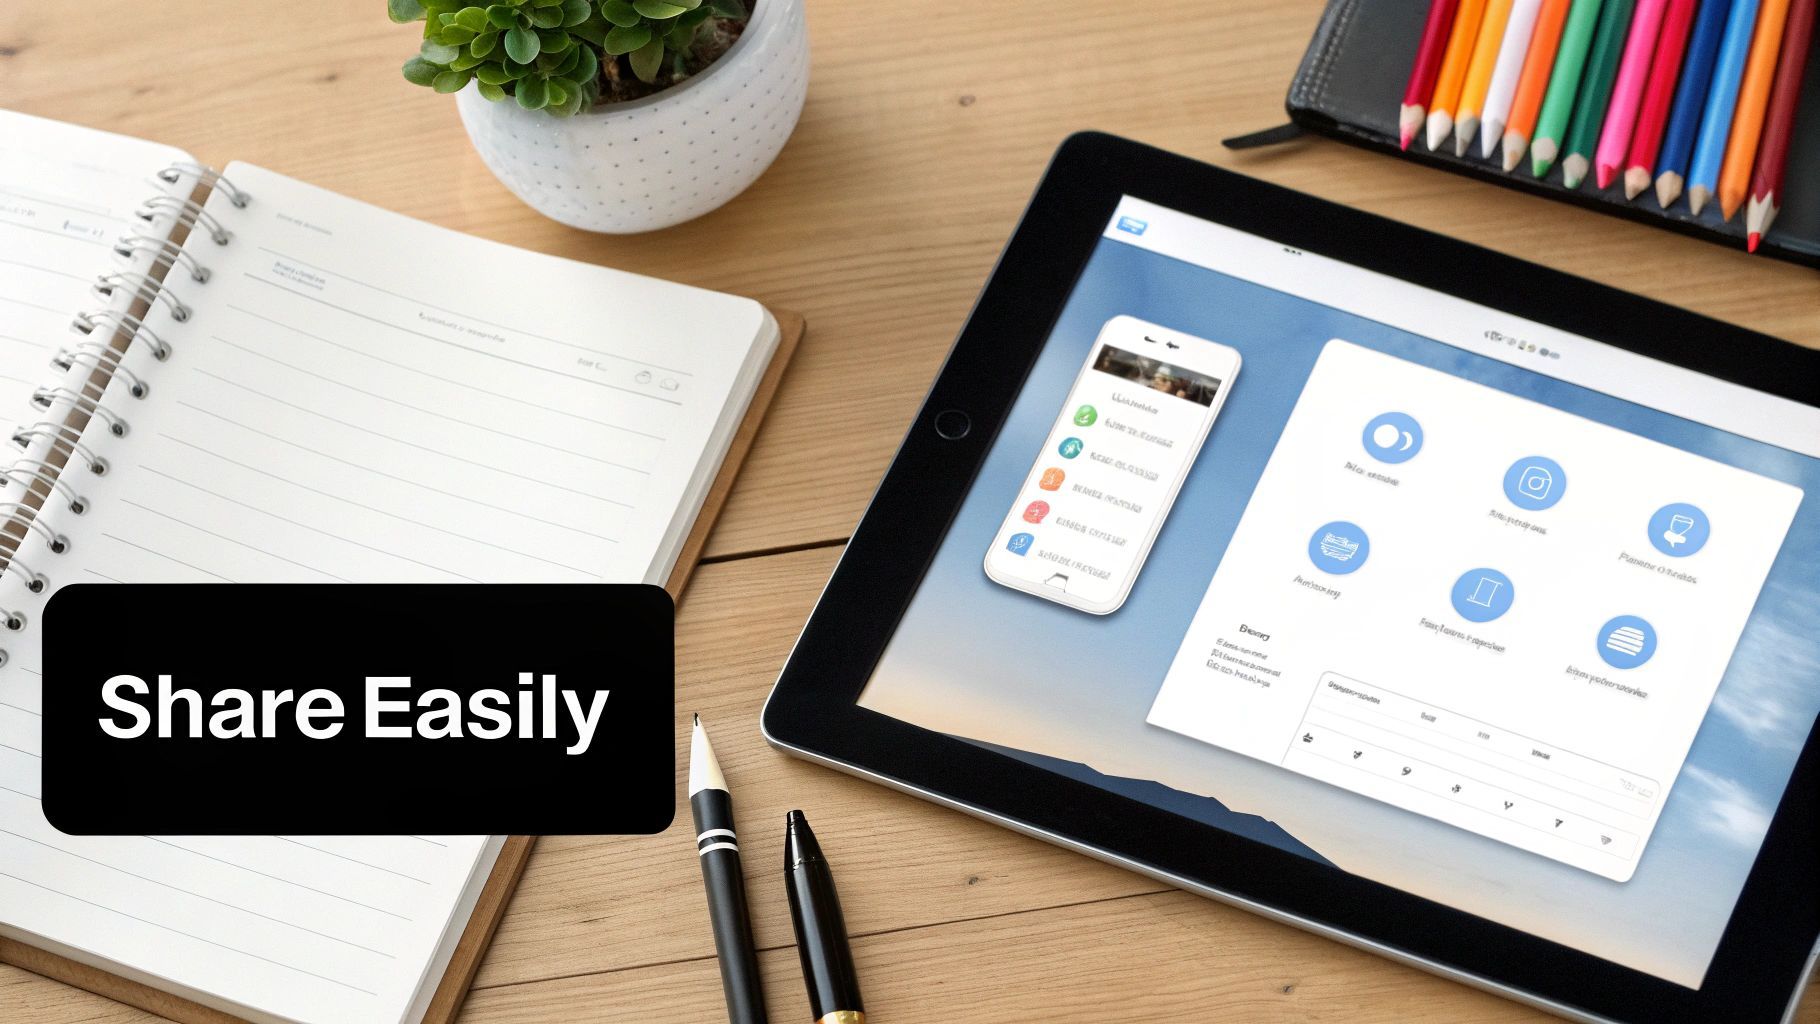
So, you've trimmed your recording and it’s looking sharp. Now what? Getting it off your iPad and into the world is the next step, and thankfully, it’s a breeze.
Just open your video in the Photos app and tap the Share icon—that familiar little box with the arrow pointing up. This is your gateway to just about anywhere you'd want to send your file.
If you’re working within the Apple ecosystem, AirDrop is hands-down the fastest way to move your video. I use it constantly to send recordings from my iPad to my Mac for more serious editing. It’s incredibly fast, even with large files, and it saves a ton of time.
Going Beyond Your Apple Devices
The Share Sheet is more than just AirDrop, though. It’s your command center for sending your video to all sorts of other places.
- You can pop it into Messages or Mail to get some quick feedback from a colleague.
- Upload it directly to your favorite cloud service like iCloud Drive, Dropbox, or Google Drive for safekeeping or collaboration.
- Push it straight to a video editing app you have on your iPad or even to your social media platforms.
A common workflow for me is to record a quick tutorial on the iPad, AirDrop it to my Mac for a few final touches in a desktop editor, and then share it. After you’ve put in the work to create a great recording, it's worth exploring the best strategies for sharing videos effectively to make sure it reaches your audience.
Frequently Asked Questions
Once you get the hang of screen recording on your iPad, you'll probably run into a few specific questions. I see these pop up all the time with new creators, so let's get them sorted out now to save you some headaches down the road.
Can I Record Internal Audio From Apps On My iPad?
You bet. The native iPad screen recorder is actually set up to grab internal audio by default. That means when you pull down the Control Center and hit that record button, it’s already listening for sound from your games, videos, or whatever app you have open.
The key is to make sure the microphone icon is toggled off. If that little mic is on, it'll try to capture both the app's audio and your voice, which can create a weird, echoey mess.
Why Is There No Sound In My iPad Screen Recording?
This is easily the most common snag people hit, and it usually comes down to one of two things. First, you might have wanted to record your voice for a tutorial but simply forgot to turn the mic on. To fix it, just long-press the record button in your Control Center and tap the microphone icon so it turns red before you start.
The other culprit? Some apps, especially streaming services like Netflix or Apple TV+, actively block screen recording to protect their content. If you try to record a show, you’ll get a perfect video with complete silence. Unfortunately, there's no way around this using the built-in iOS tools.
Where Do My iPad Screen Recordings Get Saved?
Everything you record is saved automatically right into your Photos app. The second you hit stop, you'll see a little notification pop up confirming the "Screen Recording video saved to Photos."
You can tap that banner to jump straight to the video, or just open the Photos app later. You'll find the clip in your main Library or neatly filed away in a dedicated "Screen Recordings" folder under the Albums tab.
For creators, this is ground zero. From here, you can export your footage into an editor or start chopping it up for social media. Knowing your workflow is one thing, but understanding the financial potential can be a huge motivator. We actually break down the numbers in our guide on how much YouTube pays creators.
Ready to turn those screen recordings into polished, shareable content in minutes? ShortGenius uses AI to help you write, edit, and publish stunning videos for TikTok, YouTube, and more. Stop editing and start creating by visiting https://shortgenius.com today.