How to Add Audio to Google Slides to Engage Any Audience
Learn how to add audio to Google Slides with this practical guide. We cover everything from inserting music to troubleshooting common playback issues.
Ever felt your Google Slides presentation was missing... something? A bit of polish, maybe? Often, that missing piece is sound. Adding audio is surprisingly simple—it boils down to getting your sound file into Google Drive and then popping it into your slides using the Insert > Audio menu. This one move can take a presentation from a silent movie to a full-on engaging experience.
Why Bother with Audio in Your Google Slides?
Think about it. Imagine you’re giving a sales pitch and, right on cue, a glowing client testimonial plays. Or picture a history class where an actual speech from the era brings a black-and-white photo to life. That's what you unlock when you learn how to add audio to Google Slides. It’s not just about slapping on some background music; it's about crafting an atmosphere and making sure your message actually lands.

A Major Boost for Engagement and Clarity
Sound has a way of making things clearer. You can use a voice-over to explain a complex chart, set a focused, professional tone with some subtle background music, or even use a sound effect to emphasize a key point.
When Google finally rolled out this feature, it was a huge win for anyone used to the audio options in PowerPoint. And the data backs it up. Presentations that incorporate audio can see engagement rates jump by as much as 32%. In corporate training, for example, narrated slides are proven to help people remember what they learned.
The core process is simple: get your audio into Google Drive, then insert it into your slide. This one feature is a game-changer for making your message stick and your delivery more impactful.
Of course, audio is just one tool in your toolkit. For more ways to captivate an audience, check out these creative ideas for an interactive presentation. And if you're taking your content to the next level with video, you might find our guide on https://shortgenius.com/blog/how-much-does-youtube-pay helpful.
Getting Your Audio Files Ready for Slides
Before you can drop any sound into your Google Slides presentation, you need to make sure the file is one that Google actually likes. It’s a bit picky, so stick to either MP3 or WAV formats to avoid any headaches.
Think of it this way: MP3s are your go-to for most things. They're compressed, which means smaller file sizes. This is perfect for background music or a long voiceover because it helps your presentation load faster for everyone. WAV files, on the other hand, are the high-fidelity option—uncompressed and top-quality, but they create much larger files. For most projects, an MP3 is the sweet spot.
Creating and Sourcing Your Audio
Making your own audio doesn't have to be complicated. You can record a perfectly clear narration with free tools you probably already have access to.
- Free Software: Tools like Audacity or simple web-based options like Online Voice Recorder are fantastic. In fact, these types of tools are projected to have over 50 million global downloads combined by 2025.
- For Apple Users: If you're on a Mac or iPad, GarageBand is an incredibly powerful and easy-to-use option, and it's already installed. It's no wonder it's used by 40% of creators.
You can also find great tips for using audio in Google Slides projects on ShakeUpLearning.com.
And if you’re recording a lecture or lengthy narration, checking out various apps for recording lectures can help you capture crisp, clean sound. If you'd rather use pre-made music, just be sure to source it from a royalty-free library and double-check the license. This saves you from running into any legal trouble down the road.
A crucial step many people miss is setting the correct sharing permissions in Google Drive. If your audio isn't shared properly, your audience won't hear a thing.
The Critical Google Drive Step
Here’s the part you absolutely can’t skip: your finished audio file must live in your Google Drive. Google Slides doesn't let you upload audio directly from your computer; it only pulls files from Drive.
So, once your MP3 or WAV is ready, upload it to your Google Drive. Then, find the file, right-click on it, and hit "Share."
This is where the magic happens. In the box that pops up, look for the "General access" setting. It's likely set to "Restricted" by default. You need to change that to "Anyone with the link." This one simple click is the difference between a silent presentation and a seamless audio experience for your viewers.
A Practical Guide to Inserting Audio on Your Desktop
Alright, let's get into the nuts and bolts of adding audio to your Google Slides presentation on a desktop. Once you have your MP3 or WAV file ready and shared correctly in your Google Drive, the rest of the process is a breeze and happens right inside your slide deck.
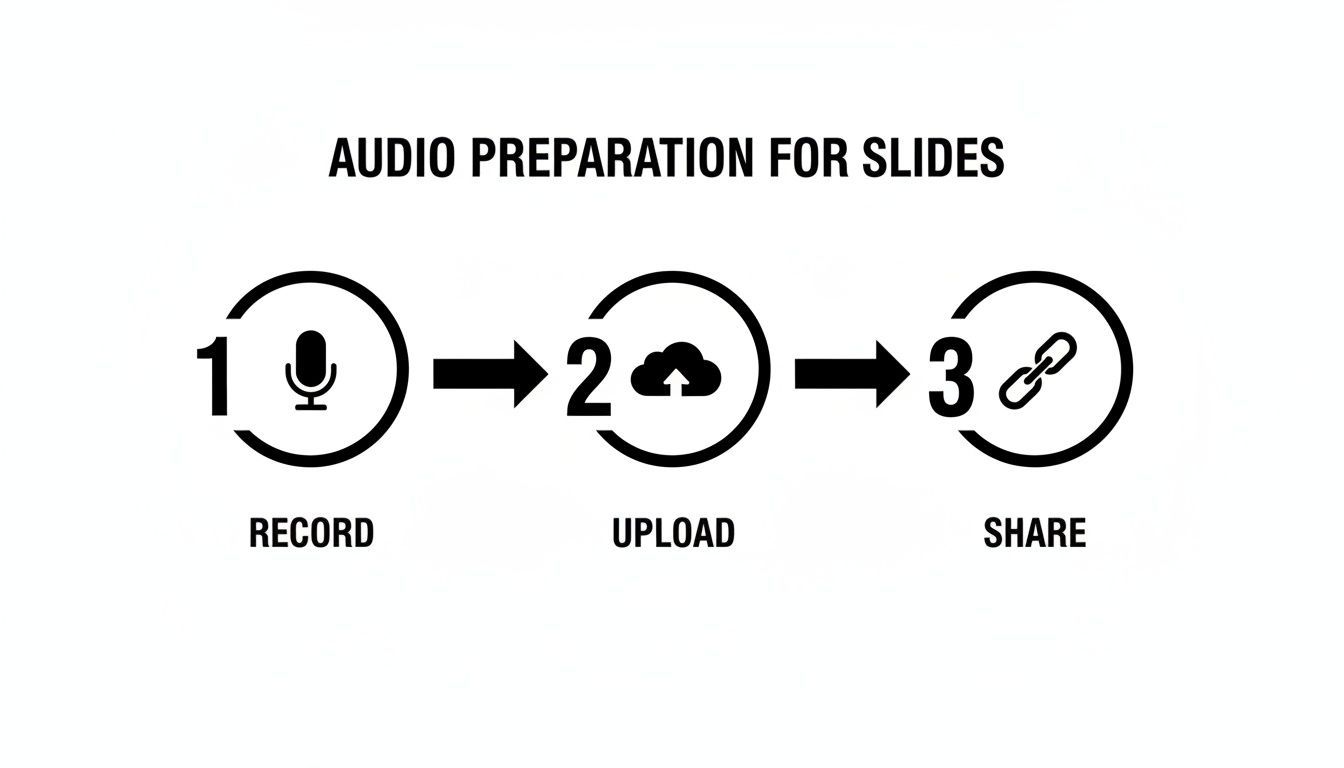
Think of it as a simple three-part prep phase: Record, Upload, and Share. Get this foundation right, and you'll avoid most of the common headaches.
This workflow is key to making sure everything runs smoothly when it's time to present.
Placing Audio From Your Google Drive
First things first, open your presentation and click on the specific slide where you want to add sound. From there, look at the top menu bar, click Insert, and then navigate down to Audio.
This will bring up a window that acts as a portal directly to your Google Drive. You'll see a few tabs like 'Recent,' 'My Drive,' and 'Shared with me.' If you just uploaded the file, it will likely be waiting for you in 'Recent.' Otherwise, you can easily find it in 'My Drive.' Once you locate the file, just click on it and hit the blue Select button.
Here's a pro-tip from experience: Name your files clearly before you upload them. "Slide_3_Intro_Music.mp3" is a lifesaver compared to a generic "audio_final_v2.mp3" when you're searching through dozens of files.
After you select your audio, a small gray speaker icon will appear on your slide. You can drag this little icon anywhere you want—I usually tuck it into a bottom corner so it doesn’t distract from the visual content. That icon is your embedded audio, ready to be configured.
Choosing the Right Audio for Your Presentation
The kind of audio you use can completely change the feel of your presentation. Are you trying to explain complex data, create a specific mood, or just add a little flair? Each scenario calls for a different audio strategy. A detailed voice-over, for instance, serves a very different purpose than subtle background music.
To help you decide, let's look at the most common types of audio you might use.
| Audio Type | Best Used For | Example Tools |
|---|---|---|
| Narration | Explaining charts, telling a story, or providing instructions in self-paced presentations. | Audacity, GarageBand, ShortGenius |
| Background Music | Setting a professional or emotional tone during title slides, transitions, or work periods. | Royalty-free music libraries like Epidemic Sound or Artlist. |
| Sound Effects | Highlighting a key point, revealing an answer, or adding a touch of humor or emphasis. | Sound effect libraries like Freesound or Zapsplat. |
Matching the audio type to your content's goal is crucial. A well-placed sound effect can wake an audience up, while a clear narration can make your data much more accessible.
Making Your Audio Work for You
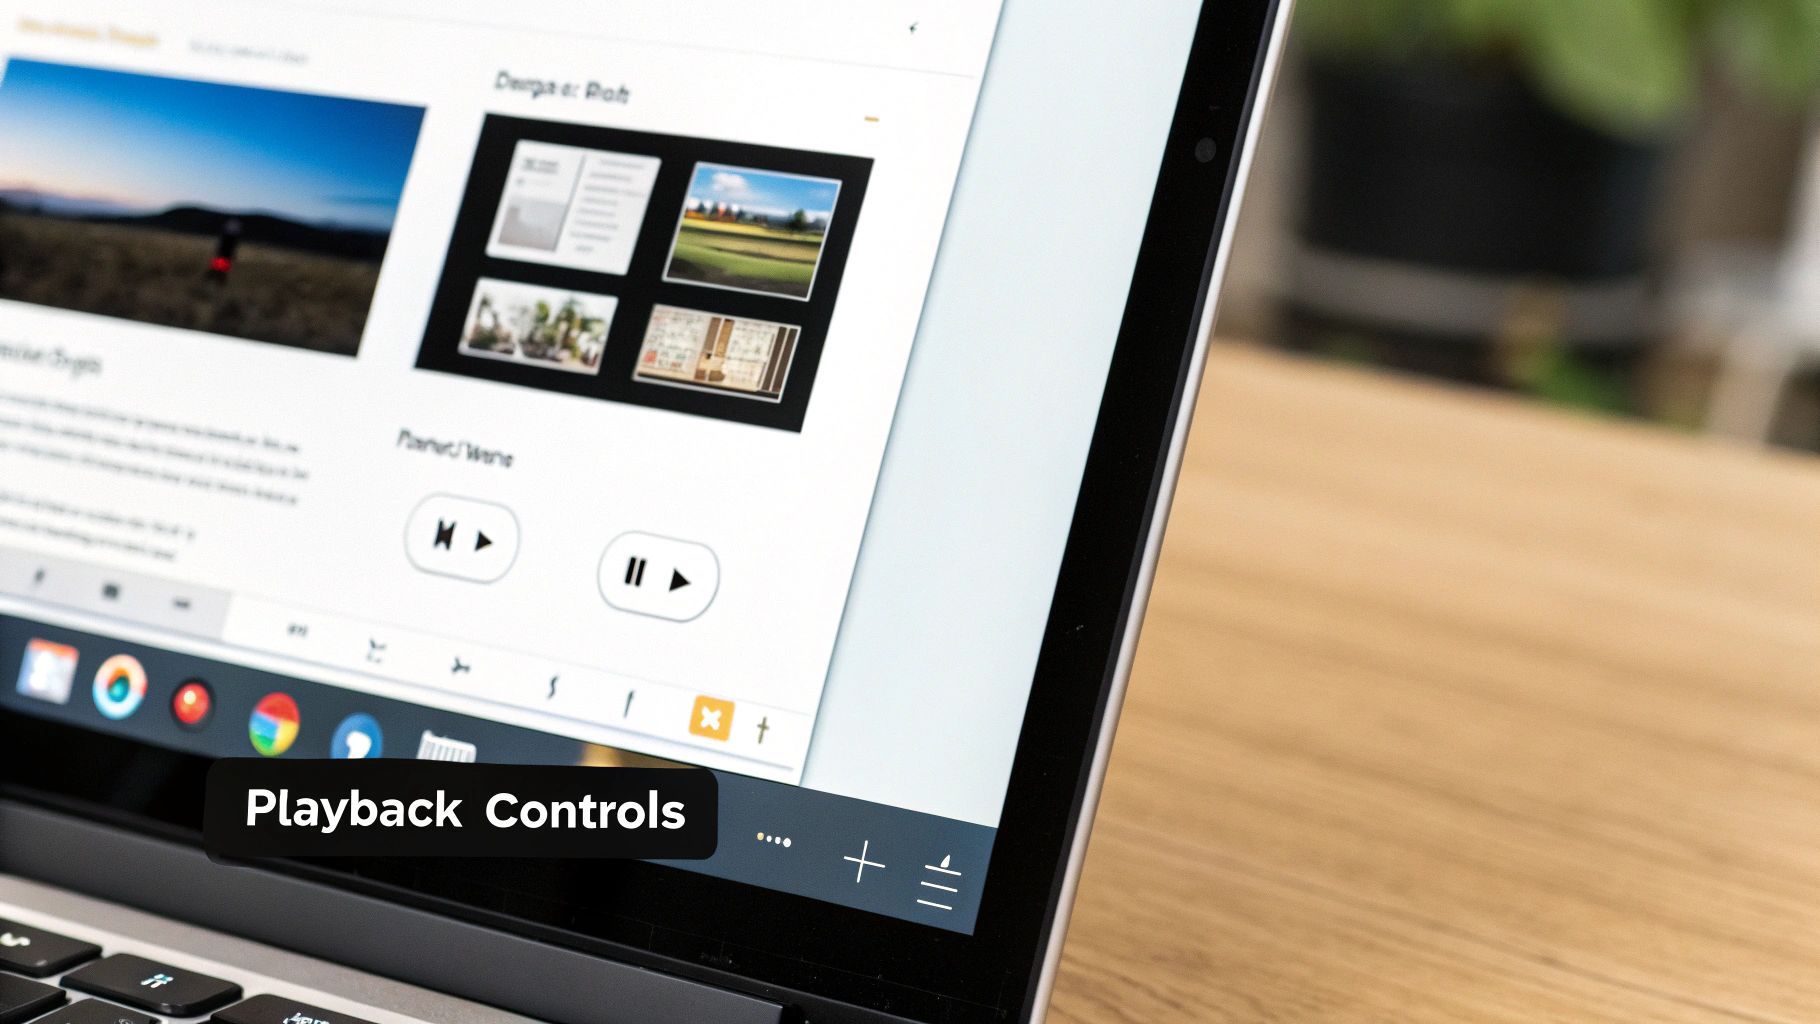
Dropping an audio file onto your slide is one thing, but making it behave exactly how you want is where a good presentation becomes great. When you insert your audio, a little speaker icon will pop up. Just give that a click, and the Format options sidebar will appear—this is your control panel for everything audio-related.
This is where you tell the audio what to do and when to do it. If you're presenting live, you'll almost certainly want it to start On click. This gives you the power to trigger a sound effect or a recorded quote at the perfect moment, right on cue with what you're saying.
Fine-Tuning Your Audio Settings
Now, let's say you're creating a presentation that needs to run on its own, like something on a display at a conference or an online module for training. In that case, setting the audio to play Automatically is the way to go. Your narration or background music will kick in the instant the slide loads, no clicks needed.
The Format options sidebar gives you a few other crucial toggles:
- Loop audio: This is your best friend for background music. Flip this on, and the track will just keep playing on repeat until you move to the next slide.
- Stop on slide change: This is checked by default for a reason. It's essential for slide-specific narration, preventing the audio from one slide from awkwardly spilling over onto the next.
- Hide icon when presenting: For a really clean, professional look, you'll want to check this box. It makes the speaker icon disappear during the actual presentation, so your audience can focus on your content without visual clutter.
The whole workflow is surprisingly simple. You record your audio, pop it into Google Drive, and insert it from the menu. From there, you can adjust the Format options for autoplay or looping—a feature that nearly 40% of presenters use for continuous background music. You can find more tips on how to add sound to your presentations on ClickUp.com.
Adjusting Volume and Visuals
Right inside those same Format options, you'll find a simple volume slider. This is incredibly handy for making sure your audio is just right—not deafening your audience or so quiet they can't hear it. It’s perfect for balancing a quiet background track with your main narration.
You can even change how the speaker icon itself looks. The sidebar lets you recolor it to blend in with your slide's color scheme, add a subtle drop shadow, or tweak its transparency. These small touches make the audio element feel like a natural part of your design instead of an afterthought. Getting comfortable with these settings is what really takes your Google Slides game to the next level.
Hitting a Snag? How to Fix Common Audio Glitches in Google Slides
Even after you've done everything right, technology can still throw you a curveball. When you add audio to Google Slides, small glitches can pop up, but don't worry. It's usually one of a few common culprits, and the fixes are surprisingly simple.
Let's walk through how to troubleshoot the most frequent issues so a small technical hiccup doesn't derail your entire presentation.
The Mystery of the Grayed-Out Audio File
You go to insert your audio, find the file in your Drive, and... it's grayed out. You can't select it. This is hands-down the most common problem people face, and it almost always comes down to one thing: sharing permissions.
Google Slides is essentially trying to "borrow" the audio file from your Google Drive, and if you haven't given it the right permissions, it can't access it. The same logic applies if you share the presentation and your audience reports hearing nothing but silence—they don't have permission to access the audio file.
I can't stress this enough: The number one reason audio fails in Google Slides is incorrect sharing permissions. Get this right, and you've solved most potential problems before they start.
To fix this, just hop over to your Google Drive. Find the audio file, right-click it, and hit "Share." In the popup window, look for the General access section and change it from "Restricted" to "Anyone with the link." This one simple tweak solves well over 90% of all playback issues.
When Autoplay Refuses to Play
So, your audio is inserted correctly, but it just won't start on its own like you told it to. What gives?
-
Double-Check Your Settings: First, click the little speaker icon on your slide. This will pop open the Format options sidebar. Make sure the "Start playing" dropdown is actually set to "Automatically." Sometimes it's easy to miss this step.
-
Blame the Browser: Modern web browsers are pretty aggressive about blocking media from playing automatically to avoid annoying ads. If the settings are correct, your browser might be the culprit. Often, all your audience needs to do is click once anywhere on the slide to give it a "nudge" and get the audio started.
Finally, what if you can't even find the Insert > Audio option? If it's completely missing from your menu, it’s not you—it's your account. This usually happens on work or school accounts where a system administrator has disabled the feature for security or policy reasons. In that case, you'll have to reach out to your IT department and ask them to enable it for you.
Common Questions (and Answers) About Audio in Slides
Once you start adding audio to your Google Slides, a few questions always come up. I've run into these myself, so let's clear up the most common ones you'll likely face.
Can I Make One Audio Track Play Across Multiple Slides?
This is the big one, and unfortunately, the direct answer is no. Google Slides anchors each audio file to the specific slide you add it to.
But there's a pretty effective workaround for background music. Just drop the audio file on your very first slide and set it to loop automatically. This gives the illusion of continuous music as you click through your deck. The only catch? If you navigate back to that first slide, the music will restart from the beginning.
What's the Best Audio Format to Use in Google Slides?
Google Slides is picky here—it only plays nice with MP3 and WAV files.
For almost everything, MP3 is the way to go. Its smaller file size is perfect for web presentations, meaning your slides will load faster without any real loss in quality for things like voiceovers or background tunes.
WAV files are uncompressed and offer super high-fidelity sound. They're great for short, punchy sound effects where you need maximum quality, but their large file sizes can slow things down.
My rule of thumb is simple: Use MP3 for narration and music to keep your presentation nimble. Save WAV for those rare, high-impact sound clips where every detail counts.
How Can I Add Audio to Google Slides on My Phone?
Simply put, you can't. Adding audio is a desktop-only feature for now.
The Google Slides mobile app is handy for presenting on the go or making quick text edits, but it doesn't have the functionality to insert audio files. You can, however, play a presentation on your phone that already has audio embedded from a desktop computer.
For creators, mastering the tools is just one part of the equation; understanding the ecosystem is another. You can dive deeper into the creator economy with our post on how much TikTok pays creators.
Ready to create stunning video content with AI-powered voiceovers and visuals in minutes? With ShortGenius, you can unify scriptwriting, video assembly, and natural narration in one place, streamlining your entire creation process. Start creating with ShortGenius today