Boost Views with youtube shorts editing - Quick Tips
Master youtube shorts editing with step-by-step planning and polishing tips to boost views and grow your channel.
Great YouTube Shorts editing is what separates a forgettable clip from viral content. It's the secret sauce for grabbing and holding attention in those critical first three seconds, creating a relentless pace that keeps people from swiping away.
Why Your Editing Is The Key to Shorts Success
In the rapid-fire world of short-form video, your editing choices are your biggest growth lever. The gap between a Short that fizzles out at a few hundred views and one that explodes into the millions often comes down to sharp, dynamic editing.
Before we get into the nitty-gritty, it helps to have a solid grasp of what YouTube Shorts are and why they need a totally different editing mindset than traditional long-form video.
The sheer amount of content on YouTube is staggering. The endless scroll of the Shorts feed means you aren't just up against others in your niche—you're competing with everyone for a tiny slice of a viewer's time.
Just look at the interface. It's an immersive, full-screen experience where one video flows right into the next. There's simply no time for slow intros or wasted frames. Your editing has to be on point and built for instant impact.
The Scale of The Shorts Ecosystem
The numbers are mind-boggling and really drive home why you need to nail your editing. Globally, YouTube Shorts rack up over 70 billion daily views. That massive audience is a golden opportunity, but only if you can cut through the noise. When you're competing with millions of other Shorts uploaded daily, basic, uninspired editing just gets lost.
Clean, sharp editing is a signal. It tells the viewer your content is high-quality and worth their time. In a feed where people make snap judgments in milliseconds, that visual cue is your best weapon to stop the scroll.
To really stand out, you need to understand the fundamental building blocks of a video that people want to watch and share.
Here’s a quick breakdown of what makes a high-performing Short tick.
Core Elements of a Viral YouTube Short
| Element | Impact on Virality | Practical Application |
|---|---|---|
| The Hook (First 3 Seconds) | Highest impact. If you lose them here, you lose them forever. | Start with a bold claim, a surprising visual, or an intriguing question. No intros or logos. |
| Pacing & Rhythm | High. Keeps viewers engaged and prevents "scroll fatigue." | Use quick cuts, jump cuts, and zooms to eliminate any dead air. Aim for a new visual element every 1-2 seconds. |
| Visual Storytelling | High. Crucial for viewers watching with the sound off. | Use text overlays, animated captions, and relevant B-roll to reinforce your message. |
| Clear Payoff | Medium-High. Satisfies the viewer and encourages re-watches or shares. | Make sure the end of your video delivers on the promise made in the hook. This could be a punchline, a result, or a key takeaway. |
| Sound & Music | High. A trending audio track can single-handedly make a video go viral. | Browse the Shorts audio library and use sounds that are currently popular. Match the music's energy to your video's pace. |
Mastering these elements is what takes you from just uploading clips to strategically creating content with purpose.
Moving Beyond Basic Trims and Cuts
Thinking like an expert Shorts editor means going beyond just trimming the start and end of a clip. It's about telling a complete story, even if you only have 15 seconds.
Here’s what professional-level editing really brings to your content:
- Energy and Flow: Every cut should have a purpose. Fast cuts, punch-ins, and jump cuts build a rhythm that makes the video feel energetic and prevents boredom. Your goal is to kill every last bit of "dead air."
- Visual Interest: Text overlays, dynamic captions, and smart use of graphics make your video more compelling, especially for the huge number of people who watch without sound.
- A Clear Narrative: Even the shortest videos need a beginning, a middle, and an end. Good editing structures that story, making sure your point lands perfectly.
In the end, your editing skill is what turns raw footage into a powerful asset that entertains, grows your channel, and builds a real community.
How to Plan Your Short Before You Hit Record
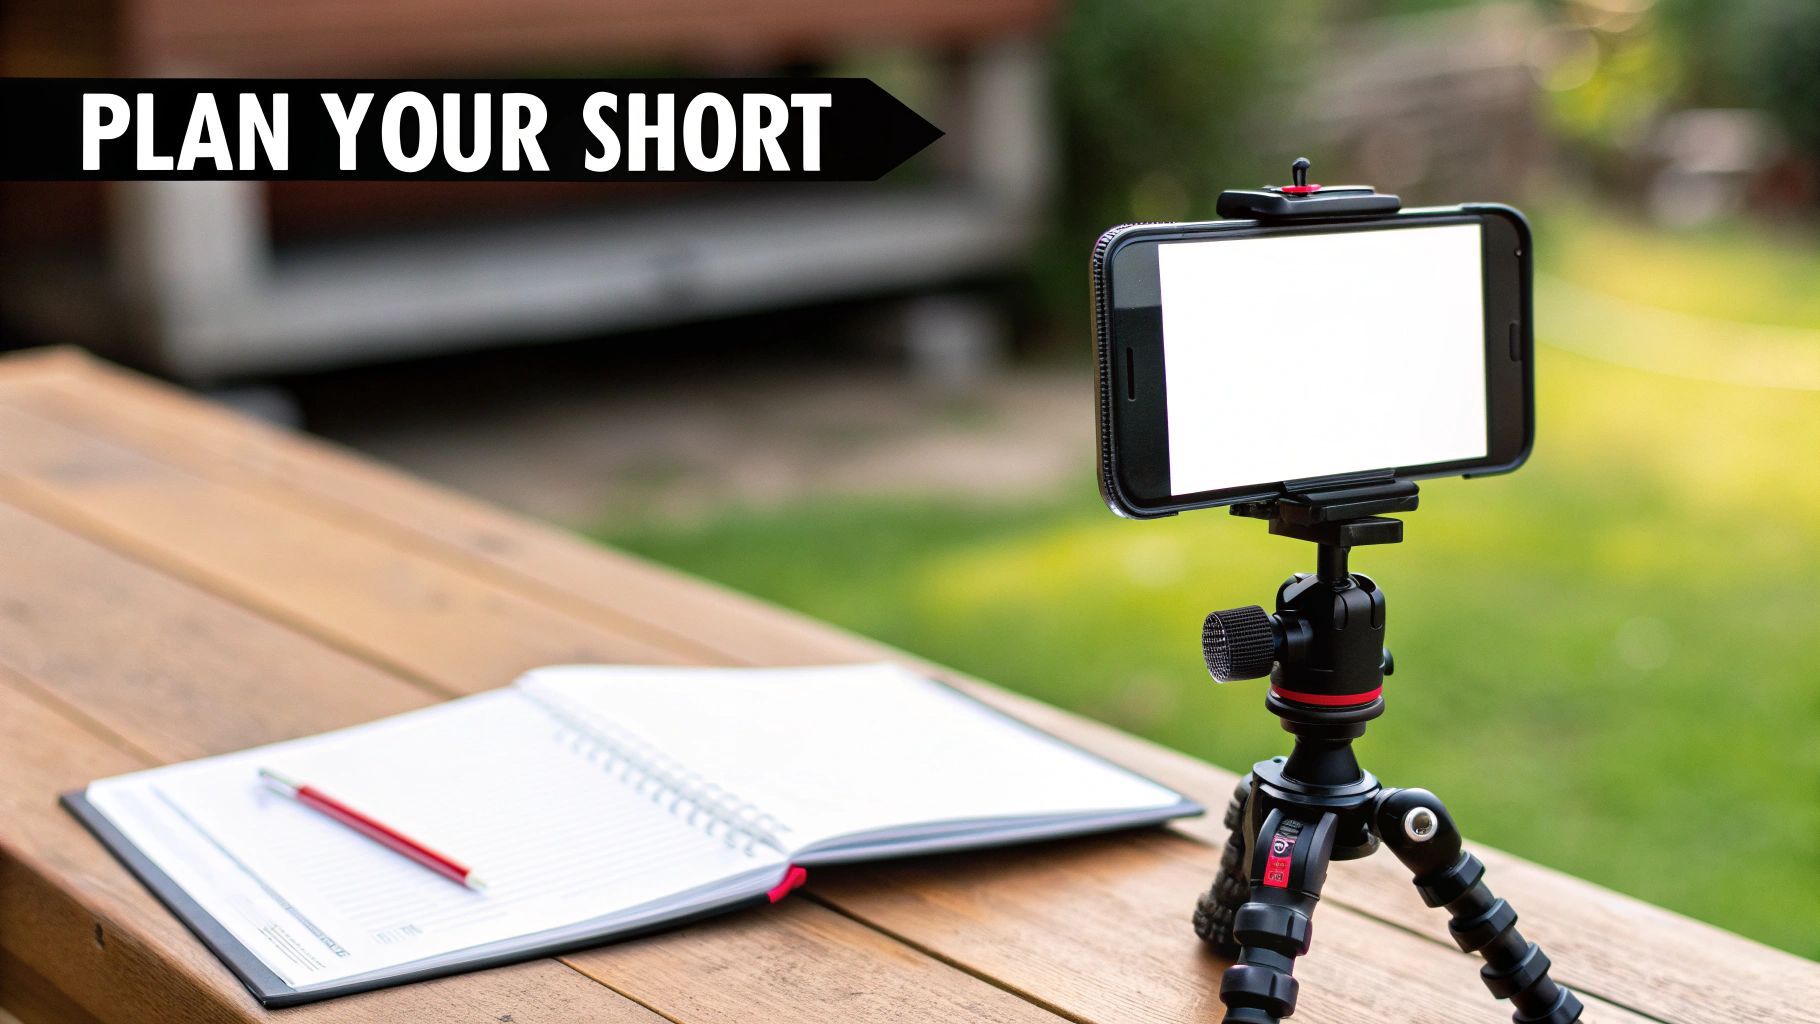
The secret to a great YouTube Shorts editing workflow doesn't start in the software. It starts before you even think about hitting record. The choices you make at the planning stage are what separate a viral hit from a video that gets lost in the feed.
I've seen so many creators jump straight to filming, only to end up with messy footage and a story that goes nowhere. Think of it like cooking: you wouldn't just throw ingredients in a pan without a recipe. A solid plan is your recipe for a compelling Short, and it will save you hours of headaches later on.
Brainstorming Ideas Built for the Shorts Feed
Let's be honest, not every video idea works for Shorts. The format is ruthless. It demands concepts that are instantly engaging, visually punchy, and deliver a quick payoff. Your brainstorming needs to be laser-focused on what thrives in this 60-second, vertical world.
If you're stuck, here are a few frameworks I've seen work time and time again:
- Problem-Solution: Show a common pain point and solve it instantly. Think of a 15-second clip on how to peel garlic perfectly or remove a stubborn clothing stain. Super satisfying, super shareable.
- Transformation: Nothing hooks a viewer like a dramatic "before and after." This could be a cluttered desk becoming a minimalist dream, simple ingredients turning into a gourmet meal, or a quick makeup look.
- A Single, Killer Tip: Deliver one valuable piece of information that someone can use right away. This format is gold for building authority in your niche.
- Relatable Humor: Tap into a shared experience or a universal frustration. A funny take on the daily struggle of virtual meetings or trying to assemble furniture? That's content people connect with.
Here's a pro tip: always think in terms of loops. A great Short makes you want to watch it again, either because the ending was so good or you wanted to catch a detail you missed. That re-watch behavior is a massive signal to the YouTube algorithm.
Once you’ve landed on an idea, it’s time to give it some structure.
Scripting for a 60-Second Attention Span
You don't need a formal screenplay, but a simple outline is non-negotiable. A Short has zero room for fluff—every single second has to count. Your goal is to map out a clear beginning, middle, and end.
Here’s a simple three-part structure that just works:
- The Hook (0-3 seconds): Lead with your most exciting moment. Show the final result first, ask a provocative question, or open with a surprising visual. Your only job here is to stop the scroll.
- The Middle (4-50 seconds): This is where you deliver the goods. Quickly show the process, explain the concept, or build the story. Keep your shots dynamic and your pacing brisk.
- The Payoff (Final 5-10 seconds): End on a high note that delivers on the promise made by your hook. This is the punchline, the finished project, or a crystal-clear call-to-action.
This structure forces you to be concise and ensures your viewer leaves feeling satisfied, not confused.
Essential Technical Prep
Finally, let's talk tech. Getting your setup right from the start will make the YouTube Shorts editing process infinitely smoother. You can't fix bad footage in post-production.
Nail these three technical must-haves before you roll camera:
- Vertical Framing (9:16): This one is simple. Always film vertically. While you can crop horizontal video, shooting in the native 9:16 aspect ratio (1080x1920 pixels) gives you complete control over your shot and guarantees the best quality.
- Clean Audio: I can't stress this enough: bad audio will kill your video faster than anything. Even if you're using trending music, record your primary audio in a quiet space. An inexpensive external microphone is a game-changing upgrade.
- Good Lighting: Your phone’s camera needs light to produce a clean, crisp image. The easiest way to get it is by filming near a window. If that's not an option, a simple ring light will make you look far more professional.
By putting in the work upfront with solid planning, you’re not just recording a video—you’re creating high-quality raw material that’s ready for an efficient, creative edit. This prep work is the real first step to mastering YouTube Shorts.
Essential Cutting Techniques to Hook Viewers Instantly
This is where the real magic happens. Your raw footage is just a bunch of clips, but how you cut them together is what turns them into a story that actually grabs someone's attention. In the world of Shorts, you don't get a second chance to make a first impression—those first three seconds are absolutely everything.
Learning to cut effectively is the heart and soul of YouTube Shorts editing. You're creating a rhythm, a pulse that feels energetic and keeps people from swiping away. A sharp, well-paced edit shows you respect the viewer's time and keeps them wondering what's coming next.
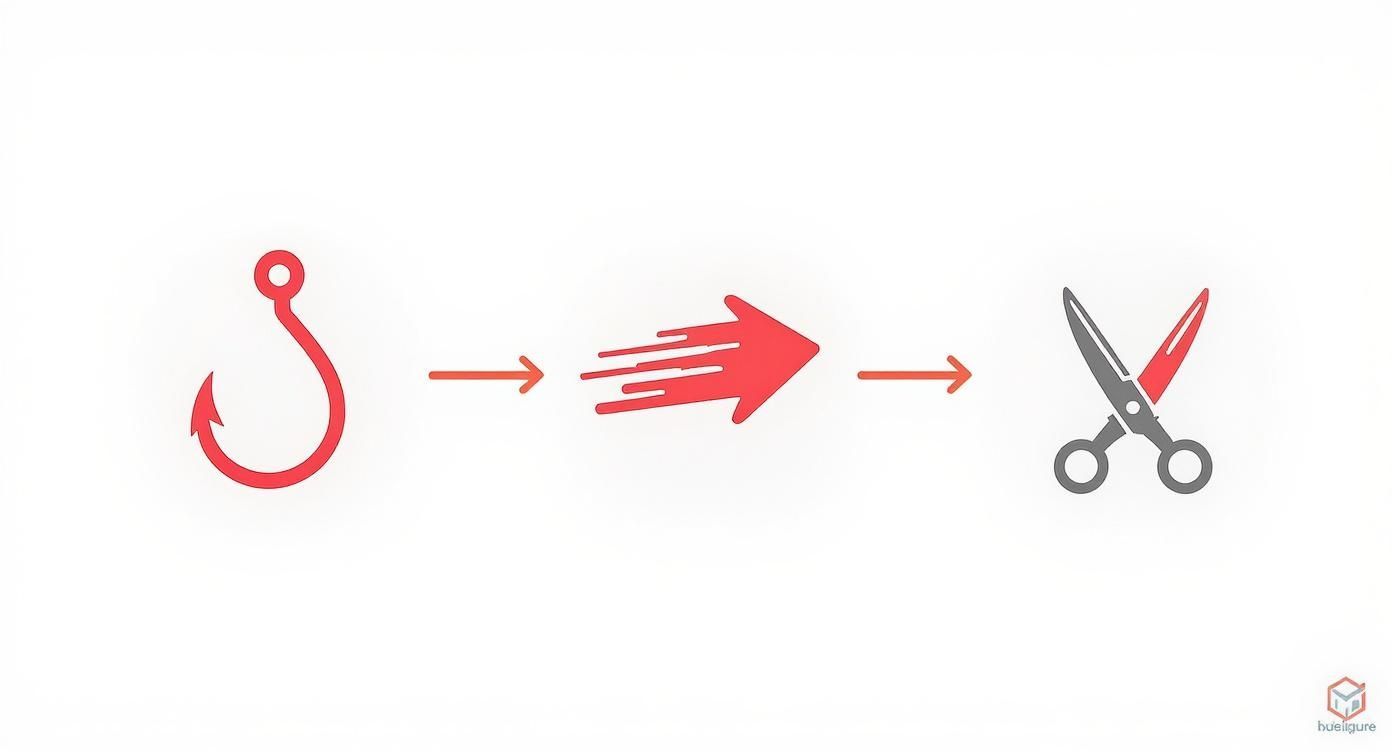
Mastering the Art of The Hook
Your first cut might be your most important. Forget slow, gentle introductions. Your hook needs to be immediate and pack a punch. A rookie mistake I see all the time is starting at the beginning of the action. A much better strategy? Lead with the climax.
Let's say you're editing a 30-second DIY hack for cleaning sneakers. Don't start with a shot of the dirty shoes. Instead, kick things off with a quick, flashy shot of the sparkling clean sneakers with text like, "The secret to white shoes in 30 seconds." This immediately tells the viewer what they're going to get and gives them a reason to stick around.
The goal of the hook isn't just to get a view; it's to create an itch that only the rest of your video can scratch. You're creating a little mystery or an information gap that makes them need to see how it ends.
This approach flips traditional storytelling on its head, but it’s perfect for the blink-and-you-miss-it pace of the Shorts feed.
Eliminating Dead Air with Jump Cuts
Once you've got them hooked, your next mission is to keep the energy up. The biggest enemy of any Short is "dead air"—any moment where nothing is happening. This is where the jump cut becomes your absolute best friend.
A jump cut is just a simple edit where you slice out a small section from the middle of a continuous shot. It’s a workhorse technique that's perfect for a few key things:
- Trimming out the fluff: When you're talking to the camera, you can chop out every "um," "ah," and even the breaths between sentences. It makes your delivery sound way more confident and direct.
- Speeding up actions: For that sneaker hack, nobody needs to watch you scrub for 10 straight seconds. Use a few jump cuts to show the start of the scrubbing, a quick middle shot, and the end result—all in just a couple of seconds.
- Creating a dynamic feel: The slightly jarring nature of a jump cut actually keeps the viewer's brain engaged. It signals that things are moving fast, which is exactly the vibe people expect on Shorts.
The trick is to be ruthless. Go through your footage and ask yourself, "Does this frame move the story forward?" If the answer is no, cut it. No mercy.
Creating Flow with Advanced Cuts
While jump cuts are fantastic for raw energy, a couple of more advanced cuts can give your edits a smoother, more professional feel. Two of my favorites to add to your YouTube Shorts editing toolkit are J-cuts and L-cuts.
| Cut Type | Description | When to Use It |
|---|---|---|
| J-Cut | The audio from the next clip starts playing before the video for that clip appears. The audio essentially "hooks" the viewer into the next scene. | Great for creating a seamless transition between two different scenes or ideas. It preps the viewer for what's coming and makes the edit feel incredibly smooth. |
| L-Cut | The video from the next clip starts, but the audio from the previous clip continues to play over it. The video leads, and the audio follows. | Perfect for showing a reaction to something that was just said or for continuing your voiceover while showing a different visual (B-roll). |
Let’s go back to our sneaker video. As you're explaining the cleaning solution, you could use a J-cut. Your voice saying, "and the final result is amazing," could start just a moment before the video cuts to the shot of the gleaming white shoes. It’s a simple trick that feels really polished and satisfying to the viewer.
Pacing to Build Momentum
Great editing isn't just about the individual cuts—it's about the overall rhythm. You want to build momentum, starting fast and keeping that energy high right to the very end. Think of it like a good song; it has a beat that carries you along.
A solid pacing structure for a Short might look something like this:
- Fast Start (0-5 seconds): A flurry of quick cuts to establish the hook and demand attention.
- Steady Middle (6-25 seconds): The shots can breathe a little more here (maybe 1-2 seconds each) as you deliver the core value or story.
- Quick Finish (26-30 seconds): End with another burst of energy, giving a satisfying payoff and a clear call-to-action or a final punchline.
This isn't about just randomly cutting fast. You're strategically controlling the flow of information and energy, guiding your audience through a tiny, watchable story. That level of precision is what separates amateur phone clips from truly polished Shorts.
Using ShortGenius for Advanced Engagement Features
Getting the basic cuts and timing right is the foundation, but if you really want your Shorts to pop, you need to add layers that grab and hold attention. This is where smart editing tools go from being a simple convenience to a genuine creative partner. Instead of getting bogged down in repetitive tasks, you can focus on what actually matters: making content that connects with people.
This is exactly where a platform like ShortGenius comes in. It automates the most frustrating and time-consuming parts of polishing a Short. It’s not about replacing your creative instincts; it’s about giving you the power to execute your vision faster and more effectively than you could with traditional software.
Generate Perfectly Synced Animated Captions
A huge number of people watch Shorts with the sound off. If your video has a voiceover or someone talking, you're instantly losing a massive part of your potential audience without good captions. We all know that manually transcribing and timing captions line-by-line is a soul-crushing task.
ShortGenius completely eliminates this headache. Its AI generates dynamic, word-by-word animated captions with a single click, perfectly synced to the audio.
But this is about more than just accessibility; it’s a powerful engagement tool:
- Keeps Eyes on the Screen: The animation adds a subtle visual rhythm that keeps the viewer engaged.
- Adds Emphasis: The AI can automatically highlight important words, giving your message more punch without any extra work from you.
- Stays on Brand: You can easily customize the fonts and colors to match your channel's branding for a professional, consistent look.
This one feature alone can make a huge difference in your viewer retention, making sure your message hits home whether the sound is on or off.
Adding Impact with Sounds and Visuals
Sound design is one of those subtle things that separates amateur content from the pros. The perfect sound effect can make a joke land harder, a transition feel smoother, or a key moment feel more dramatic. But finding and timing those effects manually can eat up your entire afternoon.
This is another spot where a dedicated tool just makes life easier. ShortGenius comes with a built-in library of sound effects, making it simple to drag and drop them right where you need them. The same goes for visual effects—think quick zooms, camera shakes, or glitch transitions that stop someone from scrolling past. The goal is to get the most impact for the least amount of effort.
This all feeds into the core principles of hooking a viewer from the very first second.
As you can see, every element works together to build momentum. Integrated effects make that job so much faster.
Instantly Reframe Horizontal Videos for Shorts
One of the biggest untapped goldmines for many creators is their existing long-form content. You probably have hours of great footage on your channel, but turning a widescreen 16:9 video into a vertical 9:16 Short is a major pain.
If you've ever tried it manually, you know the struggle. You have to constantly track the main subject, painstakingly adjusting the frame to keep the important stuff in view. It’s tedious work.
ShortGenius uses AI to do this for you automatically. The "Auto Reframe" feature scans your video, finds the main speaker or point of interest, and intelligently keeps it perfectly centered in the vertical frame. A task that could easily take an hour of manual work is done in seconds.
This is a game-changer for anyone serious about repurposing content. It unlocks your entire back catalog, letting you pump out a steady stream of high-quality Shorts from videos you've already made.
The following table breaks down just how much of a difference this makes in a real-world workflow.
ShortGenius Features vs Traditional Editing
| Editing Task | Traditional Method | ShortGenius AI Method | Time Saved |
|---|---|---|---|
| Captioning | Manual transcription and timing | 1-click AI transcription & animation | 15-20 mins per minute of video |
| Reframing | Manual keyframing and tracking | AI-powered Auto Reframe | 30-60 mins per video |
| Adding Effects | Sourcing files, importing, manual placement | Drag-and-drop from integrated library | 5-10 mins per Short |
| Pacing | Manual J-cuts, L-cuts, and jump cuts | AI-powered "Magic Cut" finds and removes silence | 10-15 mins per video |
As you can see, the time savings aren't just minor conveniences; they add up to hours of reclaimed creative time for every single video you produce.
Applying The Final Polish Before You Publish
A fantastic edit is only half the battle. Seriously. The last few steps you take right before hitting "Publish" are what separate a good video from a great one—the kind the algorithm wants to push. This is where you fine-tune the sensory experience and package your Short for maximum impact.
So many creators put all their effort into the visual cut and completely forget that bad audio can torpedo an otherwise amazing video. Your goal is a balanced soundscape where everything has its place.
Perfecting Your Audio Mix
Your Short probably has a few layers of sound—your voice, some background music, maybe a sound effect or two. They all need to play nicely together. The most important rule? Your main audio, which is usually your voice, has to be crystal clear.
- Music Volume: Background music should be exactly that: in the background. A good starting point is to set it between 5-10% of your main audio volume. It should add vibe and energy, but never make it hard to hear what you're saying.
- Sound Effects: Those "whoosh" or "pop" sounds should be crisp and make a point, not make your viewers jump. Use them to highlight a specific action or transition, not as a constant distraction.
- Final Listen (With Headphones!): Always, always do a final audio check with headphones. Your phone or computer speakers can lie to you. Headphones will reveal any weird mixing issues you might have missed.
Once the audio sounds just right, it’s time to make your visuals pop.
Color Correction and Grading for Mobile Screens
Color grading isn't just for cinematic masterpieces; it’s essential for making your Shorts look professional and scroll-stopping on a small screen. You're aiming for a vibrant, consistent look that grabs attention in a busy feed.
First, start with basic color correction. This is just about fixing your raw footage. Adjust the exposure so it’s not too dark or too bright, and tweak the white balance to make sure the colors look natural and not overly blue or yellow.
Then, you can apply a color grade to set a mood. You don't need to be a Hollywood colorist. Honestly, even a small boost in saturation and contrast can make your video feel so much more dynamic and polished.
Think of color grading as the final coat of paint. It ties all your clips together and gives your content a signature style. This kind of consistency is huge for building brand recognition and making your Shorts instantly identifiable.
With your video looking and sounding great, the final piece of the puzzle is discovery.
Optimizing Your Short for the Algorithm
How you title, describe, and tag your Short is just as critical as the edit itself. This metadata is how you signal to the YouTube algorithm what your video is about and who should see it. A brilliant video with lazy optimization will just get lost.
- Compelling Title: Keep your title short, punchy, and packed with a relevant keyword. Try asking a question or making a bold claim to spark curiosity. And always, always include #shorts in either the title or the description.
- Effective Description: Descriptions are less visible on Shorts, but they still count. Write a quick sentence that builds on your title and toss in a few more relevant hashtags. This helps YouTube categorize your content.
- Thumbnail Frame: While you can’t upload a custom thumbnail, you can choose a single frame from your video. Scrub through your Short and find the most visually arresting, attention-grabbing moment possible. That frame is your video's first impression.
As you wrap up these details, make sure your video file is good to go. It's a smart move to optimize your videos for platforms like YouTube and TikTok to ensure they load fast without sacrificing quality. These finishing touches really do matter. For perspective, creators with large channels are seeing massive growth, gaining about 29.2 new subscribers for every 10,000 Shorts views—that's more than double the rate for long-form videos. You can learn more about how Shorts accelerate channel growth in this breakdown of YouTube Shorts statistics.
Answering Your Top Questions About Editing YouTube Shorts
Even after you get the hang of things, questions are bound to pop up. When you hit a roadblock in your editing workflow, getting a straight answer is the best way to keep your momentum going.
Let's walk through some of the most common questions I hear from creators. These are the little details that can make a big difference.
What's the "Perfect" Length for a YouTube Short?
YouTube gives you up to 60 seconds, but that doesn't mean you should always use it. Honestly, the "best" length is however long it takes to tell your story and not a second more. It's a balancing act.
- Quick, Punchy Videos: If you're sharing a fast tip, a satisfying clip, or a quick joke, keep it tight. 15-30 seconds is often the sweet spot. Shorter videos tend to get replayed more, and the YouTube algorithm seems to love that.
- Deeper Stories or Tutorials: Need a bit more time to explain something or build a narrative? Go ahead and use the full 50-60 seconds. Just make sure every moment counts. If it feels like filler, cut it.
My advice? Start by being as concise as possible. Then, check your YouTube Studio analytics. The data on audience retention will tell you exactly where people are dropping off and what lengths your audience truly prefers.
Can I Put a Popular Song in My Short?
Yes, but there's a huge catch: you have to use music from YouTube's official Shorts audio library. This is non-negotiable. The library is packed with licensed tracks you can use without worrying about copyright strikes.
Grabbing a trending song from anywhere else, even for a few seconds, is playing with fire. It can get your audio muted, your video removed, or even a strike against your channel. It’s just not worth the risk.
A good workflow, especially if you're editing in a tool like ShortGenius, is to get your visual edit perfect first. Then, when you upload it to YouTube, add your chosen track from the audio library right inside the app before publishing.
What Are the Best Export Settings for Shorts?
Your export settings are what make the difference between a crisp, professional-looking video and a pixelated mess on a phone screen. Getting this right is crucial.
For the best possible quality, stick to these specs:
- Aspect Ratio: 9:16 (vertical). No exceptions.
- Resolution: 1080x1920 pixels is the gold standard.
- Format: MP4 is your best friend here. It gives you great quality without a massive file size.
- Codec: Use H.264. It's the standard for web video and works everywhere.
- Frame Rate: Export at the same frame rate you recorded in. For most people, this will be 30 or 60 FPS for that buttery-smooth look.
Do Hashtags on Shorts Actually Do Anything?
They absolutely do. Think of hashtags as signposts that tell the algorithm what your video is about and who it should show it to.
First, you have to include #shorts in your title or description. This is the official tag that flags your video as a Short. Don't skip it.
After that, add 3-5 more hashtags that are super relevant to your content. Making a Short about a quick pasta recipe? Use tags like #cookingtips, #pastarecipe, and #easyrecipes. This simple step gives your video a much better shot at landing in front of people who are actually looking for that kind of content.
Ready to stop wasting time on tedious editing and start creating scroll-stopping content? Let ShortGenius handle the heavy lifting with AI-powered captioning, reframing, and effects, so you can focus on what you do best—creating. Try ShortGenius today and transform your workflow.