Master the art of posting a youtube video on instagram
Discover strategies for posting a youtube video on instagram across Reels, Stories, and Feed to maximize reach and engagement.
Posting your YouTube videos on Instagram isn't as simple as just uploading the same file. It's a whole different game. You've got to think about reformatting your content for a new audience with a different mindset. The trick is to take your long, horizontal YouTube video and chop it up into shorter, vertical clips that feel native to Instagram. Whether it's for Reels, Stories, or your main feed, this approach makes sure your message actually lands on both platforms.
Why Bother Repurposing YouTube Videos for Instagram?
Look, sharing your YouTube stuff on Instagram is more than just a way to fill up your content calendar. It’s a smart, strategic move. When you do it right, you create this awesome feedback loop where your Instagram audience discovers your YouTube channel, and your YouTube fans follow you on Instagram. It breathes new life into content you’ve already worked hard on, turning it into a discovery machine.
Think about that 20-minute deep-dive you spent weeks creating for YouTube. It can easily become a whole series of engaging, bite-sized clips for Instagram. This isn't just cross-posting; it's about getting every last drop of value out of the content you produce.
Reach a Totally New Crowd
You have to remember that your audience on YouTube might not be the same group of people scrolling Instagram. Repurposing your videos lets you connect with a completely different demographic. Your ideal customer might not sit down to watch a 15-minute YouTube video, but they might watch five 30-second Reels while waiting for their coffee. You’re meeting them where they already are, without having to start from scratch.
This is especially true for Reels, which are an absolute powerhouse for getting discovered. Reels now make up about 35% of the total time people spend on Instagram, which is a massive opportunity for creators to get in front of fresh eyes. The data is pretty clear: Reels get around 2.25 times more reach than a standard photo post. They’re a non-negotiable tool for growth these days.
If you're not turning your best YouTube moments into Instagram Reels, you're leaving a huge chunk of your potential audience on the table. The goal is to make your content work smarter, not harder.
Squeeze More Value Out of Your Efforts
Let's be real: creating high-quality video content is a ton of work. It takes time, energy, and often, a good bit of money. Repurposing is how you get the best return on that investment.
Instead of thinking of a video as a "one and done" deal, think of it as a goldmine.
- More Content, Less Work: A single 10-minute YouTube video can easily be chopped into five to ten Reels, a dozen Stories, and a couple of solid feed posts. Suddenly, you have a week's worth of content.
- Keep Your Brand Message Strong: Reusing your core content ensures your message stays consistent across platforms. This builds brand recognition and reinforces your authority in your niche.
- Fuel Growth Everywhere: A killer Reel can act like a movie trailer for your full YouTube video. You hook them on Instagram, and they head over to YouTube for the full story. It’s a win-win.
So, how do you actually adapt that YouTube video for all of Instagram's different formats? Each one has its own purpose and best practices.
Here’s a quick breakdown to help you plan your content strategy:
YouTube to Instagram Format Guide
This table shows you how to think about repurposing a single YouTube video for the most popular Instagram spots. Each format has a unique goal and requires a slightly different content style.
| Instagram Format | Primary Goal | Content Style | Ideal Length |
|---|---|---|---|
| Reels | Discovery & Reach | High-energy, entertaining, or educational "hooks" and quick tips. Think trailers or viral moments. | 15-90 seconds |
| Feed Videos | Engagement & Nurturing | Value-packed micro-lessons, key takeaways, or deeper insights. Good for building community. | 1-3 minutes |
| Stories | Connection & Urgency | Behind-the-scenes clips, Q&As, polls, and teasers to drive traffic. Meant to be informal and immediate. | 15-60 seconds |
| Instagram Video | In-Depth Content | Mini-tutorials, detailed explanations, or interview segments. For your most dedicated followers. | 3-10 minutes |
Thinking this way from the start will make your repurposing efforts far more effective. Instead of just posting clips randomly, you’ll have a clear plan for what each piece of content is meant to achieve.
Getting Your Video Ready for Instagram
Before you even dream about hashtags and captions, we need to talk about the technical side of things. This is where most people stumble. You can't just toss a widescreen 16:9 YouTube video onto a vertical platform like Instagram and expect it to work. We've all seen the result: awkward black bars, the main action cropped out, and a post that just looks lazy. To make your video feel like it belongs on Instagram, you have to reformat it.
First things first, you need the video file. The simplest way is to grab the original file from your computer or cloud drive. If you can't find it, you'll have to download the video from your YouTube channel. Just make sure the file you end up with is an MP4, as it's the format Instagram prefers.
Getting the Shape Right: Instagram's Aspect Ratios
With the MP4 file in hand, the real work begins. Different parts of Instagram demand different video shapes, and nailing this is absolutely critical if you want to look professional. Think about it: you’re trying to fit a story made for a wide TV screen onto a tall, skinny phone screen.
Here are the key dimensions you need to burn into your brain:
- Reels and Stories (9:16): This is your standard, full-screen vertical video. It's the most immersive format on a phone and what the algorithm tends to push for discovery.
- Feed Posts (4:5): Sure, you can still post a square (1:1) video, but the slightly taller 4:5 ratio is much better. It takes up more vertical space in the feed, making it harder for people to scroll past.
This simple flowchart breaks down the journey from a wide video to a mobile-friendly asset.
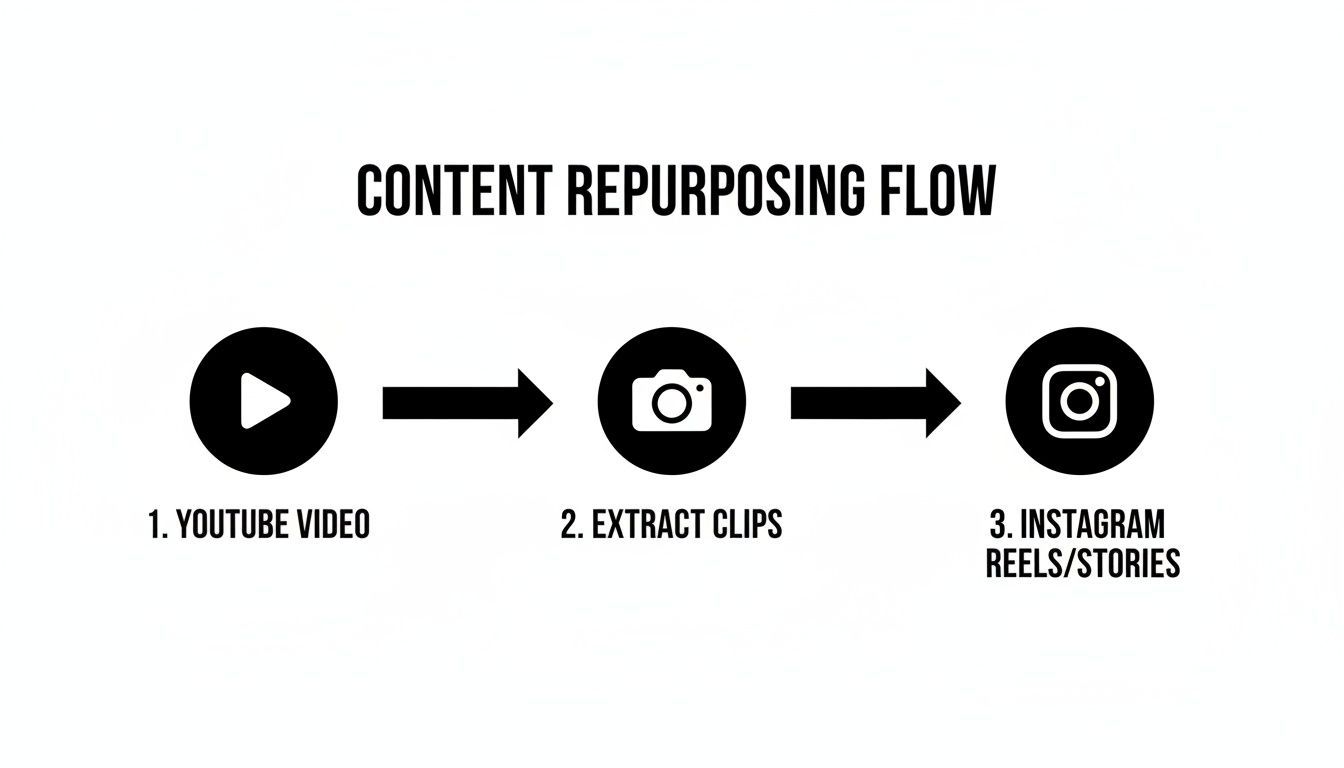
Repurposing isn't just about reposting. It’s about thoughtfully adapting your content for a completely different viewing experience.
Don't Just Crop—Reframe Your Footage
Simply changing the canvas size in your video editor isn't enough. You have to actively reframe your shots. Imagine your YouTube video has two people talking on opposite sides of the screen. If you just apply a standard center crop, you'll probably cut both of them out of the shot.
You need to put your director's hat back on. In your editing app—whether it's CapCut, InShot, or Adobe Premiere Rush—use keyframes or pan-and-scan techniques to follow the action. Your job is to keep the main subject or the most important part of the scene in the frame at all times. This might mean you can't show everything at once, which actually forces you to create more dynamic, focused clips.
Don’t just crop your video; re-compose it. Ask yourself what part of the frame is absolutely essential to the story you're telling in this short clip. This is the difference between amateur-hour repurposing and a professional content strategy.
Finally, let's talk export settings. Instagram is going to compress any video you upload, so you need to give it the best possible quality file to begin with. This helps minimize the ugly pixelation that can happen after their compression algorithm gets its hands on your work.
Optimal Export Settings for Instagram
| Setting | Recommendation | Why It Matters |
|---|---|---|
| File Format | MP4 | The most compatible and widely accepted format for Instagram. |
| Video Codec | H.264 | Hits the sweet spot between high quality and a reasonable file size. |
| Audio Codec | AAC | The go-to audio codec for crisp, clear sound on the platform. |
| Frame Rate | 30 FPS | Ensures smooth playback, as it matches the standard for most phone screens. |
Nailing these technical details ensures all your hard editing work pays off. It's how you avoid your video turning into a pixelated mess and instead get a clip that looks sharp, clean, and professional.
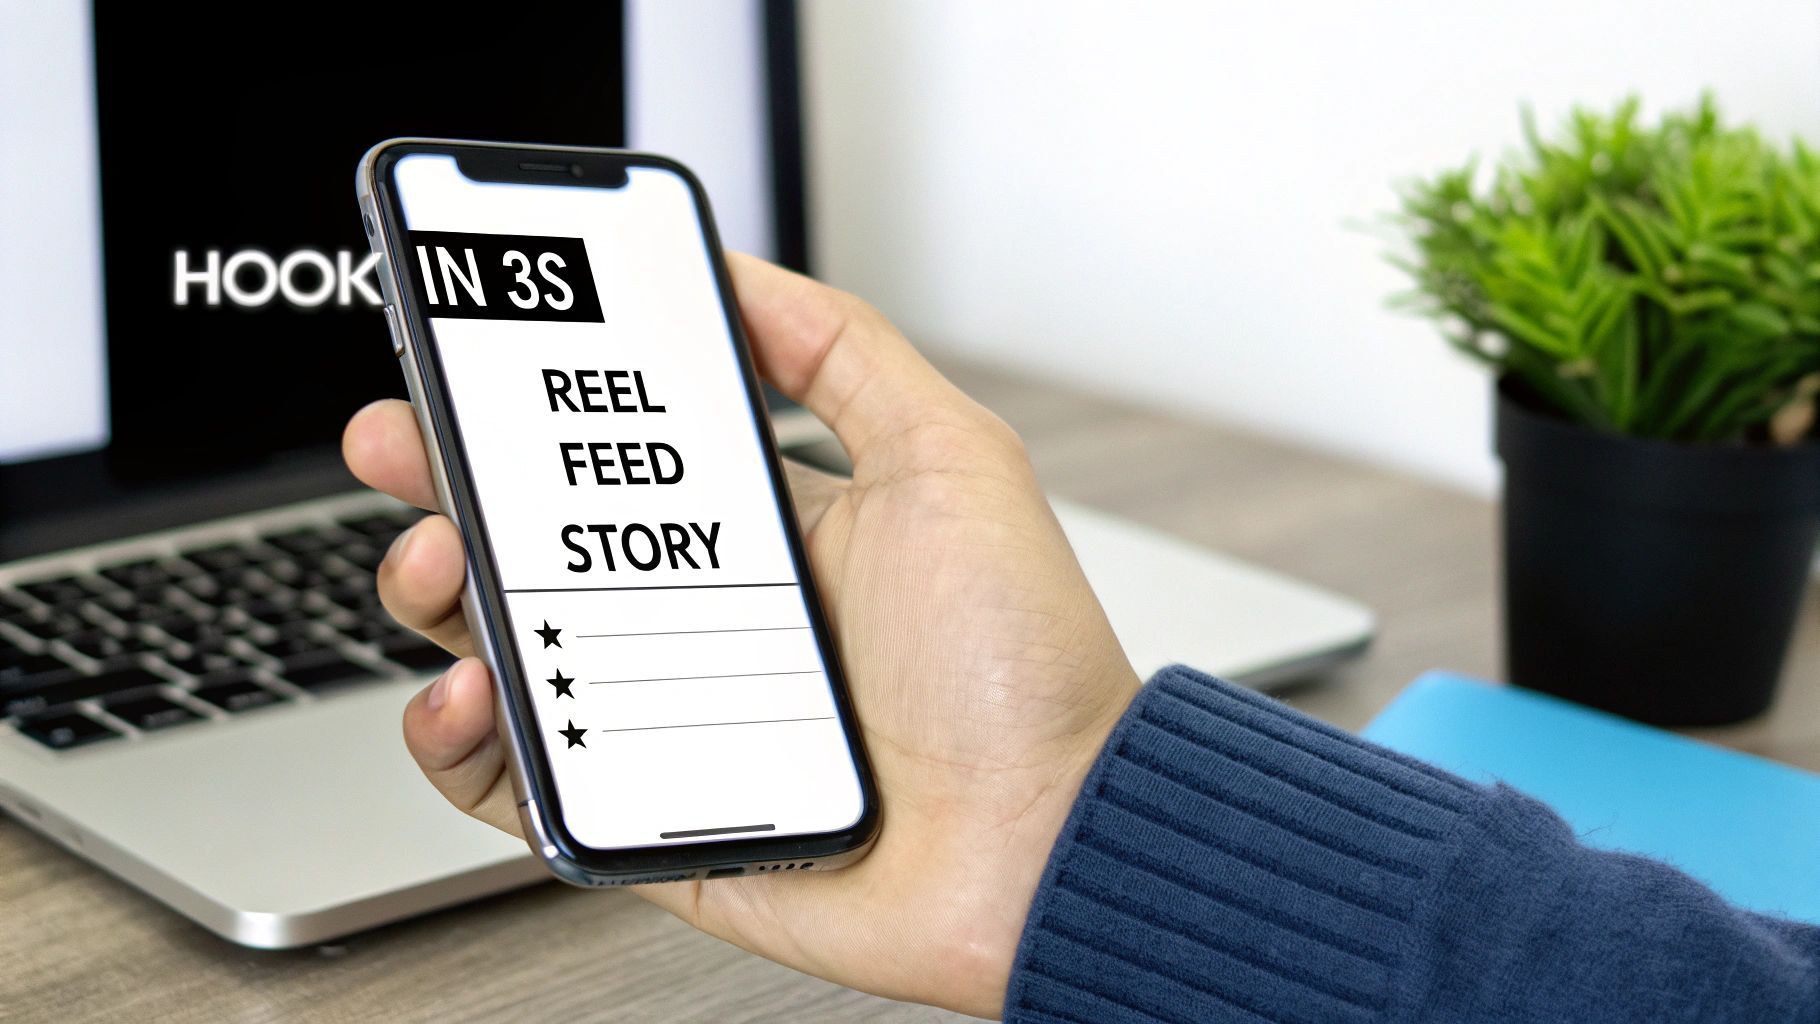
Adapting Your Story for Each Instagram Format
Successfully moving a YouTube video over to Instagram isn't just a technical task—it's a creative one. You have to completely rethink your narrative to match how people actually use each part of the platform. A clip that kills it as a Reel will almost certainly bomb as a Story if you don't make the right tweaks.
The goal is to make every piece of content feel native, like it was born and raised on that specific format.
This means you need to put on your storyteller hat and think about your audience's context. Are they mindlessly scrolling for a quick laugh, or are they checking in for a deeper connection with a creator they trust? Each format has a job to do, and your content needs to align perfectly with that job.
Crafting Scroll-Stopping Instagram Reels
Think of Reels as your discovery engine. You're trying to grab the attention of a cold audience that's scrolling at lightning speed. You have maybe three seconds, tops, to give them a reason to stop. Your entire editing philosophy needs to be built around that brutal reality.
Forget the slow, cinematic intro from your YouTube masterpiece. Instead, find the single most dramatic, surprising, or valuable moment and slap it right at the beginning. This could be a punchline, the final reveal of a project, or a bold statement that makes people stop and say, "Wait, what?" Once you've hooked them, then you can give them the backstory.
The data backs this up. Instagram Reels get 22% more interaction than regular video posts. When it comes to length, the sweet spot seems to be between 60 and 90 seconds. After the two-minute mark, engagement tends to fall off a cliff. If you want to dive deeper, you can explore the full analysis of Instagram Reels statistics.
Driving Conversation with Feed Videos
While Reels are for finding new people, feed videos are for nurturing the audience you already have. These folks already follow you, so you can afford to be a little more paced and deliberate. Here, the mission changes from stopping the scroll to earning saves and sparking comments.
This is the perfect spot for mini-tutorials, key takeaways, or focused clips from your longer YouTube video. A 10-minute gadget review on YouTube can easily become a 60-second feed video highlighting its single best feature. The trick is to deliver a complete, self-contained piece of value that gets people talking in the comments.
Don't just toss a random clip onto your feed. Post a self-contained story with a clear beginning, middle, and end. And always ask a direct question in your caption that relates to the video to kickstart the conversation.
Fostering Connection with Instagram Stories
Stories are all about being real and immediate. They're less polished, more conversational, and absolutely brilliant for building a direct line to your followers. When you're repurposing a YouTube video for Stories, think "behind the scenes" or "director's commentary."
Show a quick, unedited blooper from your YouTube shoot. Even better, post a key segment from your video and use Instagram's own features to pull your audience into the experience.
- Use the Poll Sticker: Ask your audience what they thought about a specific point you made.
- Add a Quiz: Test their knowledge on the topic you just covered in your YouTube deep-dive.
- Leverage the Q&A Sticker: Post a key clip and ask, "What other questions do you have about this?"
These interactive elements turn passive viewing into active participation. Suddenly, your audience feels like they're part of the conversation, which is far more powerful than just having them watch a video.
A Smarter Way to Repurpose With AI Tools
Let's be honest: manually downloading, trimming, and reframing every single video clip is a soul-crushing grind. It works, but it's slow and tedious. The good news is that a new generation of AI-powered tools is completely overhauling this process, letting creators scale their content without burning out. Forget spending hours hunched over a video editor—you can now get the same, if not better, results in minutes.
The concept is beautifully simple. You feed the tool a link to your long-form YouTube video, and its AI gets to work. These platforms are smart enough to analyze your entire video—sifting through the audio transcript and tracking visual cues—to automatically pinpoint the most compelling, shareable moments. Think of it as having a seasoned video editor on staff who instantly knows which snippets are destined to go viral.
The New Automated Workflow
This isn't just about faster editing; it's a fundamental shift in how you can manage your content workflow. For many creators, this approach is saving dozens of hours every single month.
- AI-Powered Clip Discovery: The tool scans your video from start to finish and suggests a handful of short, punchy clips based on engaging topics, questions, or powerful statements it identifies.
- Intelligent Cropping: The AI automatically reframes your horizontal video into a 9:16 vertical format. The best part? It keeps the speaker or key action perfectly centered in every single shot, so you don't have to mess with manual keyframing.
- Automatic Captions: It generates and styles captions with remarkable accuracy, making your videos ready for the 85% of people who watch content with the sound off.
The old method meant hours of scrubbing through timelines, slicing clips, and painstakingly resizing everything. The new way is all about strategic review—letting AI handle 90% of the production so you can focus your energy on perfecting the final clips.
Tools like ShortGenius were built from the ground up for exactly this. It's a perfect example of how AI can take one long YouTube video and transform it into a full week's worth of high-quality Instagram Reels.
Take a look at this dashboard. The AI has already pulled multiple distinct, engaging clips from just one YouTube link.
Each clip is ready to go with a catchy title and perfectly synced captions. All that's left for you to do is give them a quick review and hit schedule.
More Than Just Clips
The advantages go way beyond just chopping up videos. These platforms are designed to keep your brand looking sharp and consistent across every single post.
You can upload your brand kit—logos, specific fonts, and color palettes—and the AI will automatically apply them to every video it creates. This ensures that even though you're working at lightning speed, the final product always looks polished and professional. From auto-generated captions to seamless brand integration, this technology makes posting your YouTube content on Instagram a truly scalable part of your strategy.
Optimizing Your Instagram Post for Maximum Reach
You've got the perfect video clip prepped and ready to go, but don't hit "post" just yet. The final, and arguably most important, part of the process is making sure your post is set up to actually get seen. Getting this right is every bit as critical as the editing work you just put in.
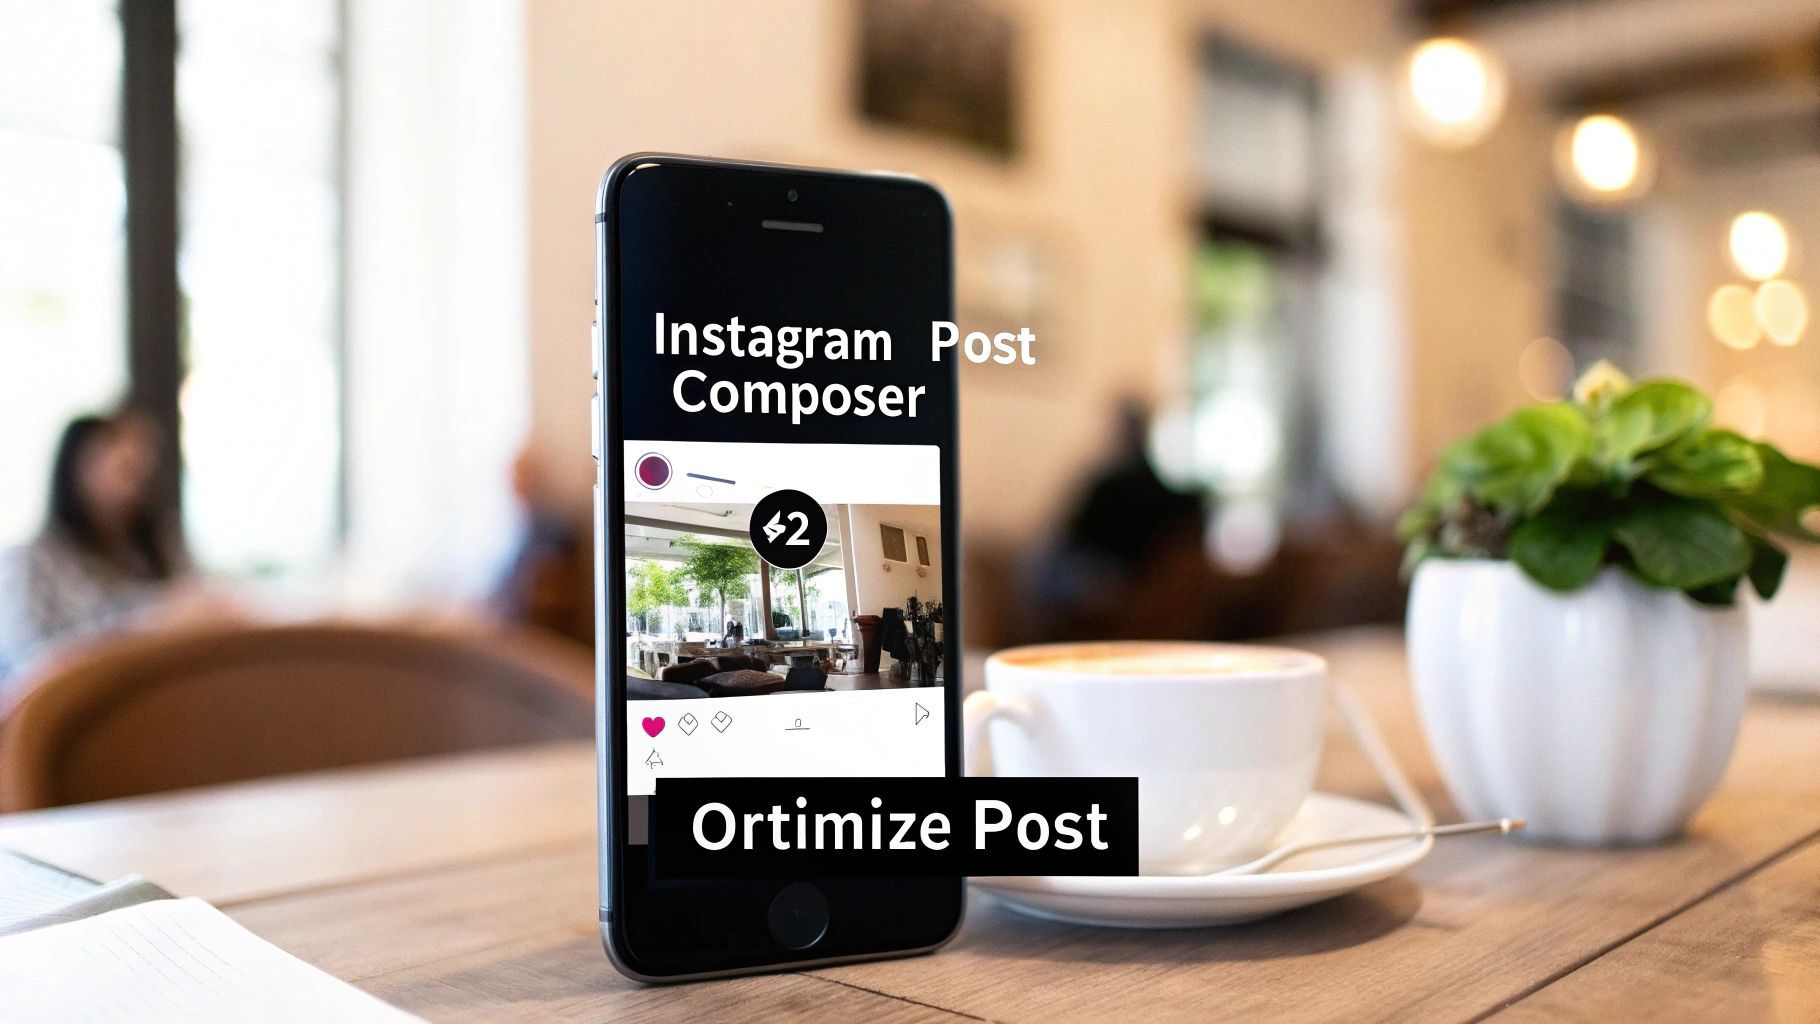
Think of it this way: you’re giving the Instagram algorithm all the right signals. A brilliant video can easily fall flat without a magnetic caption, the right hashtags, and a crystal-clear call-to-action to guide your audience.
Write Captions That Spark Conversation
It's time to ditch captions that just describe what’s in the video. Your real goal here is to kick off a conversation. A great caption hooks the reader in the first line, gives just enough context, and then poses a question to get people talking.
For example, instead of a flat "Here's a clip from my latest YouTube video," try something with more punch: "I was shocked to discover this one mistake everyone makes. Have you ever done this? Let me know in the comments!" See the difference? That simple shift turns passive scrollers into active participants.
The best captions don't just tell; they ask. Your caption is the number one tool you have for turning views into real engagement, a huge signal to the algorithm that your content is worth showing to more people.
Develop a Smart Hashtag Strategy
Hashtags are basically your post's discovery engine. One of the biggest mistakes I see is people using only massive, generic tags like #video or #youtube. Sure, they have huge volume, but your content will be buried in seconds. A much smarter approach is to blend a few different types of hashtags.
Here’s a simple framework that works:
- Broad Hashtags (1-2): These are popular, high-level tags for your general topic (e.g.,
#contentcreator,#techreview). - Niche Hashtags (3-5): Get more specific to your video's subject to attract a super-relevant audience (e.g.,
#camerageartips,#videolighting). - Community Hashtags (2-3): Tap into tags used by specific groups you want to connect with (e.g.,
#sonyalphaclub).
This balanced mix helps you show up in both big-picture searches and targeted feeds, maximizing your visibility without getting lost in the noise.
Add a Clear Call-to-Action
You have to tell your audience exactly what you want them to do next. A post without a clear next step almost always leads to inaction. Be direct and make it incredibly easy for them.
Your call-to-action (CTA) could be as simple as:
- "Watch the full tutorial now. Link in bio!"
- "What's your biggest takeaway? Share it below!"
- "Save this post for later so you don't forget these tips."
A strong CTA transforms a simple view into something much more valuable, like a click over to your YouTube channel or a "save" that boosts your post's longevity. Gauging the real impact is key, and you can learn more about how to measure reach effectively beyond just looking at likes and follower counts.
Find Your Perfect Posting Time
Finally, timing is everything. Dropping your video when your audience is most active gives it that crucial initial burst of engagement. You don't even need a fancy third-party tool for this; Instagram gives you this data for free.
Just head over to your Professional Dashboard > Account Insights > Total Followers. Scroll down and you'll find the "Most Active Times" section, which breaks down the days and hours your followers are most often online. Post during those peak windows to give your video the best possible launch. Remember, Instagram Reels, in particular, rely heavily on that early engagement from your followers to get pushed out into the wider world.
Common Questions About Posting YouTube Videos
Once you get the hang of the basics, you'll inevitably run into a few specific questions about posting your YouTube content on Instagram. Let's tackle some of the most common hurdles I see creators face.
A big one is always about video length. Can you just dump your entire 15-minute YouTube video onto your Instagram feed? While Instagram technically allows feed videos up to 60 minutes, the real question is should you? My answer is almost always a hard no.
Instagram is a platform for quick, snappy content. A full-length, horizontal YouTube video just feels out of place and, frankly, performs terribly. You're much better off creating a punchy, vertical trailer or a short clip that teases the best parts. The goal is to drive people to your YouTube channel for the main event, not replicate it on Instagram.
How Do I Avoid Copyright Issues?
This is where things can get tricky, and it’s a point that trips up a lot of people. The golden rule here is simple: only post content you have the rights to. For your own YouTube videos, this almost always comes down to the music.
Music you licensed from the YouTube Audio Library? It's probably not cleared for Instagram. To play it safe, here’s what I recommend:
- Strip the original audio from your YouTube clip before you even think about uploading it to Instagram.
- Lean into Instagram's own music library. Using its collection of licensed music and trending sounds for your Reels and Stories is the safest and smartest move.
- Never, ever use clips from other creators' videos unless you have their explicit, written permission. "Fair use" is a legal minefield, and just assuming you’re in the clear is a huge risk.
What Is the Best Video Format for Instagram Uploads?
You've spent hours making your video look perfect, so don't let the wrong export settings ruin it. Instagram compresses everything you upload, so starting with a high-quality file is key to minimizing that quality drop.
For the best results and fewest headaches, your go-to format should always be MP4 with an H.264 video codec and AAC audio. Sticking to this standard just works, preventing most upload errors and keeping your video looking sharp.
Beyond the file type, the aspect ratio is everything. Go with 9:16 for Reels and Stories to give your audience that immersive, full-screen feel. For regular feed posts, I've found a 4:5 vertical ratio is perfect—it takes up the most screen real estate as people scroll, making your content much harder to miss. Getting these technical details right isn't just a suggestion; it's a must for a professional look.
Ready to stop the manual grind and start creating high-quality Instagram clips in minutes? ShortGenius uses AI to instantly find the best moments in your YouTube videos, automatically adds captions, and schedules them for you. Transform your long-form content into a powerful social media machine.