How to Storyboard a Video A Practical Guide
Learn how to storyboard a video with our practical guide. We cover everything from foundational concepts and sketching to digital tools and advanced techniques.
So, what does it actually mean to storyboard a video? At its core, you’re breaking down your script into individual scenes and then sketching out each key moment. Think of it like a comic book that tells your video's story. This visual plan is where you’ll nail down shot details, camera angles, and notes to guide the entire production before you even think about pressing record. It's the essential blueprint that gets your whole team on the same page and brings your vision to life.
Your Blueprint Before You Film
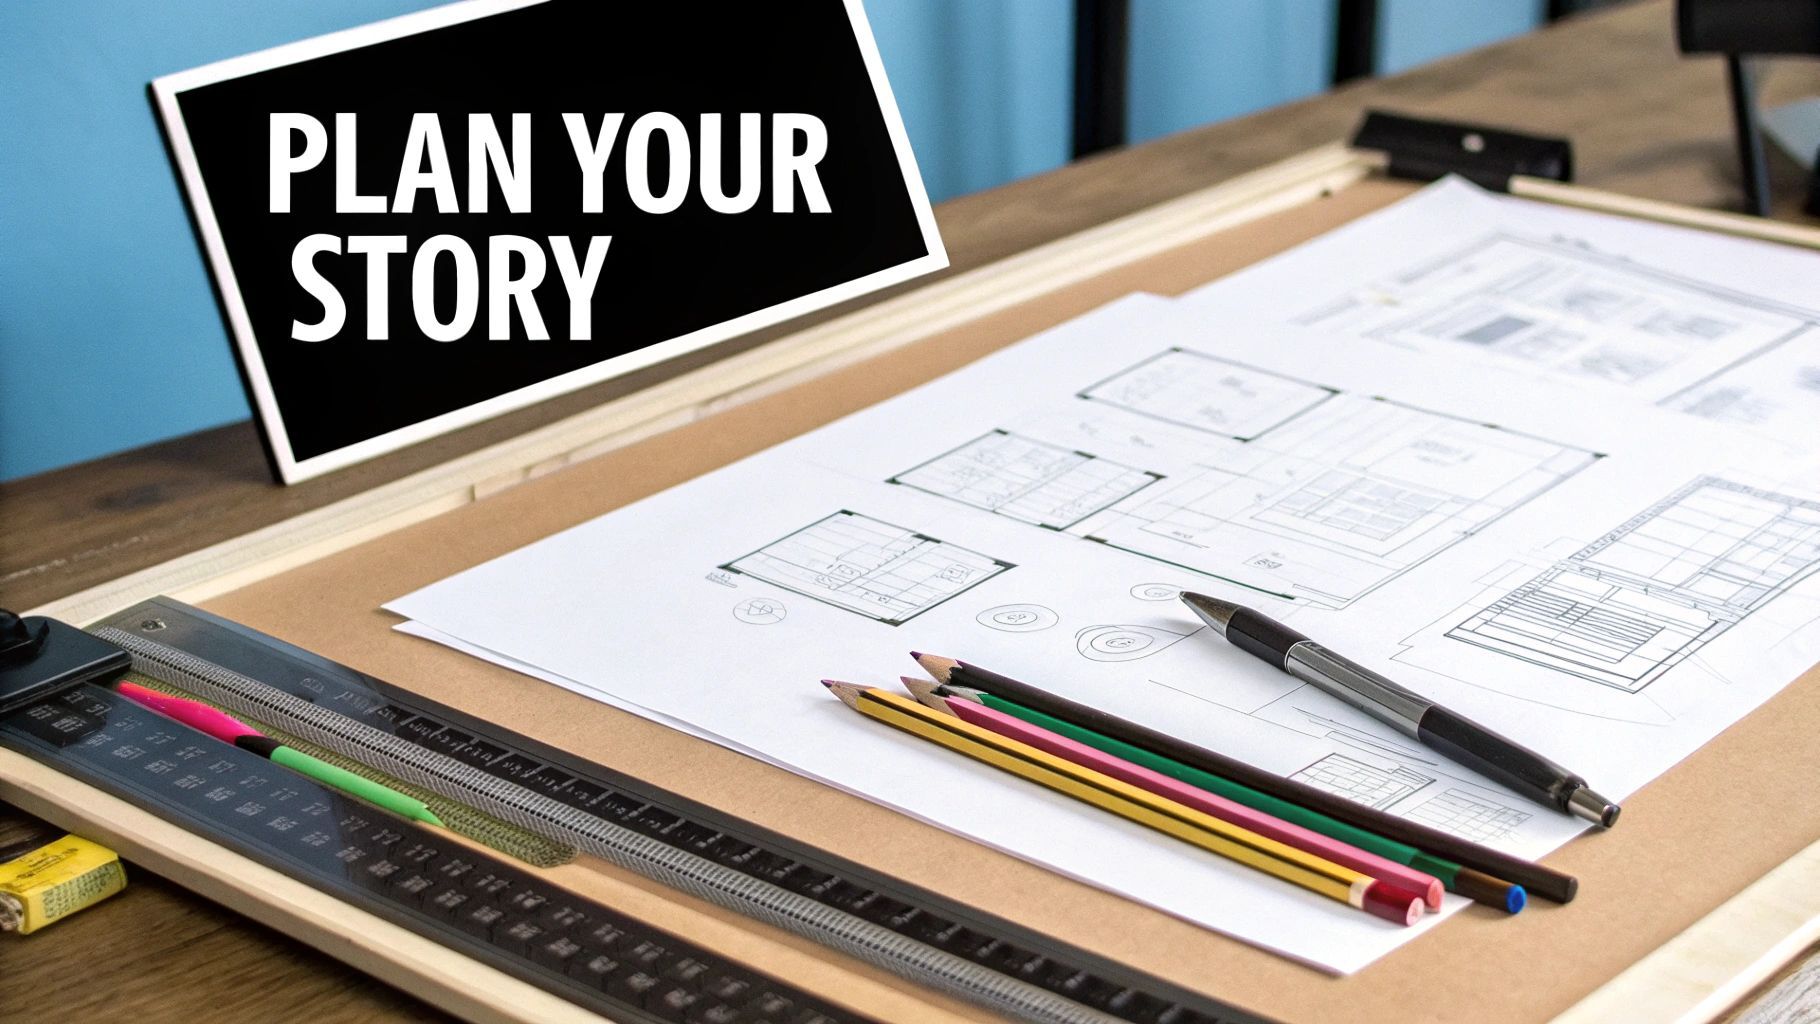
Think of a storyboard as the architectural plan for your video. You wouldn't build a house without a blueprint, right? The same logic applies here. You shouldn't jump into filming without a solid visual guide. This sequence of drawings, packed with supporting notes, maps out your video shot-by-shot, turning abstract ideas from a script into a concrete, shareable plan.
The real power of a storyboard is that it forces you to find clarity. It makes you lock in crucial decisions early in the process, which helps you sidestep expensive mistakes and wishy-washy choices on set. When you can see the visual flow laid out in front of you, you can easily spot pacing problems, awkward transitions, or narrative holes that a simple script might never reveal.
Why Every Creator Needs a Storyboard
It doesn't matter if you're a solo creator filming your next viral video or a marketing team producing a high-budget commercial—the benefits are universal. A well-crafted storyboard acts as the single source of truth for the project, making sure everyone from the director to the editor is working from the same playbook. That alignment is what makes a production run smoothly.
For instance, a storyboard helps your team:
- See the Final Product: It gives everyone a tangible preview of the video's look and feel, making it much easier to get buy-in from clients or stakeholders.
- Plan Production Needs: You can go through panel by panel and identify every single prop, location, lighting setup, and piece of camera gear needed for each shot. No surprises.
- Communicate Clearly: It’s the ultimate tool for bridging the gap between written words and visual execution, dramatically cutting down on misunderstandings between crew members.
This proactive planning saves a staggering amount of time and money down the line. Reshoots are a budget-killer, and a storyboard is your best insurance policy against them. By solving problems on paper (or a screen) first, you make the entire production process more efficient.
A storyboard isn’t just about drawing; it’s about problem-solving. It’s the cheapest, fastest way to test if your story works visually before you invest a single dollar into production.
Core Elements of an Effective Storyboard
Every single panel in your storyboard should function as a mini-instruction manual for a specific shot. While the style can range from simple stick figures to detailed illustrations, a professional storyboard always includes a few key components to make sure nothing gets lost in translation. These details are what give your team the context they need to execute your vision perfectly.
To give you a clearer picture, here's a quick rundown of the essential information that should accompany every sketch.
Essential Storyboard Elements at a Glance
| Element | Purpose and Key Details |
|---|---|
| Panel/Scene # | A simple numbering system (e.g., Scene 1, Shot 1) to keep every shot organized and easy to reference during production meetings and on set. |
| The Sketch | The visual representation of the shot. Focus on composition, character placement, and key objects. It doesn't need to be a masterpiece—clarity is key. |
| Shot Description | A brief written explanation of what’s happening in the frame. Describe the action, the setting, and any important visual cues. |
| Camera Details | Specify the shot type (e.g., wide shot, close-up), camera angle (e.g., low angle, eye level), and any camera movement (e.g., pan left, dolly in). |
| Dialogue/Audio | Include the corresponding lines of dialogue, sound effects (SFX), or music cues for that specific shot. This helps with timing and pacing. |
| Notes | A catch-all section for anything else: lighting direction, prop details, special effects notes, or specific instructions for the actors. |
Having these elements in place turns your storyboard from a simple collection of drawings into a powerful production tool.
This process is absolutely fundamental in the broader creative production world, especially animation. The global animation market is on track to hit $400 billion by 2025, and storyboarding is a cornerstone practice that drives both efficiency and storytelling quality within this massive industry. You can learn more about the growth of the animation industry on Vidico.com.
Bringing Your Script to Life Frame by Frame
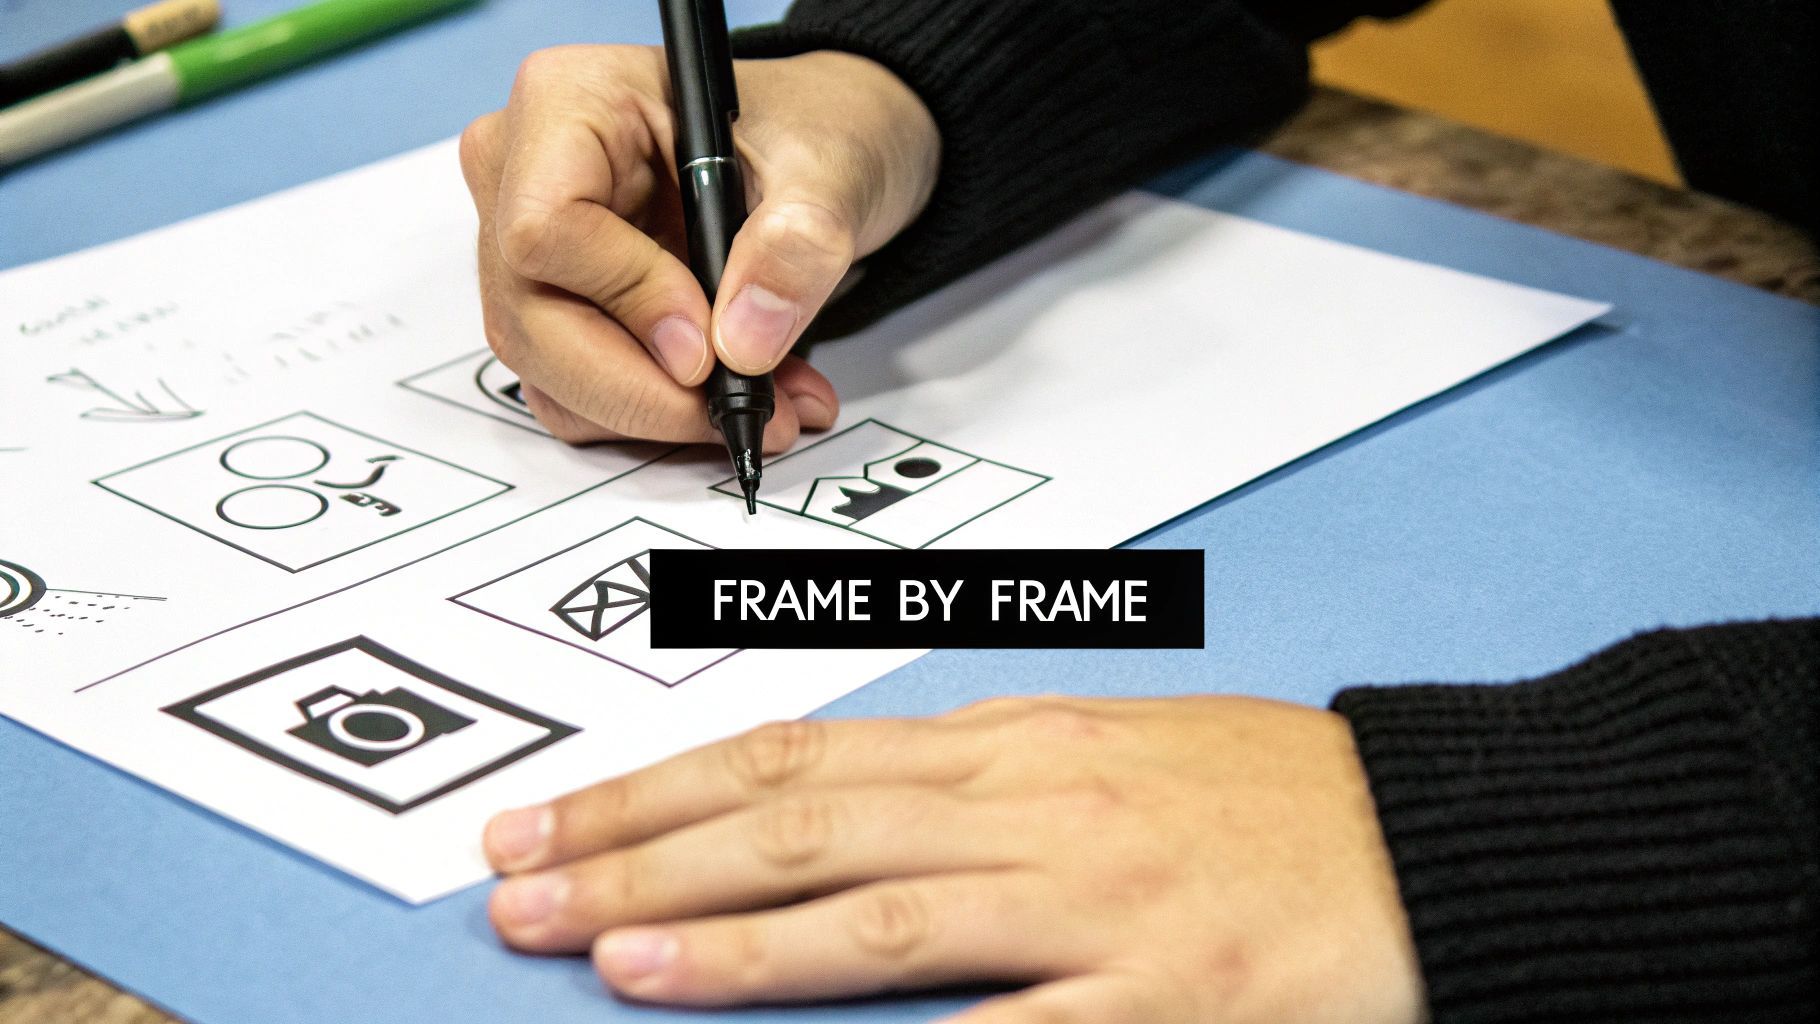
This is where the magic really starts to happen. All those words you've carefully crafted in your script are about to become actual, visible moments. And don't worry, you don’t need to be an artist. Stick figures and basic shapes are your best friends here—the goal is clear communication, not a masterpiece.
First things first: you need to rip your script apart, visually speaking. Read it through with a director's hat on. Your job is to pinpoint every single key action, every emotional shift, and every critical beat you want the audience to feel. Each of these moments will get its own panel on the storyboard.
Breaking Down Your Scenes
A great way to start is by treating each sentence in your script as a potential camera shot. Does your character grab their keys from the table? That’s a shot. Do they look up with a surprised expression? That's another shot. You're essentially creating a visual roadmap that follows your narrative, one-to-one.
Try this: grab a highlighter and go through your script, marking every action verb and any important emotional cues. This simple trick forces you to identify the core visual information you absolutely have to show.
- Action: A character sprints across a busy street.
- Emotion: A character gazes up in disbelief.
- Reveal: The camera creeps along the floor to reveal a hidden clue.
By doing this, you're translating the what of your script into the how of your visuals, setting yourself up perfectly for the next step.
Thinking Like a Director with Camera Shots
Now that you have your key moments mapped out, it's time to decide how the audience will actually see them. This is all about camera shots and angles. These aren't just technical choices; they are powerful tools for shaping the viewer's emotional journey.
Your camera is your narrator. A close-up shot pulls us into a character's intimate thoughts, while a wide shot can establish a grand setting or make someone seem completely alone. Every shot tells a piece of the story.
Think about how you can use different shots to make even a simple scene feel dynamic. A conversation between two people can be elevated just by switching up the camera's perspective.
Essential Shot Types to Know:
- Wide Shot (WS): This is your establishing shot. It shows the whole scene and tells the audience where we are. Perfect for kicking off a new location.
- Medium Shot (MS): Usually frames a character from the waist up. It’s the workhorse for dialogue scenes because it captures body language and expression well.
- Close-Up (CU): Fills the screen with a character's face or a key object. This is your go-to for emphasizing a powerful emotion or highlighting a crucial detail.
Let's put it into practice. Imagine a scene in a cafe. You could start with a Wide Shot showing two people talking amidst the hustle and bustle. As the conversation intensifies, you cut to a Medium Shot to focus on their animated gestures. Finally, as one character delivers a heartbreaking line, you push into a Close-Up to capture a single tear.
This sequence doesn't just show what's happening; it guides the audience's focus and builds emotional weight, frame by frame. Learning how to storyboard a video is really about learning how to tell a story with your camera, one intentional choice at a time.
Choosing Your Tools: Digital vs. Traditional Methods
So, how are you actually going to build this thing? The first big decision is whether you'll go old-school with pen and paper or jump into the digital realm. This choice really sets the tone for your entire workflow.
There’s something undeniably satisfying about the classic method. Grabbing a pencil and a stack of paper gives you a direct, tactile connection to your ideas. It's just you and the page, with no software interface or notifications to get in the way. You're free to just sketch.
For many creators, especially when starting out, the simplicity of traditional storyboarding is its biggest draw. It costs next to nothing, anyone can do it, and there's zero technical learning curve. The focus is purely on the story. The downside? Making changes can get messy fast, and sharing your work with a team usually means a clunky process of scanning, uploading, and emailing files around.
The Rise of Digital Storyboarding
This is where digital tools really shine and have become the standard for most modern productions. Platforms designed for storyboarding bring a level of speed, flexibility, and collaboration that pen and paper just can't compete with. Need to reorder a few scenes? It's a simple drag-and-drop. Want to try a different camera angle? A couple of clicks, and you're done.
This efficiency is why the market for these tools is booming. The global storyboarding software market was valued at around USD 165 million in 2023 and is projected to hit nearly USD 300 million by 2032. That growth is no accident; it’s a direct response to the endless demand for content from streaming services and social media, which requires a much faster pre-production pipeline. You can dig deeper into these storyboarding software market trends from Dataintelo.
The best tool is the one that gets out of your way and lets you focus on the story. Whether that’s a Wacom tablet or a simple notebook, choose the method that feels most natural to your creative process.
This infographic lays out the core differences you'll encounter in setup, teamwork, and cost when comparing the two approaches.
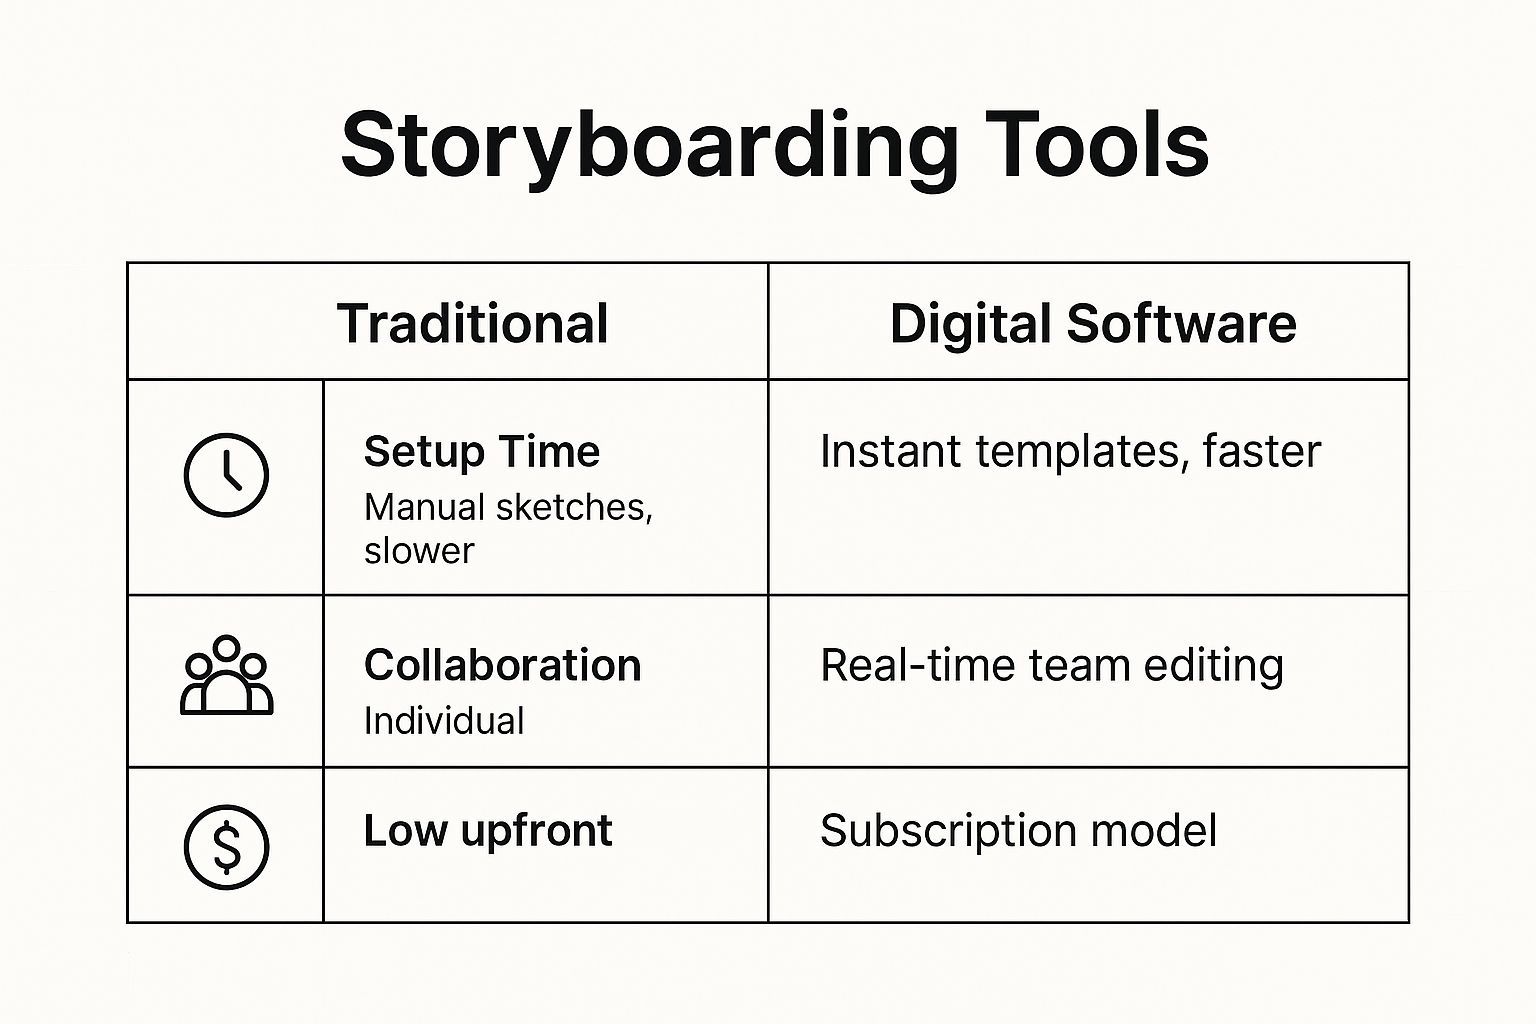
As you can see, digital tools clearly win on speed and collaboration, but you can't beat the low cost of entry for traditional methods.
Which Method Is Right for You?
So, what's the right call? Your decision should really boil down to three things: your project's complexity, your team's setup, and your budget.
If you're a solo creator working on a straightforward YouTube video, a sketchbook might be perfect. It’s cheap, simple, and lets you get your ideas down on paper without getting bogged down in software. It's a fantastic way to learn how to storyboard a video without a big financial commitment.
But if you're part of a marketing agency or a remote team managing multiple client projects, digital software becomes almost essential. The ability for everyone to view, comment on, and edit the storyboard in real-time is a game-changer for collaboration.
Here are a few scenarios to think about:
- Fast-paced social media content: Digital tools with templates and pre-made assets will help you pump out ideas much faster.
- Detailed animated shorts: A hybrid approach often works best. You could do your initial rough sketches on paper and then scan them into a digital program for cleanup, coloring, and refinement.
- A big client pitch: A polished, professional-looking digital storyboard is going to make a much stronger impression than a handful of pencil sketches.
To help you weigh the pros and cons more clearly, here’s a side-by-side comparison.
Digital vs. Traditional Storyboarding Comparison
This table breaks down the key differences to help you choose the best storyboarding method based on your project needs, budget, and collaboration style.
| Feature | Digital Tools | Traditional Methods |
|---|---|---|
| Editing & Revisions | Effortless. Drag-and-drop scenes, easily undo mistakes, and make non-destructive edits. | Time-consuming. Requires redrawing or erasing, which can become messy. |
| Collaboration | Excellent. Real-time sharing, commenting, and version control for remote teams. | Difficult. Requires scanning, emailing, or physical meetings to share work. |
| Speed & Efficiency | High. Templates, asset libraries, and duplication features speed up the process. | Slower. Every panel must be drawn from scratch. |
| Upfront Cost | Can be high. Requires software subscriptions and potentially hardware (e.g., tablet). | Very low. Just need paper, pencils, and maybe some markers. |
| Final Polish | High. Can create clean, professional-looking boards with color and detailed notes. | Varies by artistic skill. Can look rough or unfinished without extra effort. |
| Accessibility | Requires a computer and software. May have a learning curve. | Extremely accessible. Anyone can start immediately with basic supplies. |
Ultimately, you don't have to pick just one. Many seasoned pros I know use a hybrid approach. They'll start by brainstorming with messy pencil sketches to get the core ideas and flow down, then move everything over to a digital platform like Storyboarder or Boords to refine the panels, add detailed notes, and share the final version with the team for feedback.
Taking Your Storyboard to the Next Level
Alright, you've sketched out the basic scenes. The story is there. But now it’s time to really bring it to life and add the kind of professional detail that separates a good storyboard from a great one. Think of this next step as adding a visual grammar that your entire production team will instinctively understand.
We're moving beyond just what happens in a frame to how it happens. This is where you start injecting movement, emotion, and cinematic flair directly onto the page.
Show, Don't Just Tell: Indicating Movement and Action
Your drawings might be static, but your video certainly won't be. Using simple motion indicators is an absolute must to show how characters and objects are moving within the scene. Even a few curved lines trailing a running character can instantly communicate speed and direction. It’s a simple trick, but incredibly effective.
And what about the camera? This is where directional arrows become your best friend—they're a universal language on any set.
- Pans & Tilts: Use a straight or curved arrow pointing left/right for a pan or up/down for a tilt. This tells everyone the camera is pivoting from a fixed spot.
- Zooms & Dollies: An arrow pointing into the frame means zoom in or dolly forward. An arrow pointing out means the opposite.
These visual cues are fundamental for planning dynamic shots and preventing a static, boring final cut.
The goal is to make each panel a mini-director's note. By indicating camera and character movement, you’re not just drawing a scene; you’re choreographing it.
Using Color and Composition with Purpose
You don't need to be a master artist to use color effectively. Sometimes, a single color wash is all you need to set the mood. A splash of blue can signal a somber tone or a nighttime scene, while a warm yellow or orange can instantly create a feeling of happiness or a bright, sunny day.
Beyond color, think about your shot composition. Applying a classic principle like the rule of thirds can make a huge difference. Instead of sticking your subject right in the center, try placing them on one of the intersecting lines of a 3x3 grid. It’s a simple shift that makes your shots feel more balanced and professional, naturally guiding the viewer's eye where you want it to go.
Achieving this level of detail is easier than ever, thanks to modern software. The storyboarding software market hit a massive $1.97 billion in 2024, a number that reflects just how critical these tools have become. With features like 3D visualization and real-time collaboration, we can pre-visualize our projects with a sophistication that was impossible just a few years ago. You can find more data about the growth of the storyboarding software market if you're curious about the trends. It’s clear the industry is all-in on better planning tools.
Sharing Your Storyboard for Better Collaboration
https://www.youtube.com/embed/H5bYLv3jahU
Your storyboard is much more than a personal roadmap—it’s the central communication tool that gets your entire team on the same page and secures that crucial client sign-off. Once you have your panels sketched out, the real magic begins when you prepare them for review. This is where your static drawings start to breathe and feel like an actual video.
A fantastic way to check the rhythm of your story is to create an animatic. Think of it as a bare-bones, animated version of your storyboard. You simply drop each panel into a video editing timeline, syncing it with the script's audio, a quick scratch voice-over, or even some placeholder music.
This simple step is a total game-changer. It instantly shows you if a scene drags on too long, if a joke's timing falls flat, or if an emotional moment needs more time to land. An animatic closes the gap between still images and the final video, giving everyone a real feel for the project’s pace before you ever hit the record button.
Gathering and Using Feedback Effectively
With your storyboard or animatic in hand, it's time to gather your team. Presenting your work isn't just about flipping through images; it’s about guiding everyone through the story and explaining the "why" behind your creative decisions. Talk them through the camera angles, the character expressions, and the specific mood you're aiming for in each scene.
When the feedback starts coming in, keep an open mind but don't be afraid to protect your core vision. Good feedback is vital, but not every suggestion will actually improve the story. A great habit is to ask questions that dig deeper to find the problem behind a suggestion, rather than just accepting the proposed fix.
For example, if a client says, "I don't like that close-up shot," you could ask, "Can you tell me more about what that shot makes you feel?" This helps you uncover the root issue—maybe the shot feels too intense or claustrophobic—and allows you to find a solution that satisfies everyone while serving the story.
Keeping Your Project Organized
As notes roll in, you'll inevitably be making changes. This is where having a solid version control system is non-negotiable. It’s the only way to prevent chaos and ensure everyone is looking at the most recent draft.
Tips for Smart Versioning:
- Use a Clear Naming System: Keep it simple and consistent, like
ProjectName_Storyboard_v1.0,v1.1, and so on. Use major number changes (v2.0) for big creative shifts and minor ones (v1.1) for small tweaks. - Keep a Change Log: In the same document or folder, make a quick note of what changed in each version. This creates a clear history of the project's journey and keeps stakeholders in the loop.
- Centralize Your Files: Whether it’s a shared cloud drive or a dedicated digital storyboarding tool, have one single source of truth. This simple step prevents team members from accidentally working on an old, outdated file.
This disciplined approach to sharing, feedback, and organization is what turns the storyboarding process from a simple drawing exercise into the professional foundation of any successful video production.
Your Storyboarding Questions, Answered
Even after you get the hang of storyboarding, a few practical questions almost always come up. Let's clear the air on some of the most common ones so you can dive in and start creating with confidence.
Do I Need to Be a Good Artist to Storyboard?
Absolutely not. This is probably the biggest myth that keeps people from even trying.
The whole point of a storyboard is clear communication, not artistic perfection. Think of it as a blueprint, not a masterpiece for a gallery. Simple stick figures, basic shapes, and a few arrows to show movement are usually all you need to get the idea across. If someone can look at your panel and understand what's supposed to happen, you've done your job.
Plus, many digital tools come with libraries of pre-made characters and objects, so you can build entire scenes without drawing a single line.
How Detailed Should My Storyboard Be?
This really depends on your project and who you're working with. There's no single right answer.
If you're making a quick social media clip by yourself, a few rough sketches of the main moments might be all you need. But for a detailed animated short or a big-budget commercial, you'll want to pack in a lot more information. Think specific camera angles, notes on lighting, lens choices, and precise timing for dialogue or sound cues.
A great rule of thumb: include enough detail that someone else could pick up your storyboard and grasp your vision without having to ask you for clarification every five minutes.
What’s the Difference Between a Storyboard and a Shot List?
They're both essential for a smooth production, but they serve totally different purposes. The easiest way to think about it is that a storyboard is visual and creative, while a shot list is technical and logistical.
-
A Storyboard is the visual map. It’s a series of drawings that shows what the audience will see, scene by scene. It's all about the storytelling, composition, and feeling of the video.
-
A Shot List is the technical checklist. It’s a document for the crew that details how each shot will be filmed—shot numbers, camera setups, lenses, and any special equipment needed.
Your storyboard answers the "what" and "why." Your shot list handles the "how." A well-prepared shoot always uses both.
How Many Panels for a One-Minute Video?
There's no magic number here because it all comes down to pacing.
A fast-paced, high-energy commercial with lots of quick cuts might need 20-30 panels for just one minute. On the other hand, a slower, more thoughtful piece with long, lingering shots might only need 5-10 panels.
Instead of getting hung up on a specific count, follow this simple principle: create a new panel for every new shot or major action. Every time the camera angle changes or a character does something important, that’s your signal to draw a new frame. This keeps your storyboard perfectly in sync with the actual rhythm of your video.
Ready to bring your video ideas to life faster than ever? ShortGenius unifies every step of content creation, from AI-powered scriptwriting and scene generation to one-click editing and multi-channel scheduling. Stop juggling tools and start creating consistent, high-quality content in minutes. Discover how ShortGenius can transform your workflow today.