How to Screen Record on Chromebook A Complete Guide for Creators
Learn how to screen record on Chromebook using built-in tools and advanced apps. This guide provides actionable tips for creating high-quality video content.
Ready to record your screen on a Chromebook? It's easier than you think. You don't need to hunt for third-party software because a perfectly capable screen recorder is already built right into Chrome OS.
Get Started with Chromebook's Built-In Screen Recorder
The quickest way to get going is with a simple keyboard shortcut. Just press Shift + Ctrl + Show Windows key. That’s the key with the little stacked rectangles on it, usually where F5 would be on other keyboards.
This command instantly brings up the screen capture toolbar at the bottom of your screen. It's a lightweight, native tool, so you never have to worry about it bogging down your system. It's my go-to for grabbing a quick tutorial, showing a developer a bug in action, or just saving a clip from a live event. The integration is seamless, a point often highlighted in guides like this one on Chromebook recording from Descript.com.
Once you've launched the toolbar, you're ready to capture.
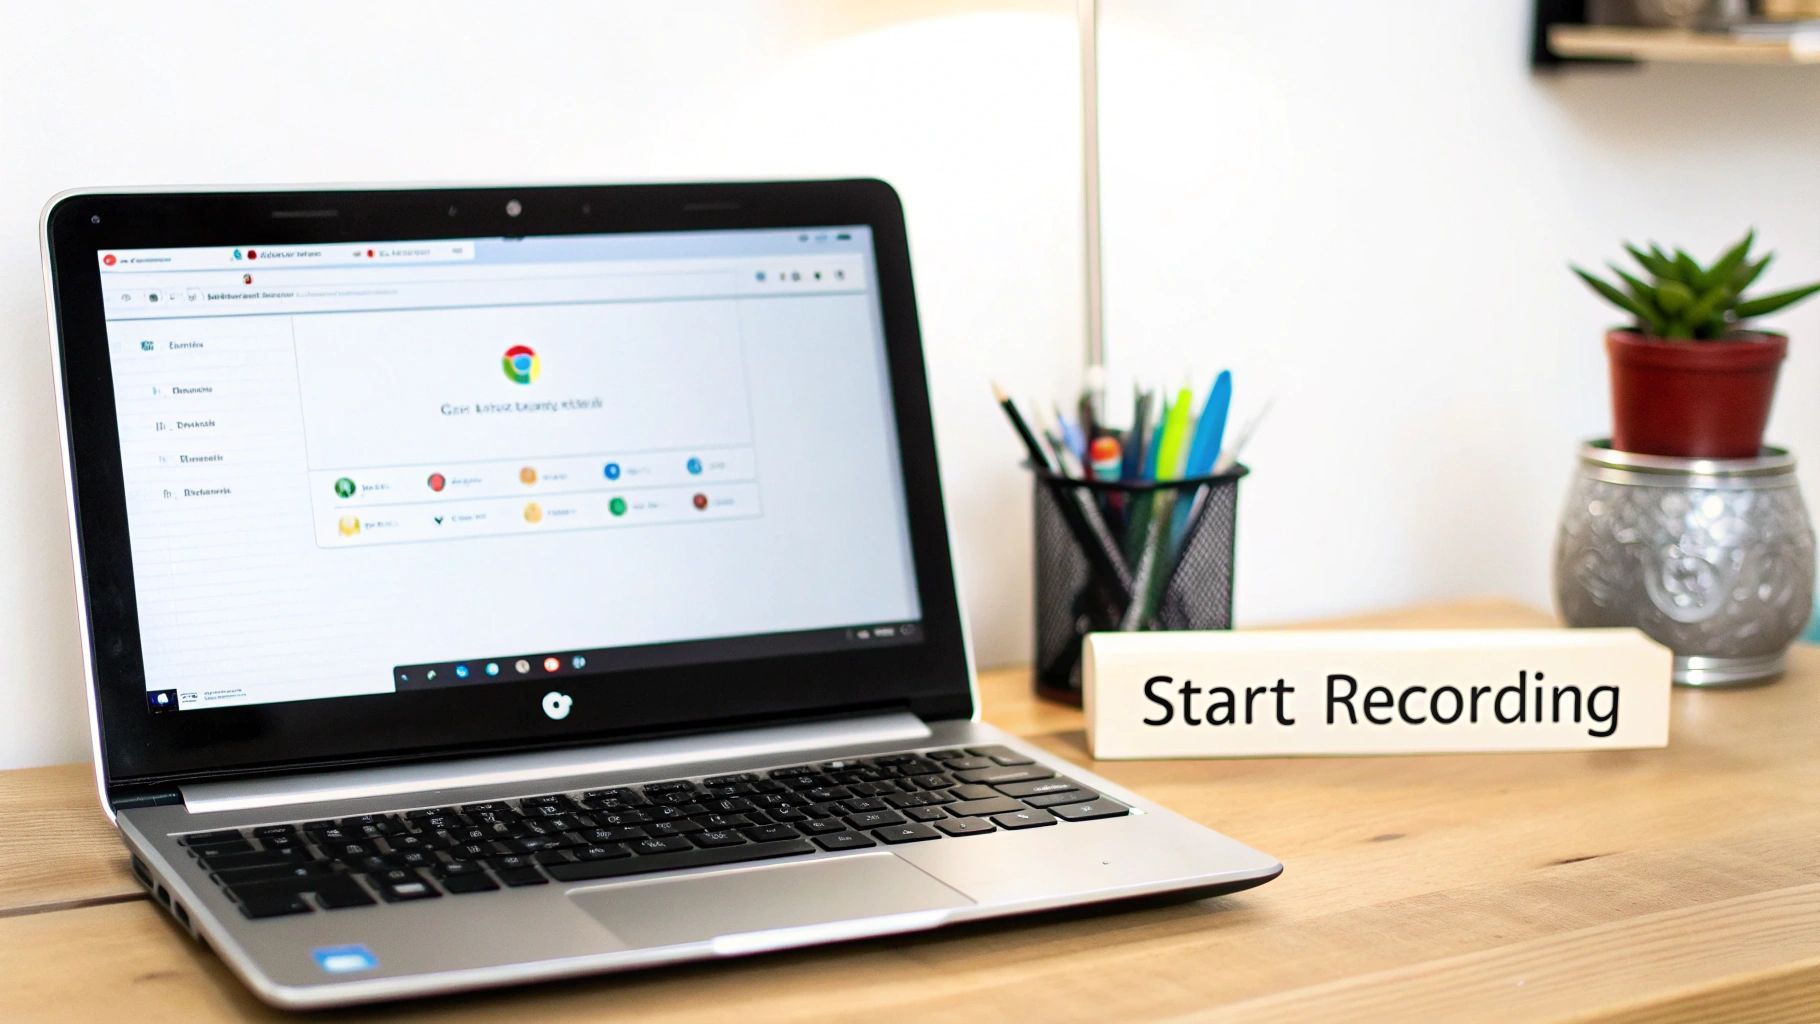
This little bar is your control panel for everything that follows.
Navigating the Screen Capture Toolbar
First, you'll need to tell your Chromebook what you want to do. The toolbar has two main modes: a camera icon for screenshots and a camcorder icon for video recording. Make sure the camcorder is selected.
From there, you have to decide what to record. You get three solid options:
- Full Screen: This captures your entire display—every window, your shelf, and any notifications that pop up. It’s the best choice for walkthroughs where you need to jump between different apps.
- Partial Screen: This lets you click and drag to draw a custom box around a specific area. I use this all the time to focus a viewer's attention on something small, like a single menu or a specific image, cutting out all the noise.
- Window: This option records a single, active application window. It’s a lifesaver for creating clean software demos without accidentally showing your messy desktop or personal browser tabs.
To help you get familiar with the controls, here's a quick rundown of what each button does.
Chromebook Screen Capture Toolbar at a Glance
| Icon | Functionality | Best Use Case |
|---|---|---|
| Camera Icon | Toggles to Screenshot mode. | Capturing a static image of your screen. |
| Camcorder Icon | Toggles to Screen Recording mode. | Recording video of your screen activity. |
| Full Screen Icon | Selects the entire display for capture. | Recording a tutorial that involves multiple windows or the desktop. |
| Partial Screen Icon | Allows you to select a custom rectangular area. | Focusing on a specific detail or cropping out sensitive information. |
| Window Icon | Lets you select a single active app window. | Creating a clean software demo without background distractions. |
| Gear Icon | Opens settings to toggle the microphone on/off. | Adding voice narration to your screen recording. |
Think of this toolbar as your mini production studio—it’s simple, but it has the core controls you need to get the shot right.
Key Takeaway: Choosing the right recording area is the first step to creating a clean, professional-looking video. Recording just a single window, for instance, prevents distracting notifications from appearing in your final product.
Before you hit the record button, take a second to check your audio. Click the gear icon in the toolbar and make sure the microphone is toggled on if you plan on doing any voiceover.
Once you’ve selected your area and checked your mic, just click anywhere inside the chosen frame to start. A three-second countdown will appear on-screen, giving you a moment to collect your thoughts before the recording begins.
Making Your Recordings More Personal with Webcam and Audio
A screen recording is fine, but a great screen recording connects with people. The easiest way to do that? Let them see and hear you. Putting your face and voice into the mix turns a sterile demonstration into a genuine, personal presentation. It’s the difference between a textbook and a conversation with an expert.
It's a proven fact: videos where you can see the speaker build more trust and keep viewers hooked. That human touch makes a world of difference, and thankfully, Chromebook's built-in recorder makes adding it a breeze.
Getting Your Face on Screen with Picture-in-Picture
Before you hit record, find the little gear icon on the screen capture toolbar. Give that a click. A small settings menu will pop up, and you'll see a toggle for your front-facing camera. Flip that on.
Just like that, a small, circular window showing your webcam feed will appear on your screen. You can click and drag this bubble to any corner, making sure it isn't covering up anything important you're about to show.
After countless recordings, I've found a few spots that work best:
- Bottom Right: This is my go-to. It feels like the standard and rarely gets in the way of menus or primary content.
- Top Corners: If the action is happening at the bottom of the screen, moving your camera feed to the top left or right keeps it visible without being a distraction.
- Move It Around: Don't feel like it's stuck in one place! If your bubble suddenly covers a crucial button you need to click, just drag it to another corner mid-recording. It's a natural movement that keeps the flow going.
Putting yourself on camera is one of the simplest ways to make your tutorials feel like a one-on-one session.
Making Sure You Sound Crystal-Clear
Nothing sinks a good video faster than terrible audio. If you’re muffled, have a ton of background noise, or sound like you’re in a cave, people will just click away. Getting clean audio on a Chromebook is thankfully pretty simple.
Back in that same settings menu (click the gear icon), you’ll find your microphone options. Your Chromebook’s internal mic is usually the default. It's okay in a pinch, but it's notorious for picking up every single keyboard tap and the whir of your laptop's fan.
My Best Advice: Use an external microphone. Seriously, this is the single biggest upgrade you can make. Even the mic on a basic pair of earbuds will sound miles better and more focused than the one built into your machine.
When you plug in a USB headset or connect a Bluetooth one, your Chromebook will see it right away. Just select it from the dropdown menu in the recording settings, and you're good to go.
A Few Tricks for Pro-Level Sound
Your microphone is only half the battle; your recording space is the other. You don't need a fancy studio, just a bit of awareness.
- Find a Quiet Spot: This seems obvious, but it’s crucial. Get away from humming refrigerators, noisy air conditioners, or street noise from an open window.
- Soften Your Surroundings: Sound loves to bounce off hard surfaces like bare walls and wood floors, creating that dreaded echo. Recording in a room with a rug, curtains, or even a few pillows tossed on a couch can deaden the sound and make your voice much cleaner.
- Always Do a Test Run: Record a quick 10-second clip before you start for real. Pop on some headphones and listen back. Is there a weird buzz? Is your volume too low? This tiny step can save you the massive headache of re-recording everything.
Taking a minute to get your webcam and audio sorted out is what separates a forgettable screen capture from a powerful, effective video that people will actually watch.
When to Use a Third-Party Screen Recorder
The built-in screen recorder on a Chromebook is fantastic for quick, no-fuss captures. It gets the job done. But let's be honest, it has its limits. It’s built for simplicity, not for power users who need more control or creative flair.
So, when do you know it's time to upgrade?
The moment you find yourself thinking, "I just wish I could..." is your sign. Maybe it's "I wish I could draw on the screen to point something out," or "I wish I could trim that awkward pause at the beginning." That’s the exact point where third-party tools go from being a "nice-to-have" to a necessity.
Why You Might Need More Than the Basics
Think of the native tool as your go-to for raw footage. It’s perfect for sending a quick bug report to IT or showing a colleague where to find a specific setting. But for anything more polished—like a tutorial for your YouTube channel, a professional sales demo, or a detailed product walkthrough—you'll start to feel its constraints.
Here are a few common scenarios where you’ll want something more powerful:
- You need to annotate your screen. Drawing arrows, highlighting text, or using a virtual spotlight to guide your viewer's focus is a game-changer for clear communication.
- You need to do some light editing. The built-in tool just gives you a raw video file. If you need to snip out a mistake, add a text overlay, or blur sensitive information, you’ll need a different app.
- You're creating long-form content. While Chrome OS doesn’t have a hard time limit, dedicated extensions often handle longer recordings more gracefully and offer better compression to keep file sizes manageable.
- You want to track who's watching. For anyone in sales or marketing, knowing who watched your video and for how long is pure gold. This kind of analytics is a premium feature found only in specialized tools.
This infographic breaks down some of the basic gear you should consider, whether you're sticking with the built-in tool or branching out to an extension.
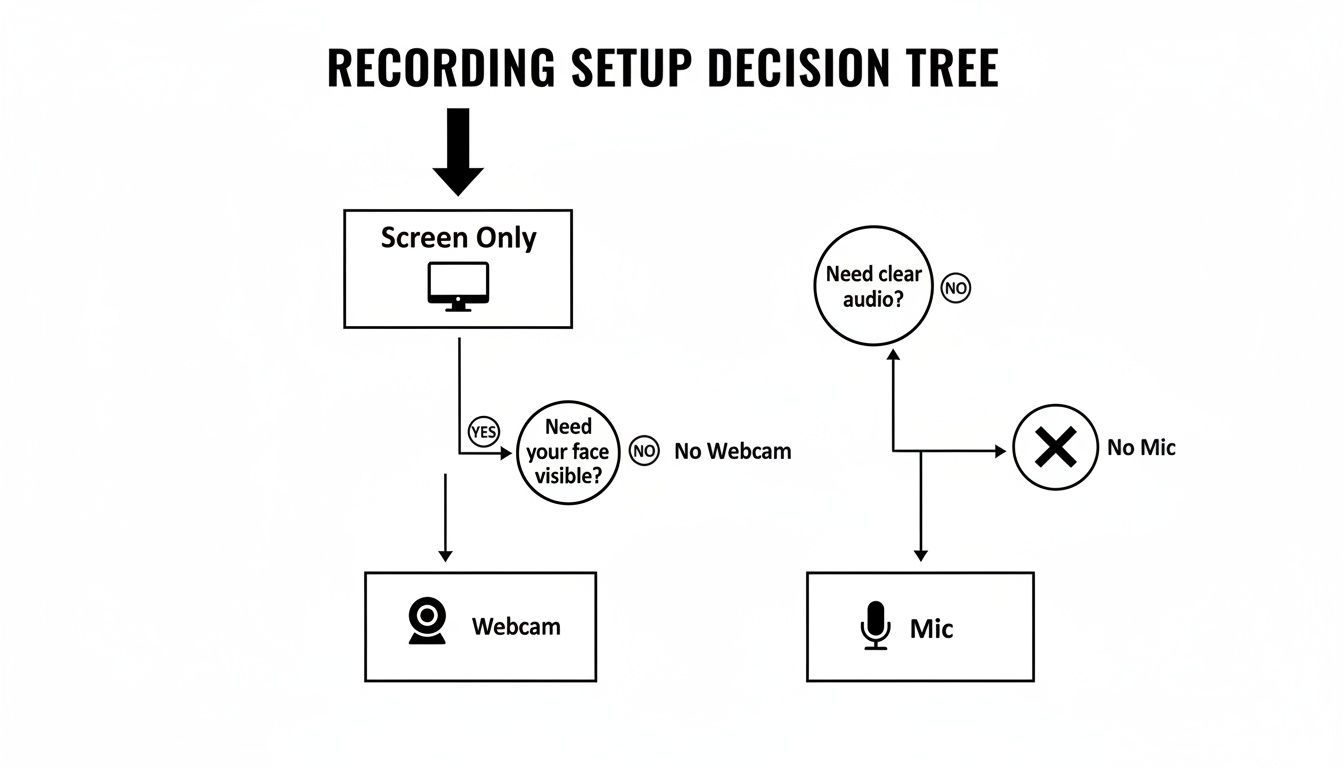
The takeaway here is simple: your tools, even just a decent microphone, directly impact how professional and engaging your final video feels.
Built-in Recorder vs Chrome Extensions
To make the choice clearer, let’s compare the native tool directly with what popular Chrome extensions bring to the table. This should help you decide which path is right for your project.
| Feature | Built-in Recorder | Popular Chrome Extensions |
|---|---|---|
| Ease of Use | Excellent. It's integrated and takes seconds to learn. | Good to Excellent. Most have intuitive browser-based UIs. |
| Annotations | None. You cannot draw or add elements while recording. | Excellent. Most offer pens, highlighters, arrows, and more. |
| Editing | None. You get a raw video file. Needs another app. | Varies. Many offer basic trimming, cropping, and blurring. |
| Analytics | None. No way to track views or engagement. | Available (Often Paid). A key feature for business tools. |
| Sharing | Manual. You have to upload the file yourself. | Streamlined. Often generates a shareable link instantly. |
| Cost | Free. Comes standard with Chrome OS. | Freemium/Paid. Most offer free tiers with paid upgrades. |
As you can see, the decision really boils down to your specific needs. For a quick capture, the built-in tool is unbeatable. For anything requiring more polish, features, or data, an extension is the way to go.
A Closer Look at Top Chrome Extensions
Instead of overwhelming you with a dozen options, let's focus on a couple of real-world scenarios where Chrome extensions really shine. These tools plug right into your browser, making them feel nearly as convenient as the native recorder but with a much deeper toolkit.
When the default recorder just won't cut it, exploring platforms with advanced screen recording features can open up a world of new possibilities.
A Tool for Educators and Tutors
Imagine you’re an online math tutor trying to explain a tricky algebraic equation. Just wiggling your mouse cursor around isn't going to be very effective. You need to circle key terms, underline variables, and draw arrows to show how everything connects. This is where an extension built for education is a lifesaver.
With the right tool, you get a whole suite of annotation options that overlay your screen as you record:
- Drawing Pen: Circle, underline, or write notes directly on the page.
- Highlighter: Make a specific sentence or data point pop.
- Focus Mouse: Dim the rest of the screen to draw immediate attention to your cursor.
- Stickers and Shapes: Add clean, pre-made arrows or boxes to clarify instructions.
This instantly transforms a passive screen share into an interactive, dynamic lesson that helps students understand and remember the material.
A Solution for Sales and Client Communication
Now, picture yourself in a sales role. You've just recorded a personalized product demo for a high-value prospect. You don't just want to send it and hope they watch it; you need to know if they did. This is where a business-focused extension completely changes the game.
These platforms are built around analytics. After you finish recording, you get a unique, shareable link.
Key Insight: Using a third-party tool with analytics transforms your screen recording from a simple video file into a powerful business intelligence tool. You can gauge interest, follow up effectively, and close more deals.
When your prospect clicks that link, the platform starts tracking their activity, giving you incredibly useful data:
- Viewer Notifications: Get an email the instant someone starts watching your video.
- Engagement Metrics: See exactly how much they watched. Did they bail after 30 seconds, or did they rewatch the pricing section three times?
- Call-to-Action Buttons: You can even embed a clickable button like "Book a Meeting" or "Start a Free Trial" right inside the video player to turn interest into immediate action.
This level of insight is simply impossible with the Chromebook's native recorder. It’s precisely why professionals rely on these specialized extensions to get more out of their screen recordings.
You’ve finished your recording. Now what?
Getting your video in front of the right people—whether that’s one teammate or a thousand followers—is the whole point. Thankfully, Chromebooks make managing and sharing your new creation pretty painless once you know where to look.
When you hit that stop button, Chrome OS doesn’t just toss your file into some hidden abyss. It automatically saves your recording as a .webm file and places it right in your Downloads folder. This is your Chromebook's local storage, meaning the file lives on your device.
To find it, just pop open the "Files" app. You'll see "Downloads" in the navigation pane on the left. Easy.
For even quicker access, check out the Tote. It's that little circular spot on your Shelf (the taskbar) that holds your most recent downloads and screenshots. Your new video will be sitting right there, ready for you to click and play without any digging around.
From Local Storage to the Cloud
While having your video in the Downloads folder is great for immediate access, you shouldn't let it live there permanently. Think of that folder as a temporary staging area. Files stored locally can be a pain to access from other devices, and Chromebooks might clear them out if you start running low on space.
This is where Google Drive becomes essential. Moving your recording over to Drive is the smartest move you can make. It’s not just about backing up your file; it's about unlocking the powerful sharing tools that every creator needs.
The best part? It's just a simple drag-and-drop.
- Open your Files app.
- Go to your Downloads folder and find your video.
- In the menu on the left, locate "Google Drive."
- Just drag your recording from Downloads and drop it right into "My Drive" or a specific folder you've set up.
Done. Your video is now safely in the cloud, ready to be accessed from your phone, your desktop, or anywhere else you can log into your Google account.
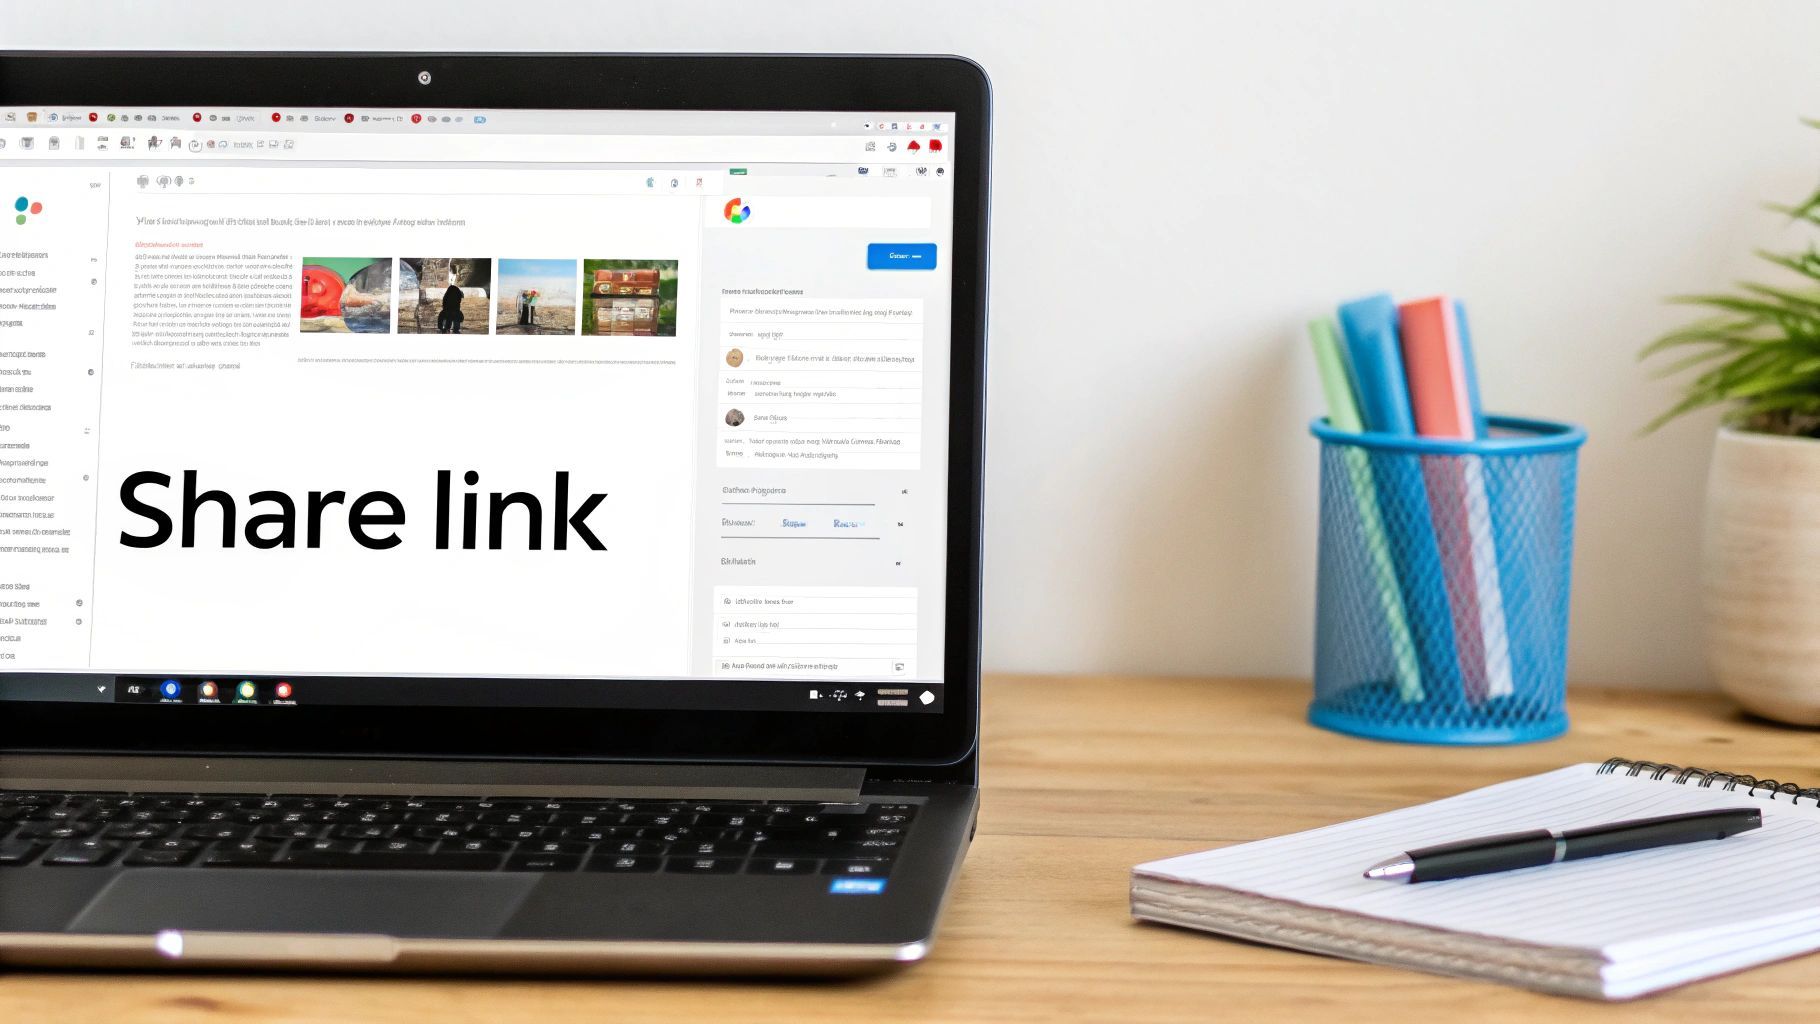
Sharing Your Masterpiece with a Simple Link
With your video now in Google Drive, sending it to someone is a breeze. This approach is far more professional (and reliable) than trying to attach a massive video file to an email, which often fails.
Just right-click the video file in Google Drive and hit "Share." This brings up a dialog box where you call the shots on who sees your work. You've got two main choices here:
- Share with specific people: You can type in the email addresses of the people you want to see the video. They'll get a direct notification.
- Generate a shareable link: This is my go-to for flexibility. You create a link that lets anyone you send it to view the video.
When you create a link, you have to be careful with the permissions.
Pro Tip: I can't tell you how many times I've seen this go wrong. Always double-check your link permissions before you send it out. Accidentally leaving it "Restricted" when you meant "Anyone with the link" is a surefire way to get a flood of "I can't open this!" emails.
The permission levels are pretty clear, but they're crucial:
- Viewer: People can watch but not download or edit. This is perfect for sharing the final cut.
- Commenter: They can watch and leave time-stamped comments. Incredibly useful for getting feedback on a draft.
- Editor: This gives them the keys to the kingdom—they can edit, share, and organize the file. Use this one sparingly!
Making Your Recordings Part of Your Workflow
The real magic of using Google Drive is how everything just works together. Your screen recording isn't just a video file anymore; it's an asset you can plug directly into your other projects.
For example, you can drop your video straight into a Google Slides presentation for a training deck or embed it in a Google Doc to build an interactive guide. This transforms a simple screen capture into a living resource that exists right alongside your other work, making your whole content creation process feel connected and smooth.
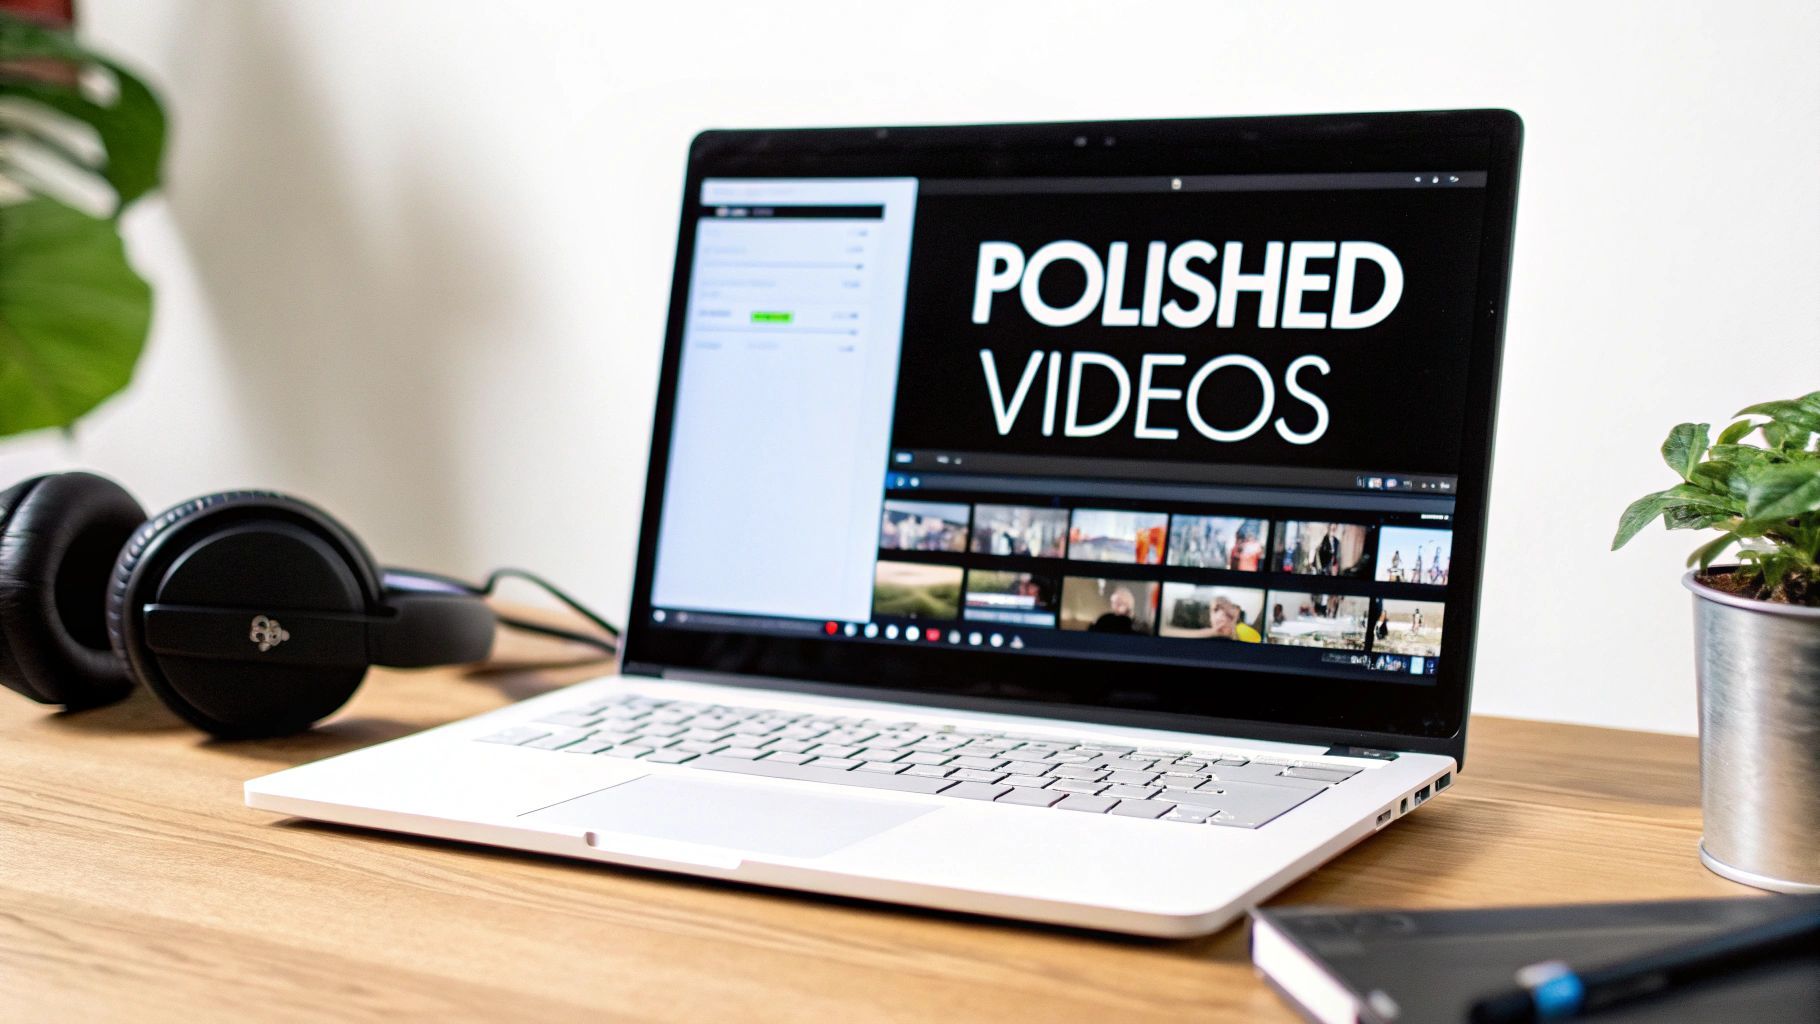
Creating Polished Videos for Social Media
Okay, so you’ve mastered the technical side of screen recording on your Chromebook. That's a great start, but it’s only half the battle. Now, let’s talk about turning those raw recordings into content people actually want to watch on YouTube, TikTok, or Instagram.
This is where you shift from being a recorder to a creator. A polished video isn't about fancy special effects; it's about being clear, intentional, and respectful of your audience's time. Before you hit that record button, just take a moment to plan. You don't need a detailed script—a few bullet points are often enough to keep you on track and prevent rambling.
Pre-Recording Best Practices
How you present yourself—both visually and audibly—makes a huge difference. A little prep work here really pays off.
First, speak with energy. Your voice should sound engaging, not like you're reading a user manual. Try projecting a bit more than you would in a normal conversation; it helps convey enthusiasm and keeps people tuned in.
Next, be mindful of your on-screen movements. Navigate with a purpose. Frantic, jerky mouse movements are confusing to follow. Instead, use slow, deliberate clicks and scrolls so your audience can easily see exactly what you're doing.
Simple Edits for a Professional Feel
Let's be honest, raw screen recordings are rarely ready for prime time. They’re usually full of awkward pauses, "ums," and clicks that don't add anything. The good news? You don't need a beast of a machine to clean things up. Your Chromebook is more than capable of handling the basic edits that will elevate your content.
- Trim the Fat: The single most impactful edit is trimming the start and end of your video. Cut out the fumbling around as you begin recording and the moment you reach over to stop it. This one snip makes your video feel tighter and more professional.
- Add Text Overlays: Use text to highlight key points, show a URL, or call out a keyboard shortcut. A simple text box can add crucial context without you having to say it, which helps your viewers understand and remember the information.
- Splice in B-Roll: If you have other relevant clips or images, consider dropping them in to break up the monotony of a single screen. This adds visual interest and can make a complex point much easier to grasp.
Finding the Right Editing Tools on Chrome OS
While Chrome OS doesn't have a built-in, powerhouse video editor, the ecosystem offers plenty of excellent options that get the job done.
For a quick trim, the native Gallery app is your friend. Just open your video, click the edit icon, and you can easily shorten the clip. For anything more involved, you'll want to look at web-based tools or grab an Android app from the Google Play Store.
Key Takeaway: Editing isn't about adding complexity; it's about removing distractions. Your goal is to make the viewer's journey as smooth and clear as possible. A clean, well-edited video respects their time and holds their attention far longer.
Powerful web-based editors run right in your browser, so there’s nothing to install. On the other hand, many popular Android editing apps are optimized for Chromebooks, giving you a mobile-first experience on a much bigger screen. The demand for accessible tools like these is why the screen recording software market is projected to be worth $2 billion by 2025.
If you’re turning your recordings into marketing assets, you’ll find great advice on how to create a video product demo that sells. For creators looking to speed up their workflow, AI-powered tools are a game-changer. Platforms like https://shortgenius.com, for example, can help you assemble clips, add voiceovers, and even schedule your posts, cutting down the time it takes to get from raw footage to social-ready content.
A Few Common Chromebook Recording Questions Answered
Even with a tool as simple as Chromebook’s built-in recorder, you’re bound to hit a few snags. Instead of sending you on a wild goose chase through internet forums, I’ve pulled together the most common questions and their fixes right here.
Think of this as your go-to troubleshooting list for those moments when you're thinking, "Why isn't this working?!" Getting stuck on a small tech issue is frustrating, but the solution is usually just a setting or two away.
Why Is There No Audio in My Recording?
This is, hands down, the number one problem people run into. You nail the perfect take, play it back, and… silence. The culprit is almost always a tiny setting you have to enable before you hit record.
In the screen capture toolbar, look for the little gear icon. Click it to open the settings, and you'll see a microphone option. You have to click this to turn it on before you record. It's off by default, which catches nearly everyone off guard the first time.
If you did turn it on and still have no audio, your next stop is the main system settings.
- Navigate to Settings > Device > Audio.
- Check the "Input" section and make sure the correct microphone is selected. This is a common hiccup if you’ve plugged in an external headset and your Chromebook didn't automatically switch to it.
- It's also worth checking if the app you're recording has its microphone permissions blocked.
Can I Record System Audio?
A lot of people want to record the sound coming from their Chromebook—like a YouTube clip, a piece of software, or a game—not just their own voice. Unfortunately, the native recorder is really just built to capture your microphone.
The built-in tool does not have a feature to capture internal system audio. This is a job for a third-party tool. Chrome extensions like Screencastify or Loom are perfect for this, as their audio controls let you choose to record:
- Just your microphone
- Just the system (or tab) audio
- A mix of both at the same time
This makes them the right tool for the job if you're making reaction videos or narrating over a presentation that already has sound.
My Takeaway: The built-in recorder is fantastic for quick voiceovers. But the moment you need to capture system audio, it's a clear sign you're ready to graduate to a more powerful Chrome extension. That single feature is one of the biggest differentiators.
Where Do My Recordings Save?
Once you hit the stop button, your Chromebook automatically saves the video file for you—no need to manually export anything. By default, every screen recording and screenshot lands right in your Downloads folder.
You can get there by opening the "Files" app. For even quicker access, check the Tote, which is that small circular spot on your Shelf (the taskbar) that holds recent files. Your last recording will be sitting there waiting for you.
Here’s a pro tip: Get into the habit of moving important videos from your Downloads folder over to Google Drive. The Downloads folder is just local storage and isn't backed up, so shifting files to Drive keeps them safe and makes them accessible from anywhere.
How Can I Edit My Recordings on a Chromebook?
Your Chromebook doesn't come with a heavyweight video editor out of the box, but you have some surprisingly great options for trimming clips and polishing your recordings.
For simple trims, like cutting off the awkward beginning and end of a clip, the built-in Gallery app is all you need. Just open the video, click the edit icon, and drag the handles to shorten it.
When you need a bit more power, you can turn to:
- Web-Based Editors: Tools like Clipchamp run right in your browser and offer a ton of features without needing any installation.
- Android Apps: Head over to the Google Play Store and you'll find excellent mobile editors like CapCut or InShot that work beautifully on Chromebooks. They give you a pretty robust set of tools for creating a finished video.
Between these options, you can easily go from a raw recording to a polished, social-media-ready video right on your Chromebook.
Ready to turn those screen recordings into polished, engaging videos in minutes? ShortGenius uses AI to handle the heavy lifting, from scriptwriting and voiceovers to editing and scheduling. Stop spending hours on manual edits and start creating content that captivates your audience. Try it now and see how easy video creation can be. Find out more at https://shortgenius.com.