How to Make Instagram Videos with Pictures: A Quick Guide
Learn how to make instagram videos with pictures with simple steps, recommended apps, and tips to boost engagement and reach.
Let's be honest, just posting static photos on Instagram doesn't cut it anymore. If you want to grow, you have to play the algorithm's game, and right now, that game is all about video. The good news? You can turn your best photos into dynamic, attention-grabbing videos that the platform loves.
This isn't just about mashing pictures together; it's about taking the emotional punch of a great photo and weaving it into a moving story that stops the scroll.
Why Photo Videos Are an Instagram Game Changer
Before we get into the "how-to," let's talk about the "why." Why go to the trouble of turning perfectly good photos into a video? The short answer is that the Instagram algorithm is obsessed with video, especially Reels. When you package your photos as a video, you’re basically handing the platform the exact type of content it’s designed to push.
This simple shift transforms a basic photo dump into a real narrative. Think about it: a single photo from your vacation is nice, but it doesn't tell the whole story. A quick video that flashes through the plane ticket, a stunning sunset, a shot of amazing local food, and a smiling selfie? Now that tells a story and keeps people watching far longer than any single image could.
Leaning into the Algorithm
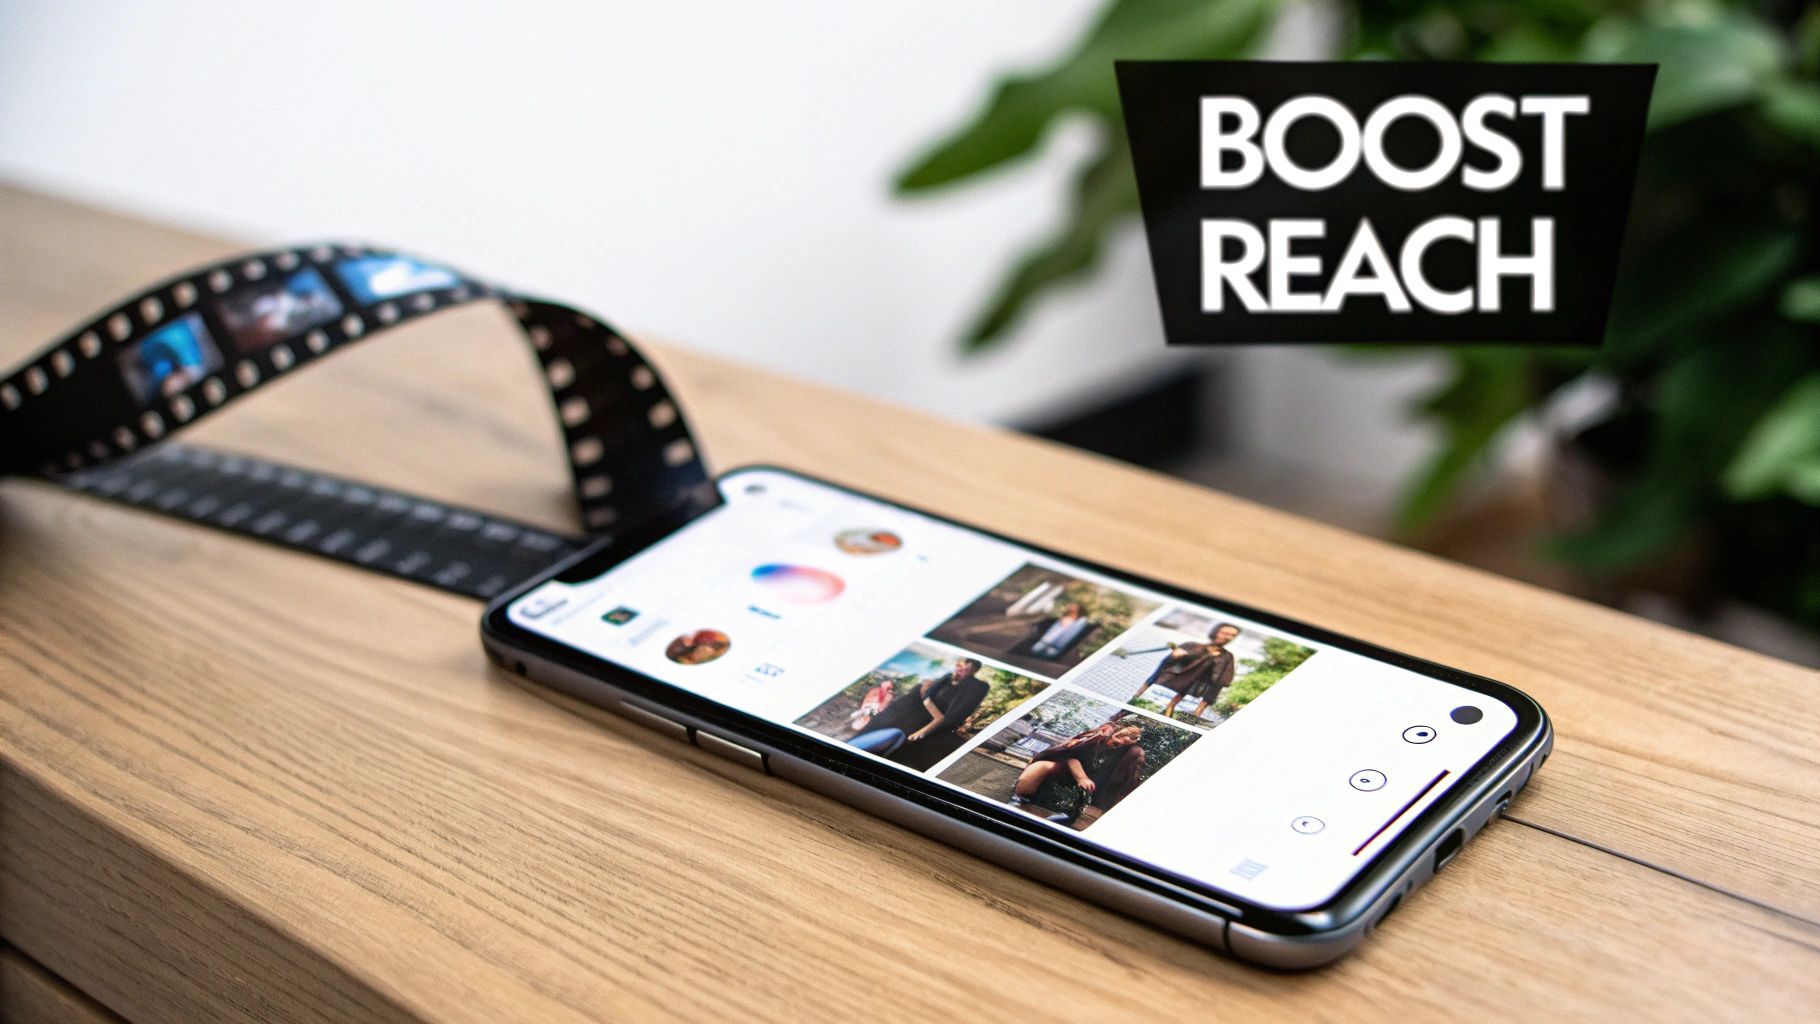
Don't just take my word for it—the numbers are staggering. On a platform with over two billion users, Reels boast a reach rate of nearly 38%. That’s a huge advantage over other formats.
In fact, Reels get 36% more reach than carousels and an incredible 125% more reach than single-image posts. The platform is screaming at us to make more video. If you want a deeper dive, there are some great insights on Instagram Reels performance that show just how much this format dominates.
But this isn't just a numbers game. It's about building a connection. A thoughtfully made photo video, paired with the right music and pacing, can set a mood and pull people in emotionally. That deeper connection is what drives real engagement—the likes, comments, shares, and saves that actually matter.
When you learn this skill, you’re not just making a slideshow. You're building a strategic piece of content engineered for maximum reach, engagement, and storytelling power. It’s a fundamental shift from just posting pictures to producing content that truly performs.
Mastering this one technique gives you a serious leg up. Suddenly, you can:
- Get Discovered More Easily: Your content has a much better shot at landing on the Explore page and in the main Reels feed.
- Keep People Watching: The combination of moving visuals and audio hooks viewers, sending all the right signals to the algorithm.
- Tell Better Stories: You can pack more emotion and information into a 15-second video than a single photo ever could.
Crafting Your Story Before You Hit Record
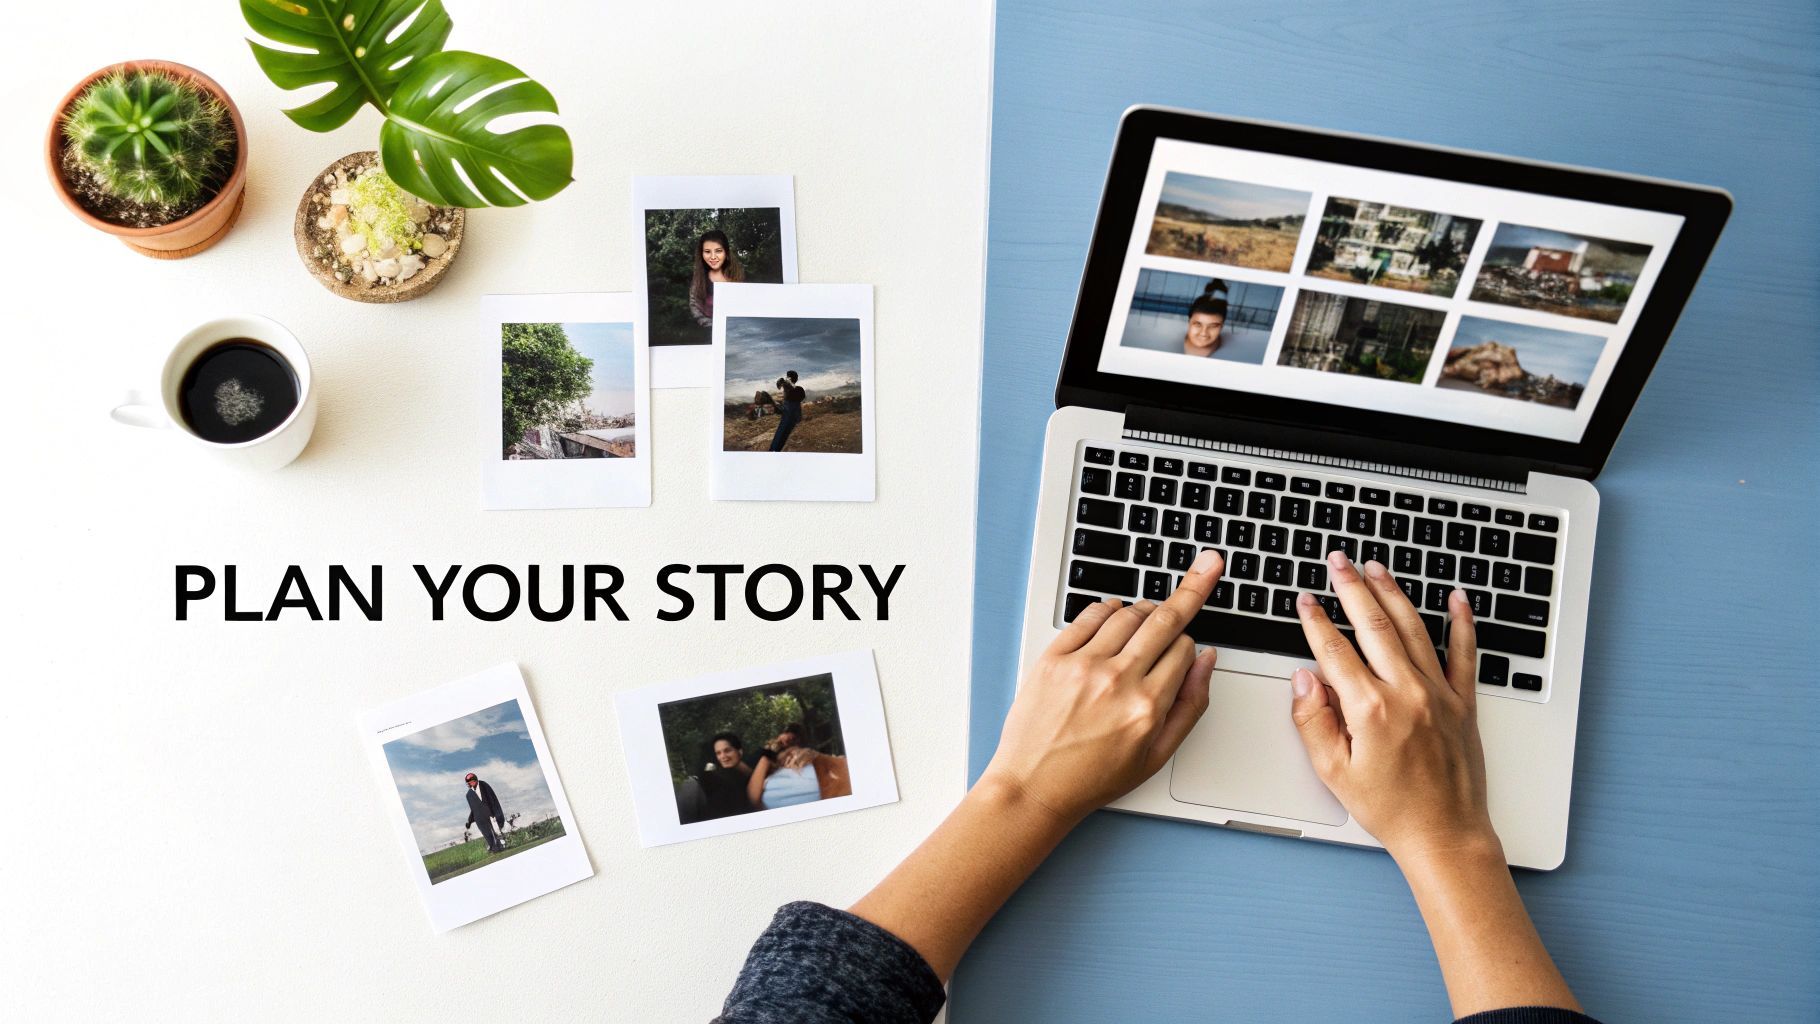
Before you even think about opening a video editor, the real work begins. An unforgettable video is born from a clear idea, not just a random pile of your prettiest photos. You have to think like a visual storyteller, not a slideshow maker.
What’s the one thing you want your audience to feel or understand? Are you trying to capture the serene vibe of a travel destination, showcase the detailed craftsmanship of your new product, or share the sheer joy of a personal milestone? Nailing this down first becomes your creative North Star, guiding every single decision from here on out.
Defining Your Core Message
Your video’s message has to be simple enough for someone to get in just a few seconds. A solid narrative is what hooks people right away and makes them stick around to see what’s next. This is especially critical on a platform like Instagram, where attention is fleeting.
Keep in mind who you're talking to. A huge chunk of the audience—61.1% of Instagram users globally—is under 35, and this group loves a quick, engaging story. With over 200 million businesses vying for attention and 62.2% of users actively following and researching brands, a video without a purpose is just noise. You can dive deeper into these Instagram audience insights on Buffer to really get a feel for the landscape.
Take a minute and write down your video's goal in one sentence. Something like: "This video will show the relaxing, step-by-step process of my morning coffee routine to inspire a peaceful start to the day." It sounds simple, but this little exercise forces clarity.
With that single-sentence mission in hand, it’s time to start gathering your visuals. The key here isn't to just grab your favorites; it's about choosing images that actually work together to tell your story.
Selecting Cohesive Imagery
The secret to a video that looks polished and professional is visual consistency. If you throw together a bunch of photos with clashing lighting, colors, and moods, the final result will feel jarring and amateurish. Your goal is to curate a collection of images that look like they were always meant to be together.
Here’s what I always look for when I’m pulling images for a project:
- Consistent Lighting: Try to stick with photos taken under similar light. A mix of bright, sunny outdoor shots and dark, moody indoor photos can feel really disjointed unless it’s a deliberate creative choice.
- Harmonious Color Palette: Look for images that share a similar color story. If your brand has a warm, earthy aesthetic, pull photos that lean into those tones. It makes a world of difference.
- High-Quality Resolution: This is non-negotiable. Always, always use the highest resolution photos you have. A blurry or pixelated image is the fastest way to make your video look cheap.
Think of it like you're casting actors for a film—each image has a role to play and must fit the overall vibe. Putting in this work upfront is what separates a forgettable, scroll-past slideshow from a video that genuinely stops people in their tracks. It's the foundational skill you need to learn how to make Instagram videos with pictures that actually connect with people.
Choosing Your Go-To Photo-to-Video App
Finding the right tool can be the difference between a creative headache and a smooth, enjoyable process. Instead of drowning in endless app store options, let's zero in on a few of the best for turning a folder of pictures into a polished Instagram video.
Your best bet really depends on what you're trying to achieve. Are you after a quick, beautifully designed video? Or do you need granular control to nail a specific trend? Let's break down the top contenders.
Canva: For All-Purpose Design
Think of Canva as your design-savvy best friend. It’s the undisputed champ of drag-and-drop simplicity, making it a fantastic starting point for anyone who feels intimidated by traditional video editing.
Its secret weapon is a massive library of pre-made templates specifically for Instagram. You just pick a design you like, pop your photos into the placeholders, tweak the text, and you’re practically done. It handles all the tricky stuff like animations and text effects for you. This is a game-changer for small businesses needing a consistent look or creators who prioritize speed without sacrificing style.
Canva excels at producing a highly polished, professional-looking video with minimal fuss. It’s less about intricate editing and more about getting a great-looking result, fast.
CapCut: For Trend-Focused Editing
If you want your video to look and feel like it was born on Instagram Reels or TikTok, CapCut is the answer. Since it comes from the same parent company as TikTok, it’s always first in line with the latest trending effects, transitions, and audio-syncing features.
CapCut gives you way more control than Canva. You can get really specific with your timings, layer effects, and create dynamic transitions that grab attention. One of its standout features is "auto-cut," which can intelligently match your photo changes to the beat of a song—a huge time-saver. For anyone aiming to create those fast-paced, high-energy videos that are dominating social media, CapCut offers a surprisingly powerful toolkit for free.
Instagram Reels Editor: For Quick, In-the-Moment Creation
Never underestimate the power of the tool you already have. For spontaneous, on-the-fly content, Instagram's built-in Reels editor is often the smartest choice. It’s right there in the app.
You can quickly pull photos from your camera roll, slap on some trending audio from Instagram's own library, and add simple text or stickers. Sure, it doesn’t have the design polish of Canva or the advanced features of CapCut, but its biggest advantage is pure convenience. There's no app-switching, no exporting, and no re-uploading. It’s perfect for capturing a moment and getting it posted right away.
Comparison of Top Photo-to-Video Apps for Instagram
To make the choice even clearer, let's put these tools side-by-side. The best app for you is the one that fits your workflow, skill level, and creative goals. This table breaks down what each one brings to the table for turning your photos into compelling video content.
| App | Best For | Key Features for Photo Videos | Price |
|---|---|---|---|
| Canva | Beginners & brand consistency | Templates, drag-and-drop, stock library, brand kits | Free tier; Pro from $14.99/mo |
| CapCut | Trend-driven & dynamic edits | Beat-syncing, advanced transitions, effects, speed ramps | Free |
| Spontaneous & quick creation | Trending audio, native integration, stickers & polls | Free (in-app) |
Ultimately, there's no single "best" app—only the best one for the job at hand. Experiment with a couple to see which one clicks with your personal style.
For a deeper dive into how you can streamline your entire workflow—from ideation to final cut—you might want to check out an all-in-one platform. Tools like ShortGenius are designed to simplify the entire content creation process, helping you turn ideas into videos more efficiently.
Bringing Your Photo Story to Life
You’ve got your app picked out and your best photos lined up. Now for the fun part: actually building the video. This is where your collection of static images starts to move and breathe, finally coming together as a compelling story.
Think of this stage like you're a film editor. Your first job is to get the sequence right. The order you place your photos in quite literally builds the narrative arc. For a simple "day in the life" video, the path is clear—start with the morning light and end with the city lights at night.
But what if you're showcasing a new product? You might want to build a little suspense. Start with a wide, establishing shot, then punch in for close-ups on the unique details, and finish with an awesome shot of the product in action. The goal is to create a progression that just feels right.
If you're still deciding which tool to use for this process, this quick visual guide can help you match your goal to the right app.
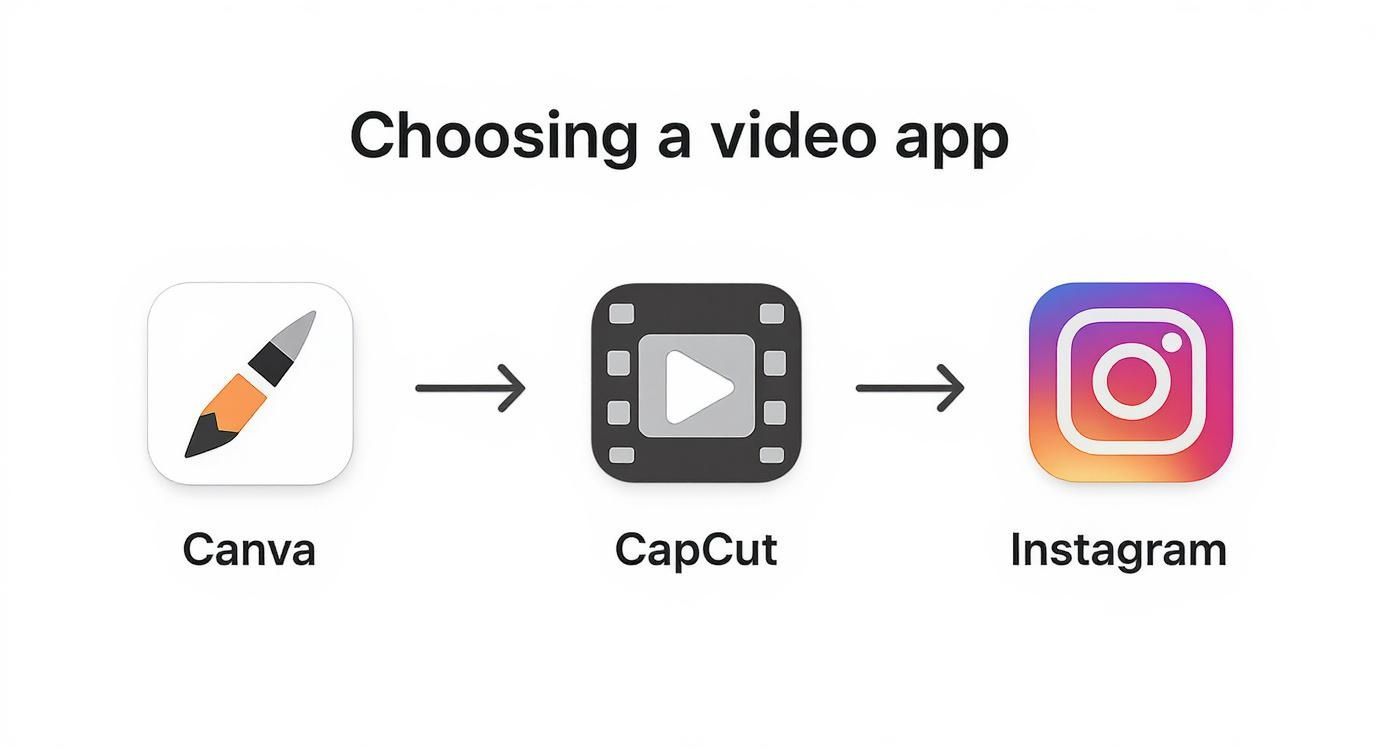
Whether you need polished templates, trendy effects, or just something quick and easy, there’s an app perfectly suited for the job.
Syncing Visuals with Audio
If there's one secret weapon to making a photo video feel polished and professional, it’s the audio. Specifically, it's about timing your image changes to the rhythm of the music. This technique, called beat-syncing, is what separates a basic slideshow from a video that grabs and holds attention.
Most modern video editing apps, especially a tool like CapCut, have built-in features that automatically identify the beats in any song you choose. It's a game-changer. You can literally snap each photo to a specific number of beats.
For a high-energy, fast-paced video, try swapping photos every one or two beats. For something more reflective and emotional, let an image linger for four or even eight beats. Play around with this—the rhythm you set is what ultimately dictates the video's entire mood.
Your goal is for the music and visuals to feel like they were made for each other. When a transition hits perfectly on a drum beat or a major chord, it creates a subconscious jolt of satisfaction for the viewer, making them more likely to keep watching.
Adding Dynamic Layers
With your timing locked down, it’s time to add a few final layers to make the video pop. The key here is to make sure your text and transitions are helping the story, not just adding clutter.
- Text Overlays: A little text can add crucial context. Just keep it short and punchy. In a travel video, you could overlay the name of the city or a simple caption like "Golden hour." Make sure the font is clean, readable, and doesn't get lost in the image behind it.
- Transitions: My biggest tip? Don't go crazy with a dozen different wacky transitions. Pick one or two simple styles, like a clean fade or a subtle zoom, and use them consistently. The best transitions are the ones you barely notice; they guide the eye smoothly from one shot to the next.
One of the most effective and classic techniques is the Ken Burns effect, which is just a fancy name for slowly panning or zooming across a still photo. This adds a subtle hint of motion that brings the image to life, saving your video from feeling static. Nearly every app has this feature.
Learning how to make Instagram videos with pictures is less about flashy effects and more about mastering these small, dynamic details. When you nail the flow, rhythm, and subtle motion, you create a video that truly connects.
Publishing Your Video for Maximum Reach
https://www.youtube.com/embed/fvm_CeEsFnE
Alright, your video is polished and ready to meet the world. But hold on—don't just hit that "share" button blindly. The way you launch your video is just as important as how you made it. This is where you put on your marketer hat to make sure all that creative effort actually translates into views and engagement.
First things first, let's talk about the technical side of things. Before you can upload, you need to export the video file from your editor. To get that sharp, professional look on Instagram, you'll want to export in 1080p resolution at 30 frames per second (fps). This is the sweet spot for high quality without creating a monster file that takes forever to upload.
Crafting the Perfect Post
With your perfectly exported video in hand, it's time to think about the caption. The very first line is your hook. It’s what people see before they decide to keep scrolling. You need to make it count. Ask a compelling question, drop a bold statement, or spark some curiosity that only your video can satisfy.
A great caption adds another layer to your story; it doesn't just describe what's happening on screen. For example, if your video is a stunning recap of your trip to Italy, the caption could share a hilarious mishap that happened off-camera or a game-changing travel tip you discovered. It gives your audience more value.
Don't forget about the cover photo! This is the thumbnail that will live on your profile grid and in the Reels tab. Letting the app choose a random, blurry frame is a rookie mistake. Take a moment to scrub through your video and select a clear, eye-catching image that represents the video's vibe and lines up with your feed's aesthetic.
Timing and Promotion for a Strong Start
Even an incredible video will flop if you post it while your audience is offline. While the average Instagram engagement rate sits around 0.45%, Reels consistently pull in more comments than other formats. To tap into that, you have to be strategic about timing.
I’ve found that posting between 3 and 6 p.m. on weekdays (especially Fridays) often hits a global sweet spot for engagement. You can dig deeper into these trends with resources like these social media benchmarks on Socialinsider.io, but the key is to know when your audience is most active.
Once you finally hit "publish," the work isn't over. Your very next move should be sharing that new Reel to your Instagram Stories. It’s a simple trick, but it’s powerful. This immediately notifies your most loyal followers, driving that crucial first wave of views and interaction that tells the algorithm, "Hey, people like this—show it to more users!"
Remember, publishing isn't just about uploading a file. It’s a series of deliberate decisions—from export settings to post timing—that all work together to give your video the best possible shot at finding its audience.
Answering Your Top Questions About Photo Videos
Once you get the hang of turning pictures into videos, a few common questions always seem to surface. Nailing down these details is what separates a decent video from one that really takes off. Let's walk through the questions I hear most often from creators.
What's the Ideal Length for a Photo Video?
Instagram Reels can stretch up to 90 seconds, but honestly, for a video made from photos, you want to keep it way shorter. The magic number? Aim for somewhere between 7 and 15 seconds.
That short runtime hits the perfect sweet spot. It gives you just enough time to flash through 5-10 solid photos and tell a quick, compelling story without losing your audience. Remember, people scroll fast. More importantly, a short, punchy video is far more likely to get replayed, and the Instagram algorithm absolutely loves that.
Think about it this way: a video that gets watched all the way through twice is a massive win. It tells the algorithm your content is sticky. A longer video that people ditch halfway through? Not so much. Keep it snappy.
How Can I Make My Slideshow Not Look... Like a Slideshow?
This is a great question. The secret to making a slideshow feel like a dynamic video is simple: motion. Static images are the enemy. Your goal is to breathe life into them.
Here are a few tricks I always use:
- Embrace the Ken Burns Effect: You know that slow, subtle pan or zoom across an image? That's the Ken Burns effect. It’s a classic for a reason. It adds a cinematic feel and tricks the eye into seeing movement where there is none.
- Sync Every Cut to the Beat: I can't stress this enough. When you’re using a trending audio, make sure every single image transition lands squarely on a beat. This creates a hypnotic rhythm that pulls the viewer in and keeps them watching.
- Animate Your Text: Don’t just plop a static title on the screen. Have your text slide in, pop up, or fade out. These small animations add another layer of engagement and keep things visually interesting.
Am I Going to Get in Trouble for Using Copyrighted Music?
This is a huge point of confusion, and getting it wrong can get your video muted or even taken down.
If you have a personal or creator account, you're in the clear. You have access to Instagram’s massive music library, and you can use those tracks freely because Instagram has handled the licensing.
Business accounts, however, have a much more limited, royalty-free library to avoid legal trouble. The golden rule is this: never add your own copyrighted music track from an outside source and upload it. Instagram's system is incredibly good at flagging it. Stick to the music provided within the app, and you'll be safe.
Should I Post This as a Reel or a Regular In-Feed Video?
Reel. Every single time. No hesitation.
Right now, Instagram is putting all its energy behind promoting Reels. When you post as a Reel, the algorithm works to show it to people who don't even follow you yet via the Reels tab and the Explore page. A standard in-feed video post? That pretty much only gets shown to your current followers.
Choosing Reel is like hitting the "boost" button. You’re plugging directly into the platform's biggest discovery engine, giving your video a real shot at reaching a massive new audience.
Ready to stop juggling a dozen different apps and start creating great videos in a fraction of the time? ShortGenius brings everything into one place—from AI scriptwriting and image generation to voiceovers and one-click publishing. Turn your ideas into a steady stream of high-quality content for all your social channels. You can give it a try today at shortgenius.com.